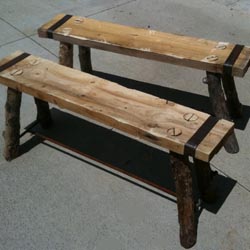
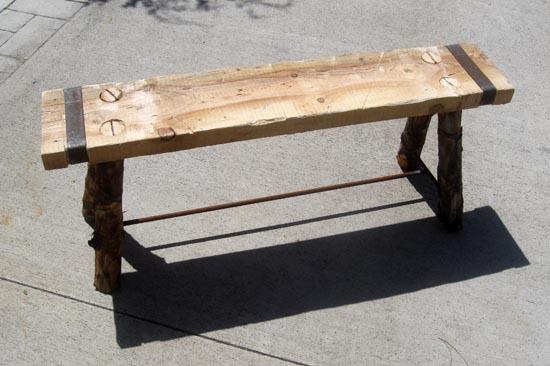
Here are the instructions for how we made some small, rustic wooden benches for use outdoors. These benches work great for patios, porches, and picnic tables.
Materials
8' long rough sawn 2x8
8 logs 3"-4" diameter by 2.5' long
4 steel straps 1.5" wide by 16"-18" long
Metal rod 1/2" diameter by 12' long
8 wood shims
Tools
Miter saw
Drill press with 2" drill bit
Bow saw
Hammer
Chisel
Vice
Small sledge hammer
Router for log furniture
Hack saw
Welder
Instructions
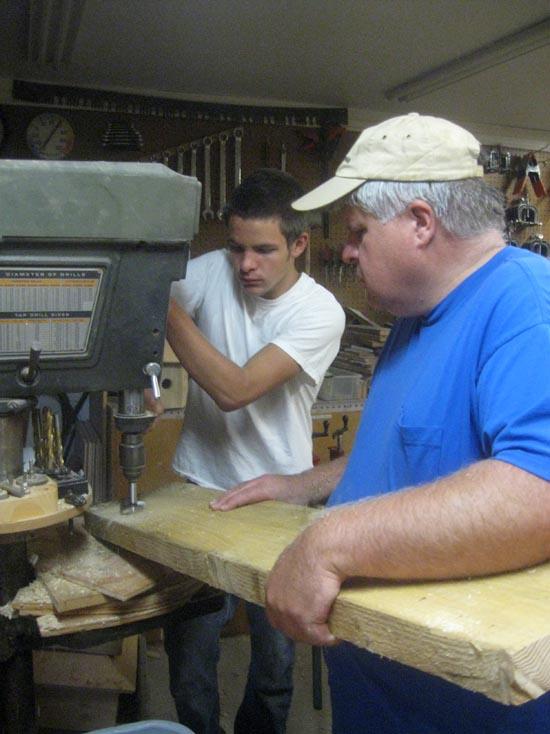
Start with an 8' rough sawn 2x8. Cut it into two 4' pieces.
Drill 2" holes for the legs. The holes should be angled slightly outward in each direction.
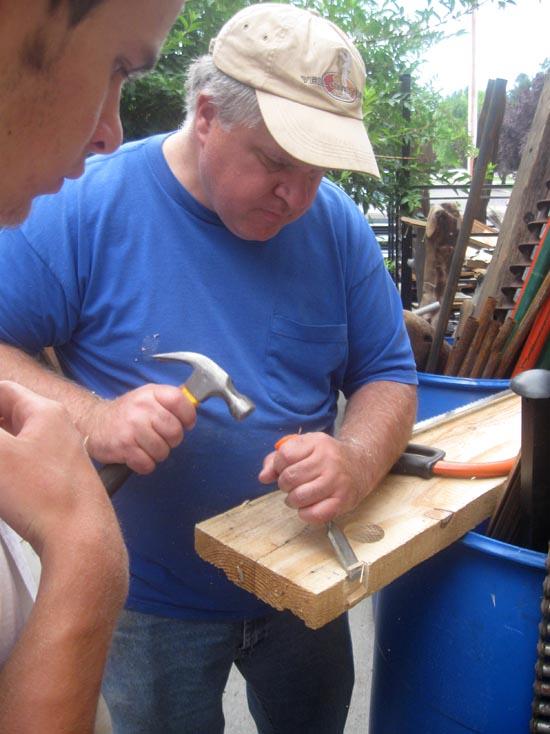
Use a bow saw and a chisel to make grooves for the steel strap to fit in.
Cut two 1.5"-wide steel straps for each bench. They should be about 16"-18" long.
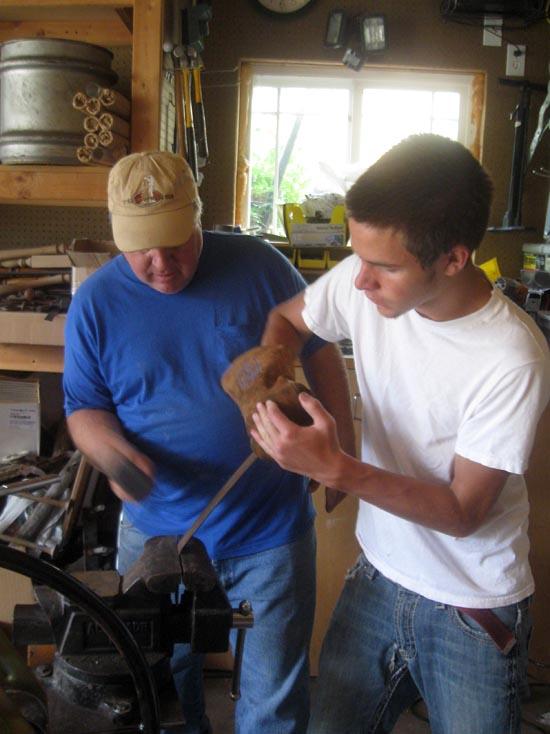
Use a vice and a hammer to make the first two bends. This will give you a "U"-shaped piece that will fit around the bench seat.
Bend the metal around the underside of the bench.
Cut four 3"-diameter logs about 2.5' long.
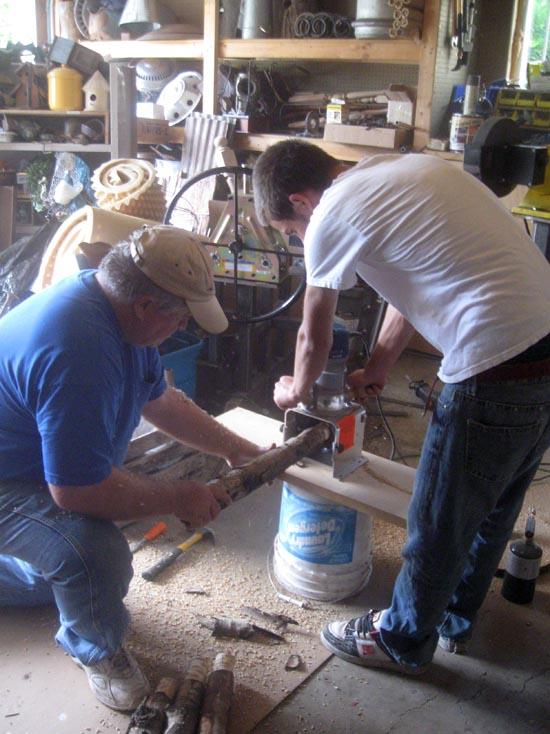
Use a router to reduce one end of each log to 2" diameter for the top 3"-4".
Use a table saw with the blade all the way up to cut a groove in the routered end of the logs.
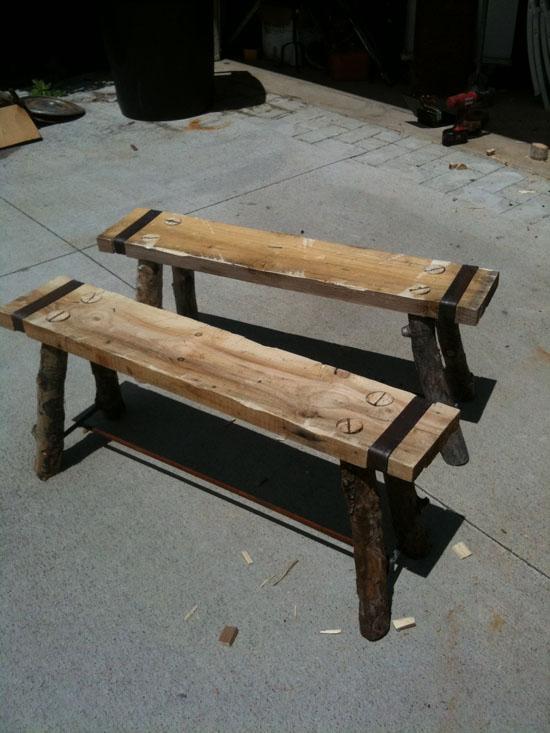
Insert the four legs into the bench top as far as they will go.
Measure and mark where your metal braces will go.
Remove the legs.
Drill holes in the legs for the braces.
Insert the short braces into each pair of legs.
Insert the legs back into the bench.
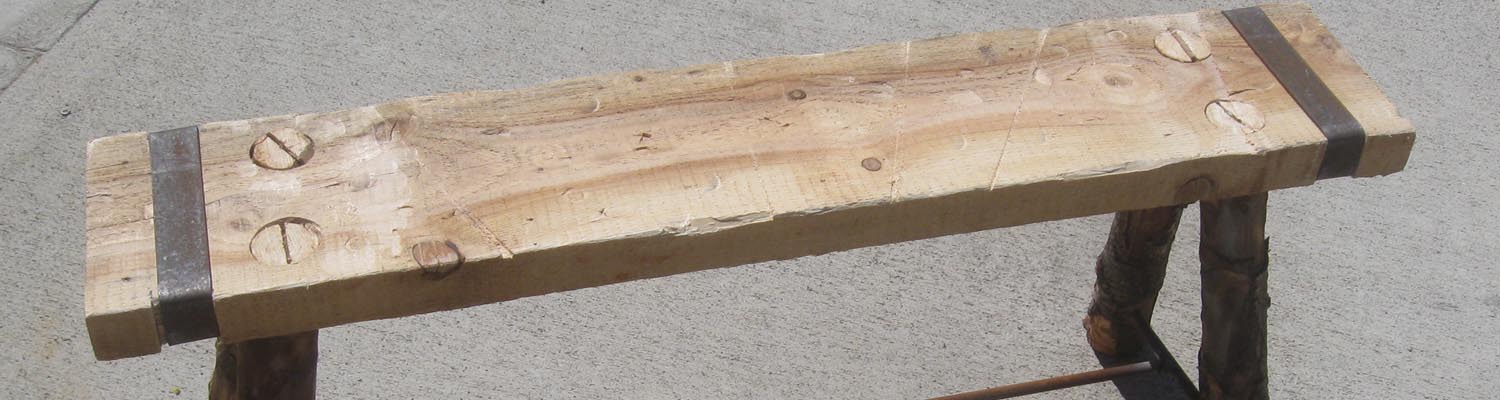
Cut the tops of the legs off flush with the top of the bench.
Hammer shims into the grooves. This will cause the legs to expand and become wedged in the bench.
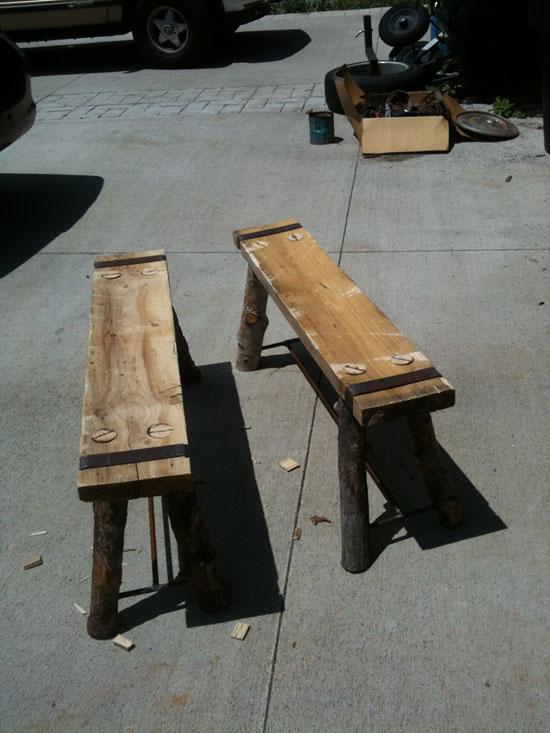
Measure and cut the center brace.
Weld the center brace to the two short braces.
Cut the bottoms of the legs off so the bench sits level.