August 20, 2011-January 10, 2012
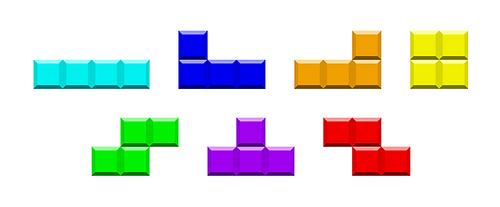
Pretty much everyone is familiar with Tetris. The pieces in Tetris are created by combining 4 squares in different combinations.
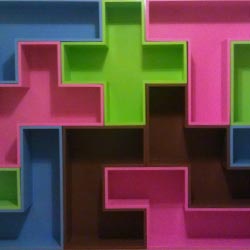
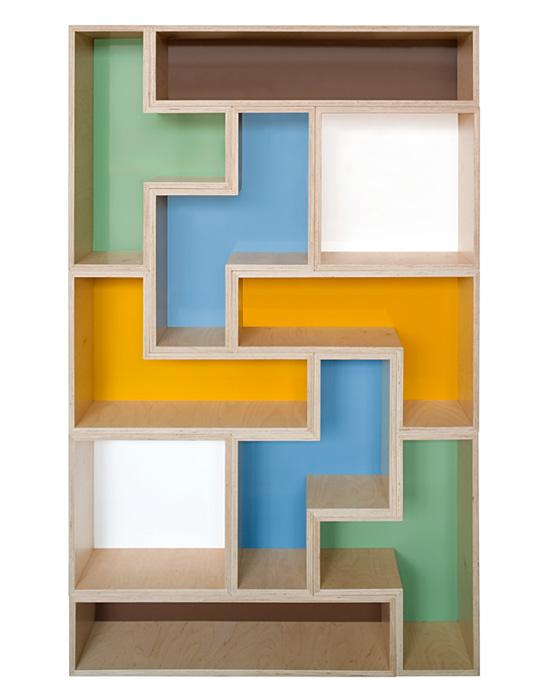
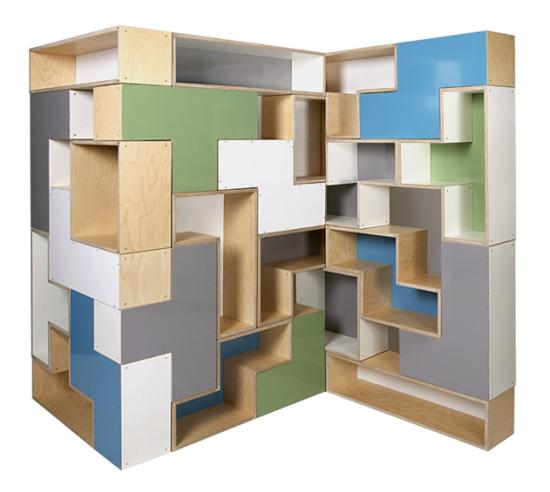
Several people have made Tetris shelves:
Someone even put the steps on instructibles. The cool thing about these shelves is that they are modular—you can rearrange them to fit any room. They can even bend around corners or go in the middle of the room.
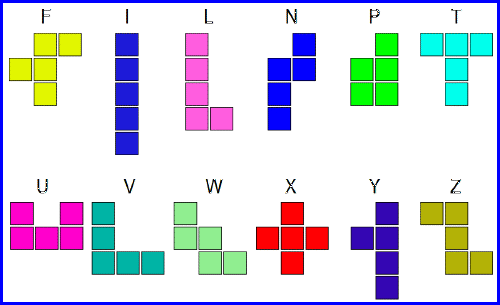
Pentominoes are similar to Tetris pieces but they have 5 squares. Excluding mirror images, there are 12 Pentomino pieces for a total of 60 squares (roughly 60 square feed of shelving).
Now at this point, it's important to note that half of the pieces have a definite front and a definite back. When you flip the I piece around, you get the same shape. However, when you flip the F piece around, it's a different shape. This means that you have to decide if you want the F piece or the reverse F piece in your set.
These pieces don't change when you flip them: I, T, U, V, W, X
These pieces do change when you flip them: F, L N, P, Y, Z
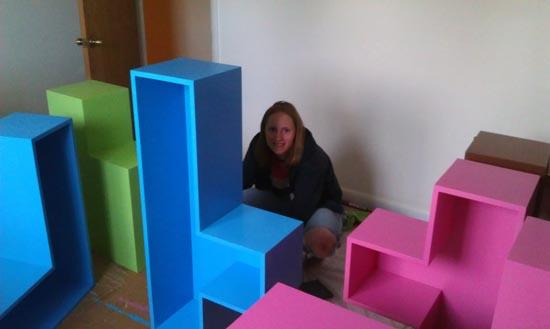
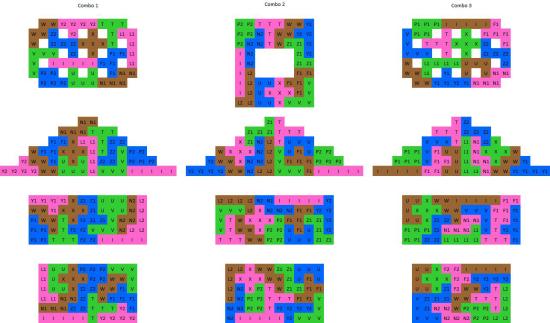
I made a really complicated spreadsheet to help me decide which pieces I wanted reversed. I decided to paint the shelves 4 different colors (3 pieces in each color). These are my three favorite combinations:
We ended up building combo 3 because the pyramid shape can be split into two triangles. Combo 2 is also cool because you could put a TV or something in the middle hole. Several good resources for Pentomino solutions are Gerard's Universal Polyomino Solver that allows you to find solutions for custom shapes, and http://www.asahi-net.or.jp/~rh5k-isn/Puzzle/Pentominoes/ that has solutions for all 2d and 3d regular Pentomino shapes. You can also contact me for help using my spreadsheet.
All shelf pieces are 3/4" MDF.
Shelf backs are in this CAD file. All the squares were 11 inches by 11 inches.
The side pieces are given in the following table:
| Piece | Number of Pieces of Each Length | ||||||
|---|---|---|---|---|---|---|---|
| 10.25" | 11" | 21.25" | 22" | 32.25" | 43.25" | 54.25" | |
| F | 3 | 5 | 1 | 1 | |||
| I | 2 | 2 | |||||
| L | 2 | 1 | 1 | 1 | |||
| N | 2 | 3 | 1 | 1 | 1 | ||
| P | 1 | 2 | 2 | 1 | |||
| T | 3 | 2 | 2 | 1 | |||
| U | 1 | 4 | 2 | 1 | |||
| V | 2 | 2 | 2 | ||||
| W | 2 | 6 | 2 | ||||
| X | 4 | 8 | |||||
| Y | 3 | 3 | 1 | 1 | |||
| Z | 2 | 2 | 2 | 2 | |||
| Total | 25 | 37 | 11 | 9 | 7 | 2 | 2 |
In addition to the wood, you will need the following materials:
| Quantity | Item | Total Price |
|---|---|---|
| 300 | 2" Wood Screws | $13 |
| 1 jar | Wood Putty | $6 |
| 2 gallons | Primer | $38 |
| 4 gallons | Paint | $108 |
| 1 gallon | Polycrylic Finish | $18 |
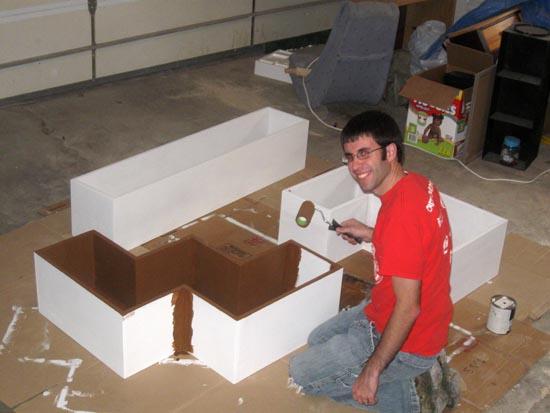
I had my dad cut out the backs on the CNC machine at his work.
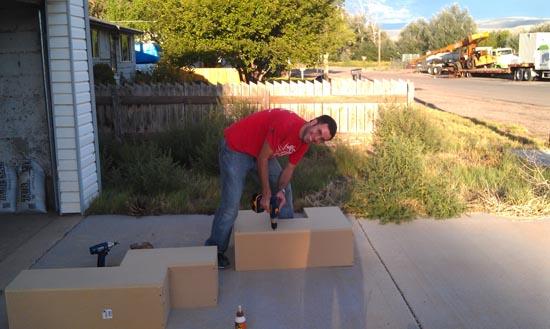
We used 3/4" MDF for the backs and the sides. All the side pieces were 10.25" wide, so we used the table saw to rip all the MDF to 10.25". Then we used a miter saw to cut the wood to the lengths given in the Materials tab.
Then we glued and screwed everything together (remember to pre-drill and to counter-sink the screws). It's really important that you're very precise through all of this otherwise the shelves won't stack together very well.
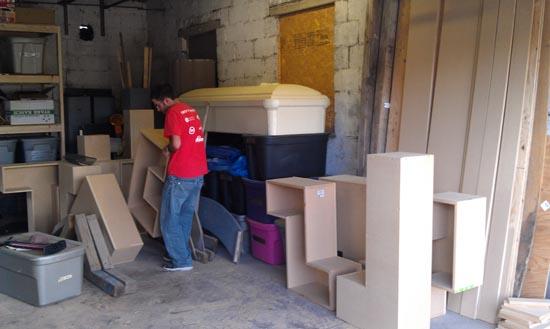
Then we sanded all the joints and the corners (this step took forever).
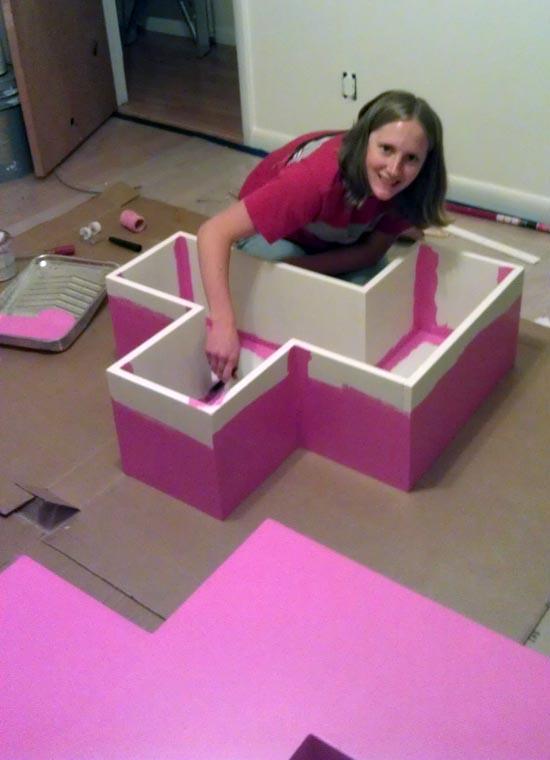
We puttied all the holes and sanded some more.
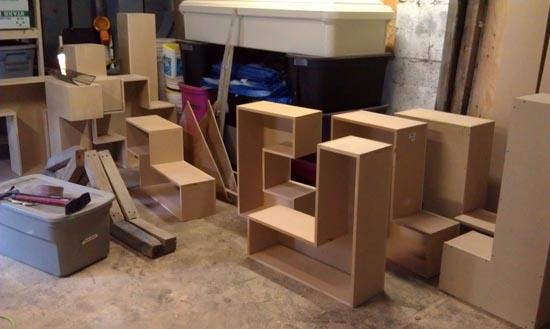
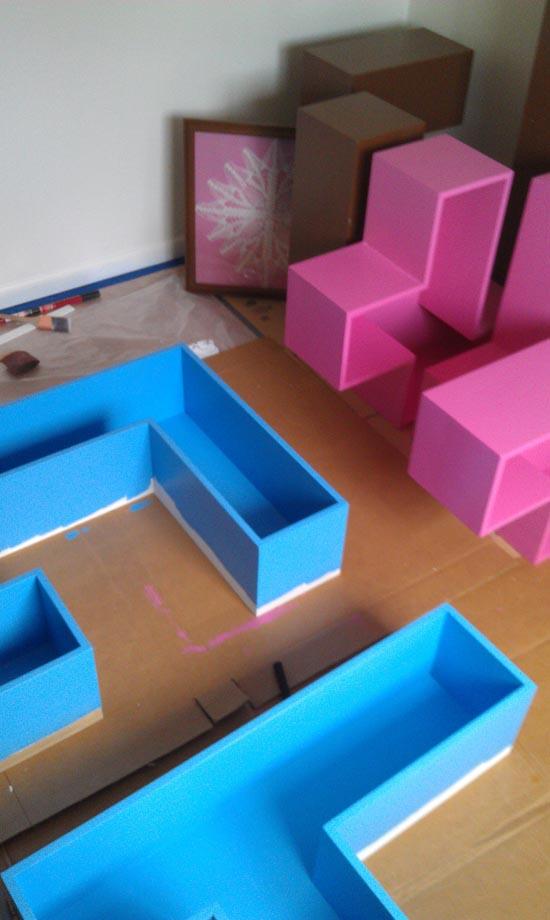
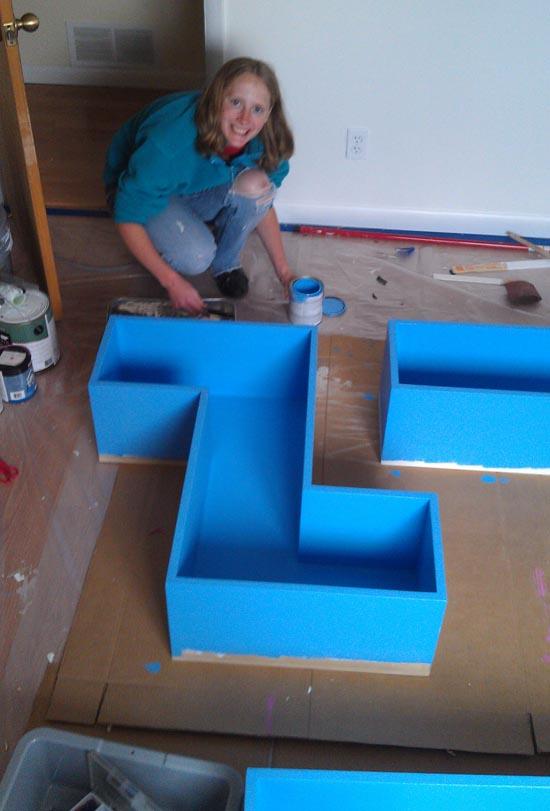
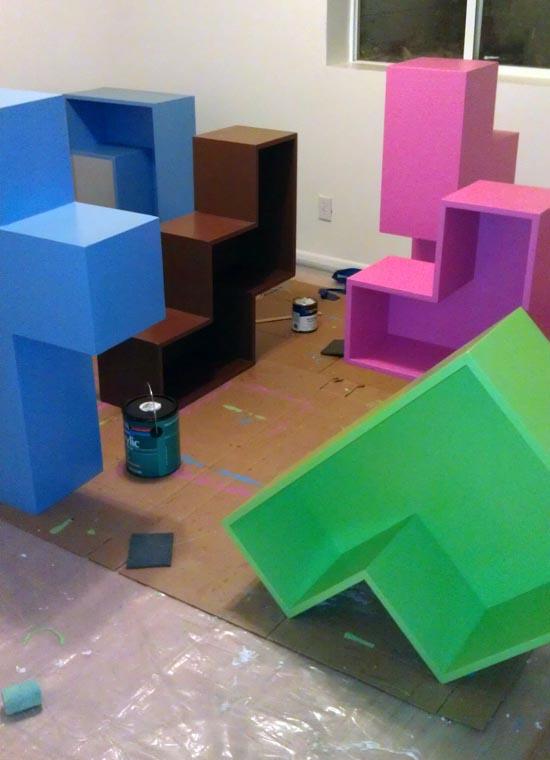
Then we primed and painted.
Then we varnished.
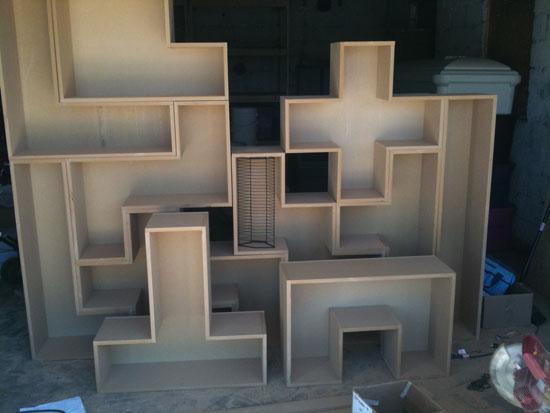
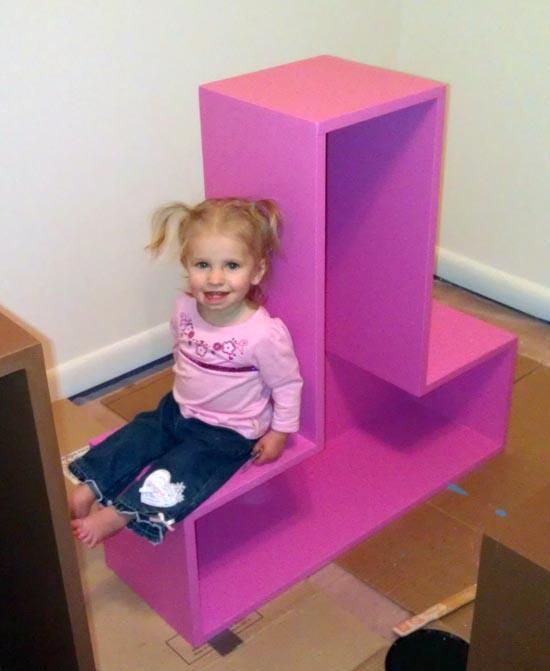
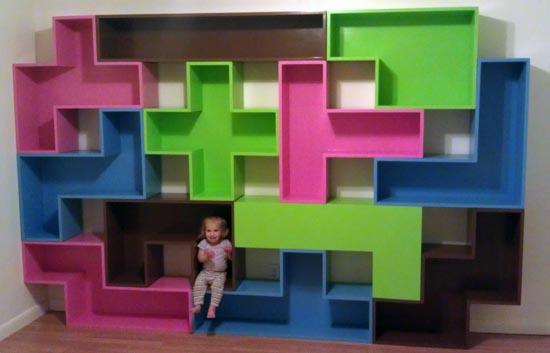
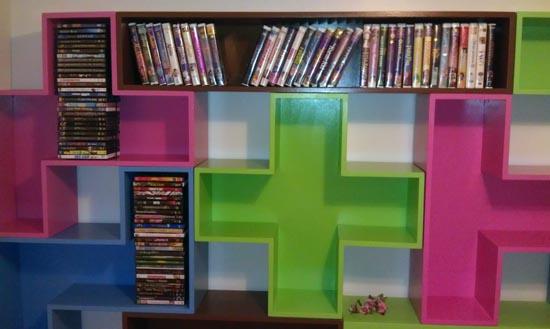
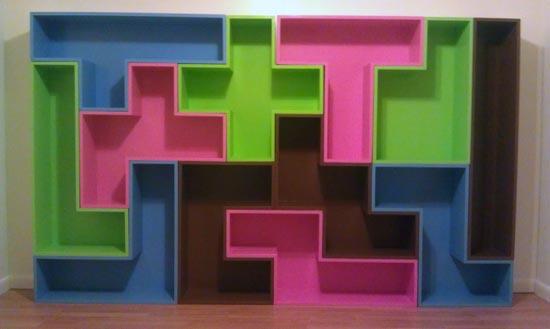
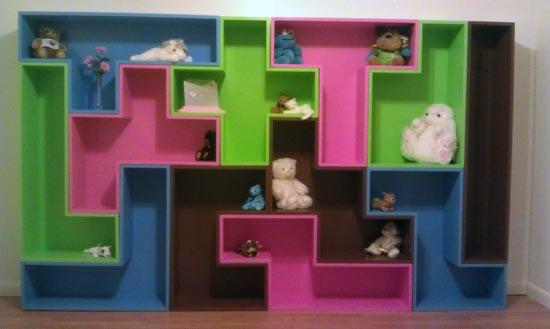
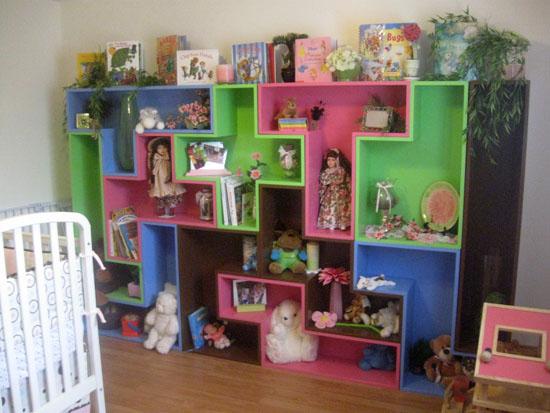
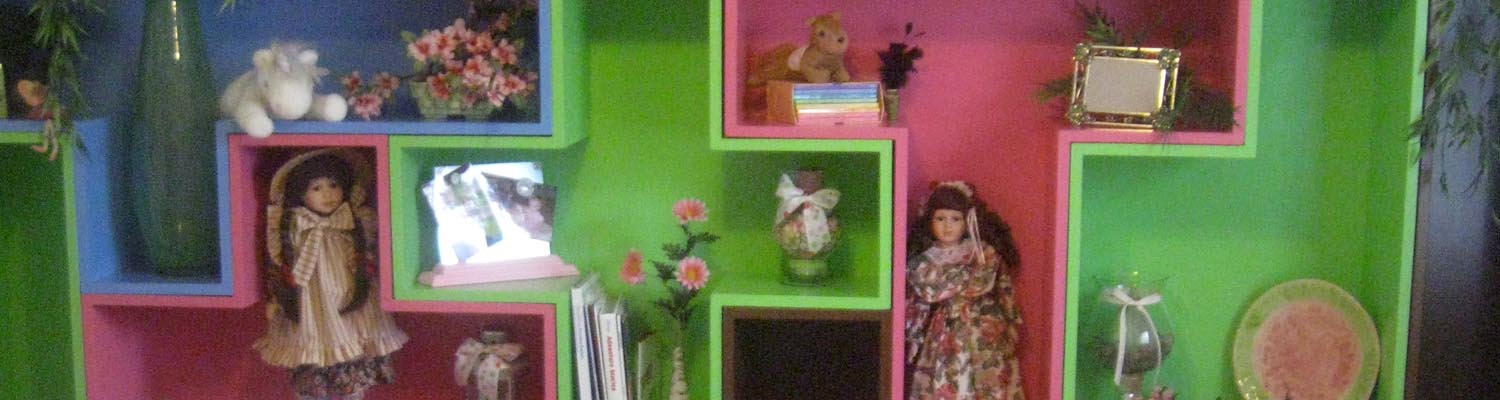
The finished Pentomino Shelves:
I accidentally built the "L" (green) backwards, so the cool 11x7 pattern with holes didn't work out.
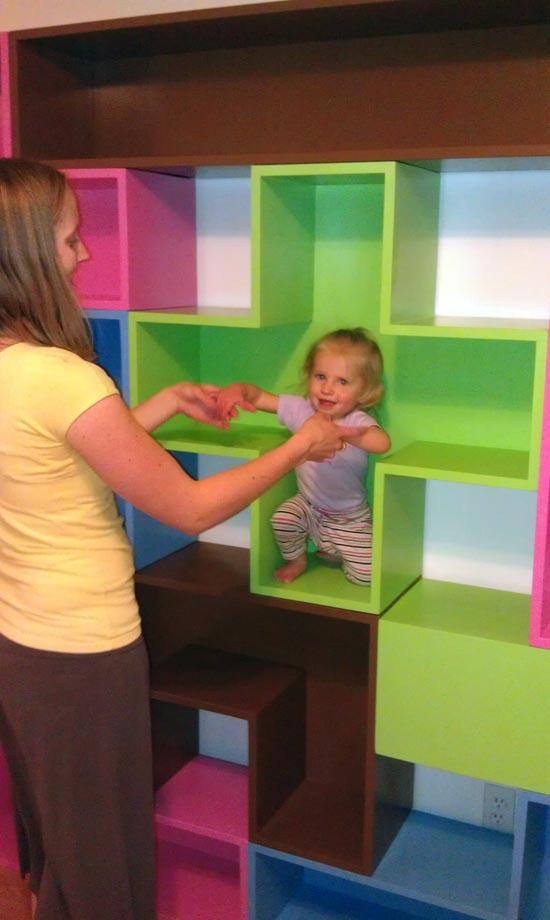
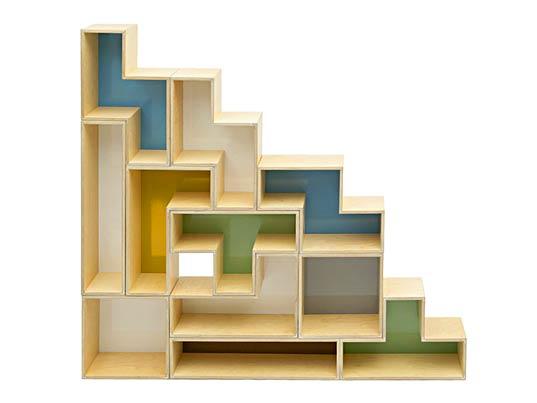
However, there are still lots of patterns we can make with the pieces. These Pentomino shelves can be repositioned and stacked in hundreds of different combinations, so they are very modular shelves.
They can even go around corners and windows. These shelves are very bright and colorful, giving a modern splash to any kids room.