We built this awesome playground in the backyard for the kids. It has tons of fun stations to play on including monkey bars, a wobble bridge, stepping logs, tarzan ropes, climbing tires, a fire pole, a balance beam, swings, and a zipline.
10 months
$800.00
August 20, 2012-May 18, 2013
I've had the idea to build a playground for quite some time. Probably ever since my dad built a play center for us kids.
The first several ideas for our playground were pretty traditional. It had an octagon platform with a slide, monkey bars, a fire pole, a tractor tire, and some swings. Here is one iteration drawn in Sketchup.
But we kept running into design flaws. For example, the firepole dropped people into a window well. And the large swing could potentially hit someone coming down the slide.
And it didn't quite have the right feel.
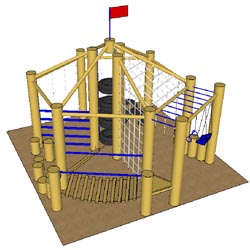
So we went back to the drawing board. While looking for ideas on the internet, I came across a style of playground that was exactly what I was hoping for. It's called an assault course or a trim trail. Here is our final design.
The general idea of a trim trail is that there are a series of exercise stations. Kids can start at one point on the playground and navigate all the way around it without ever touching the ground.
After looking at these pictures, you probably have no idea what is going on. We have space constraints, so there's a lot packed into a small area. The entire playground is about the size of a trampoline. I'll explain each piece:
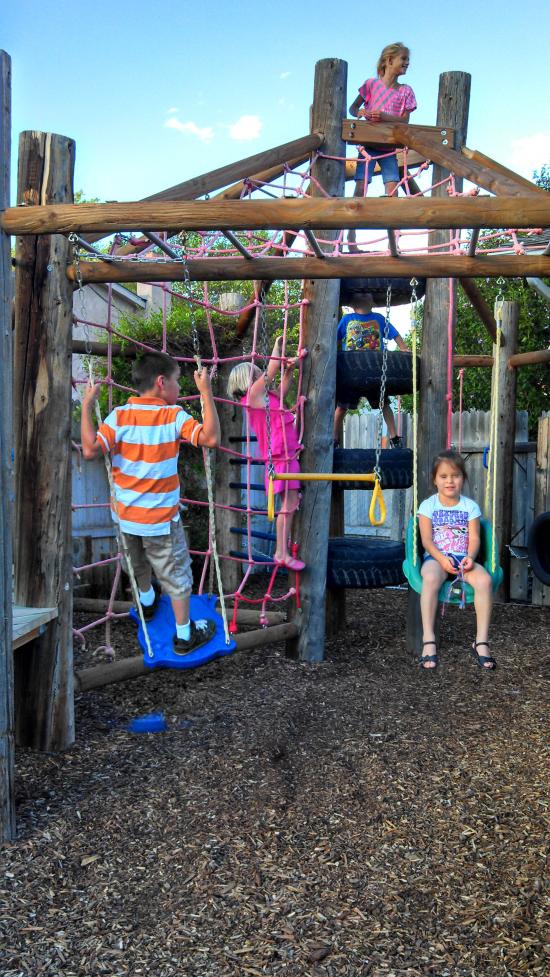
The first station is the monkey bars. My monkey bars also double as the ending point for a zipline, which starts on the other end of the yard.
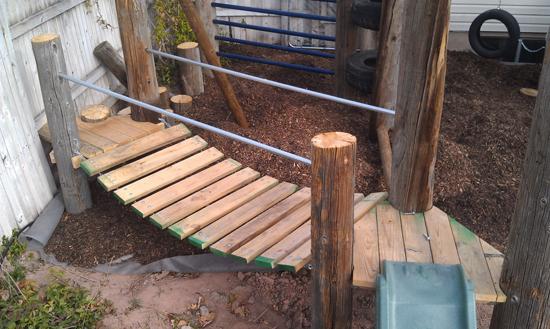
Going clockwise, the next station is a wobble bridge.
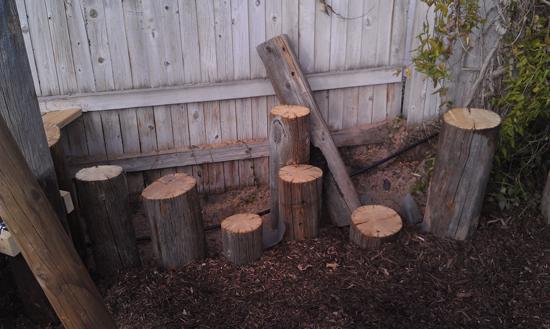
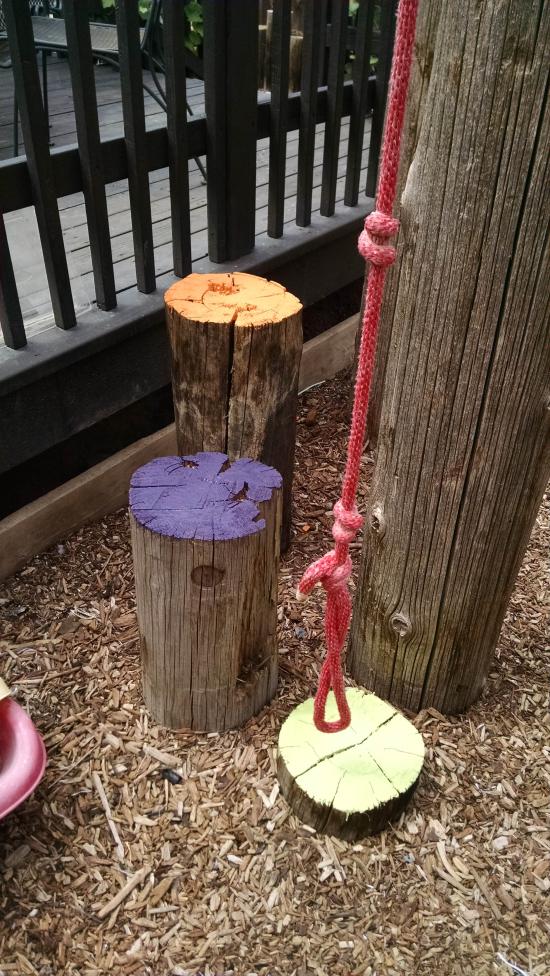
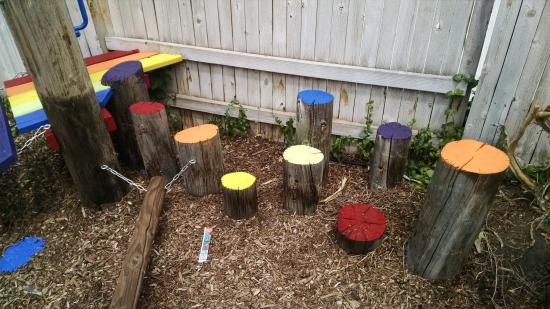
The next station is stepping logs.
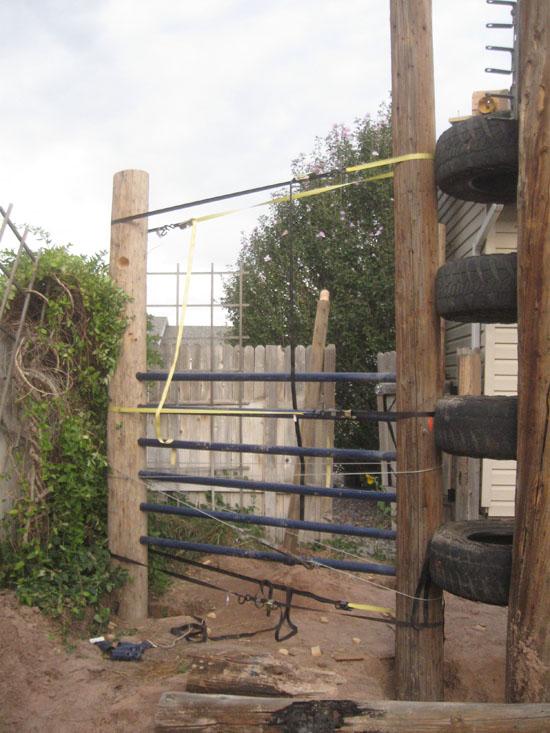
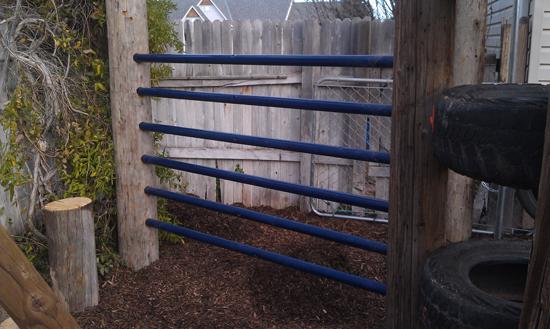
Then you have to go over the log ladder, which in my case are actually metal poles.
Next is a slackline.
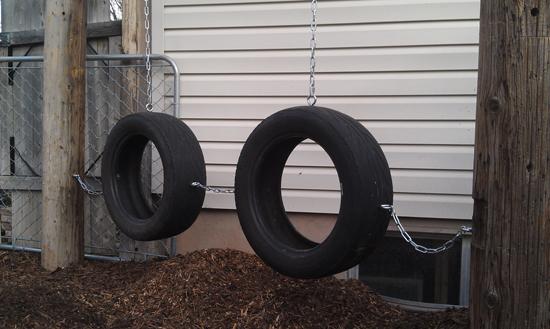
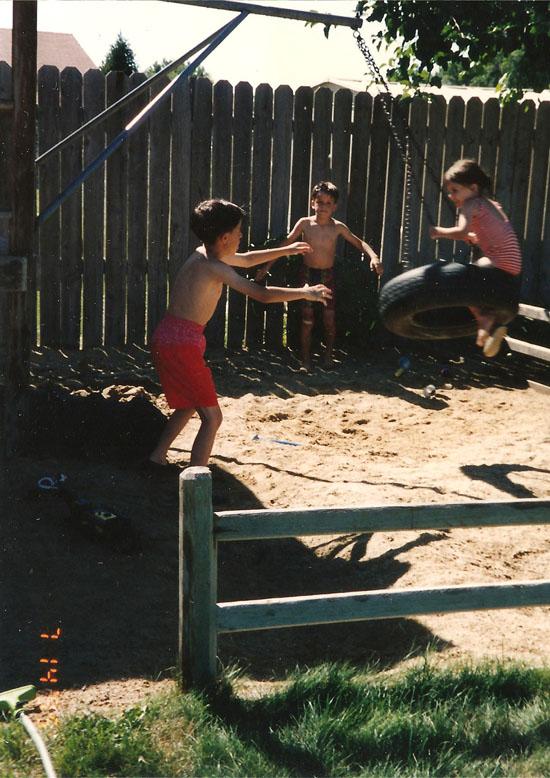
Next are tires swings. But instead of swinging in them like traditional tire swings, you have to step from one tire to the next.
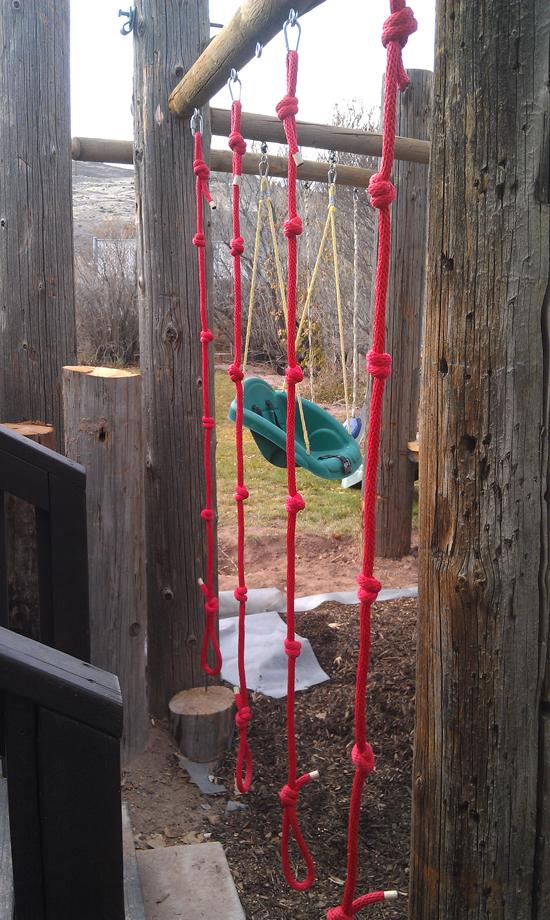
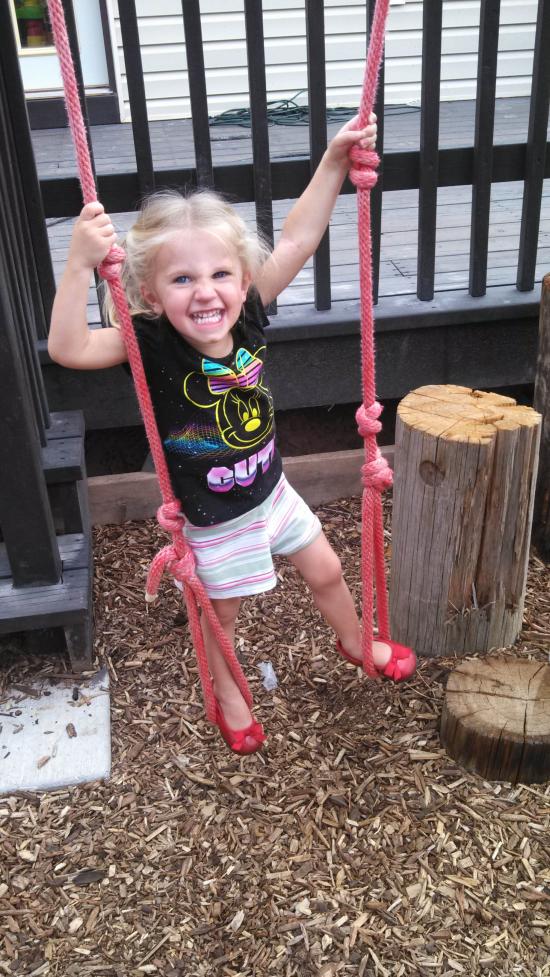
The last station around the perimeter is the Tarzan ropes.
In the middle is a tire climb, but with just one set of tires, not two like in the picture.
Radiating from the center to several of the outer corners are additional stations.
One is a tractor tire buried in the ground so it makes an arch.
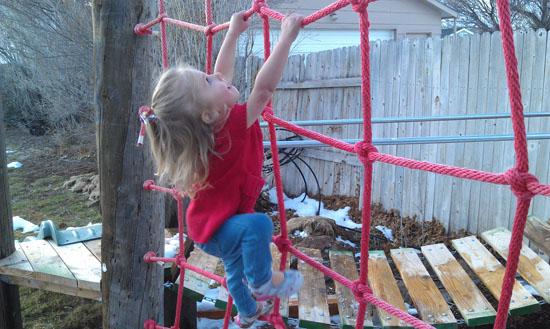
Another is a rope net wall.
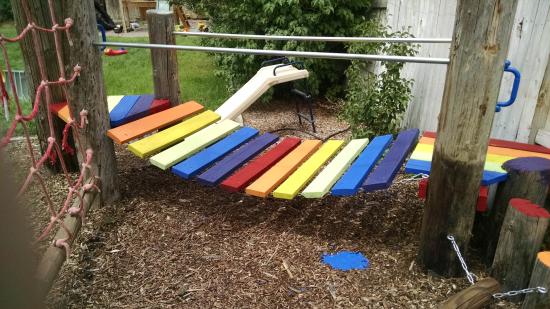
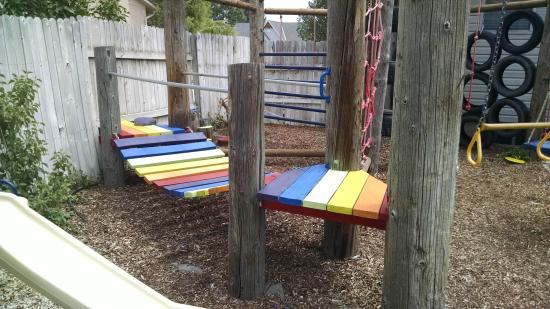
The last is a wobble balance beam.
There is also a fire pole accessible from the tire climb.
_550w.jpg)
_550w.jpg)
_550w.jpg)
_550w.jpg)
_550w.jpg)
_550w.jpg)
_550w.jpg)
_550w.jpg)
_550w.jpg)
_550w.jpg)
_550w.jpg)
_550w.jpg)
_550w.jpg)
_550w.jpg)
_550w.jpg)
_550w.jpg)
_550w.jpg)
_550w.jpg)
_550w.jpg)
_550w.jpg)
_550w.jpg)
| Quantity | Item | Total Price |
| 6 | Utility Poles, 40' long | $0.00 |
| 14 | Round Wood Posts, 4.5" diameter, 103" long | $133.18 |
| 140' | Rope, 5/8" Solid Braided Polyester | $32.75 |
| 40' | Straight Chain | $31.98 |
| 4 | Large Tires | $0.00 |
| 2 | Small Tires | $0.00 |
| 1 | Tractor Tire | |
| 1 | Fire Pole, 1-3/8" diameter, 10.5' long | $11.31 |
| 2 | Bridge Hand Rails, 1" diameter, 8' long | $13.90 |
| 8 | Monkey Bars, 1" diameter, 3' long | $20.85 |
| 5 | Log Climber Bars, 2" diameter, 6' long | $20.00 |
| 1 | 4x4, 6' long | $0.00 |
| 10 | 2x4 Bridge Rungs, 3.5' long | |
| 19 | 3/8" x 4.5" Eye Lags | $18.62 |
| 2 | 5/16" x 6" Eye Lags | $1.46 |
| 6 | 3/8" x 2.5" Eye Bolts | $4.92 |
| 18 | Lag Bolts | $14.24 |
| 50 | 3/8" Carriage Bolts | $12.32 |
| 4 | Liquid Nails | $19.92 |
| 1 | Trapeze Bar | $5.00 |
| 100 | 3/8-16 Hex Nuts | $9.57 |
| 50 | 3/8 Washers | $6.28 |
| 30 | S Hook | $5.75 |
| 4 | Quick Link | $9.92 |
| 2 | Swing Hardware | $8.52 |
| 8 | Simpson 2x4 Hanger | $6.08 |
| 4 | Playground Handles | $21.36 |
| Screws | ||
| Landscaping Fabric | ||
| Wood Chips | ||
| Concrete |
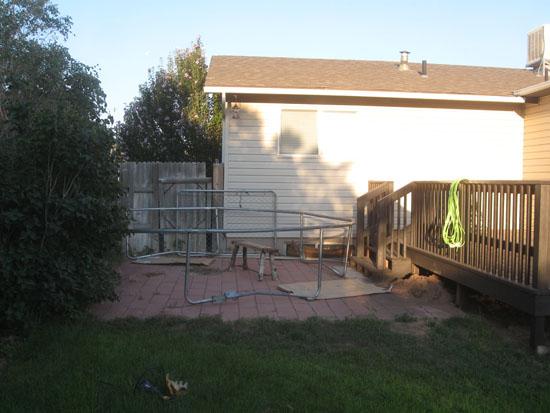
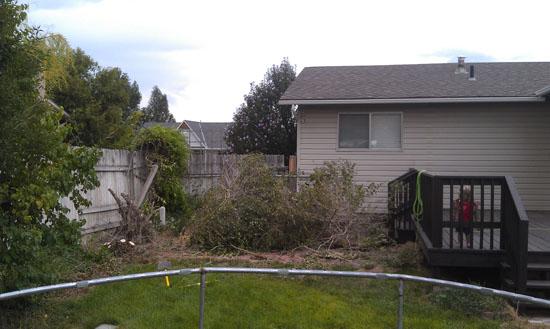
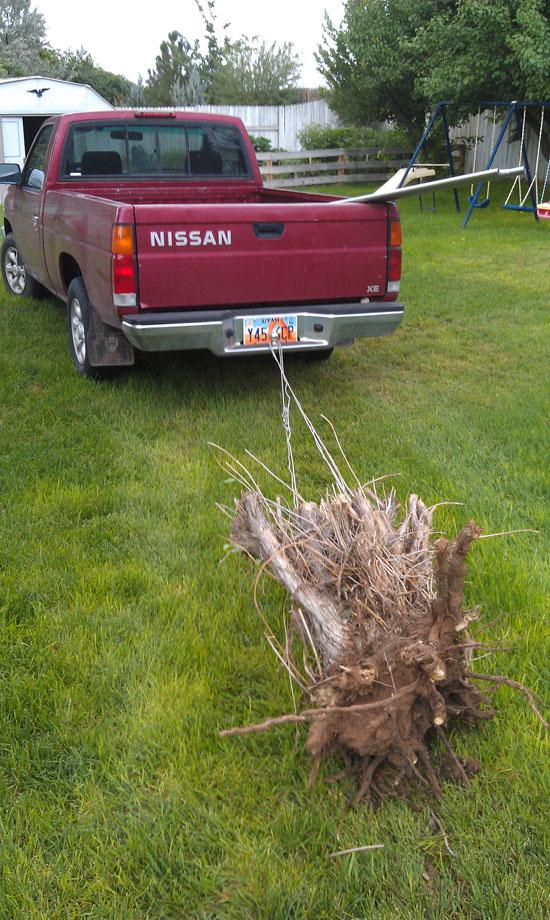
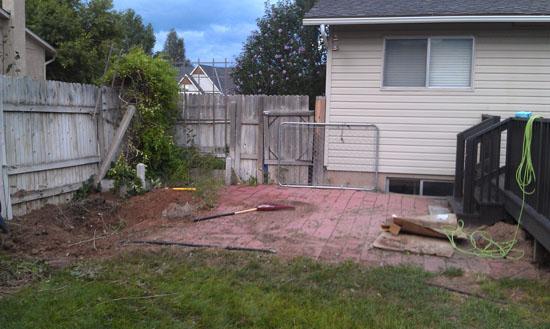
The first thing I had to do was remove a large, 30-year-old lilac bush and a large, 30-year-old honeysuckle bush. Once those were out of the way, I had to take out all the pavers and remove the sand that was under them. The pavers went to Ray's house.
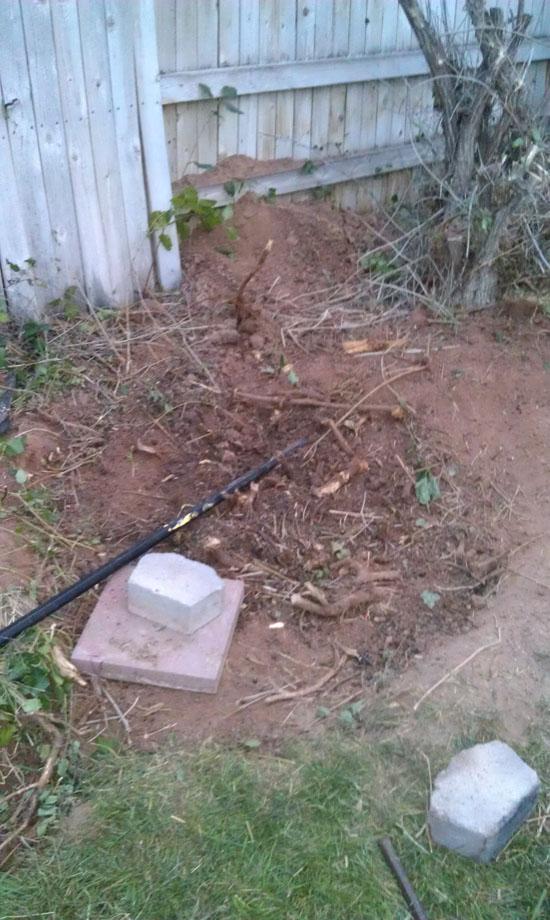
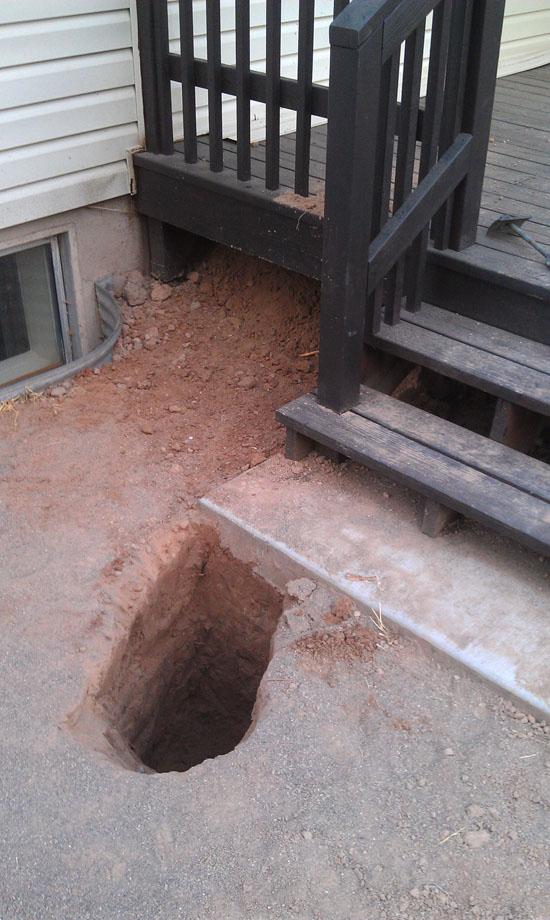
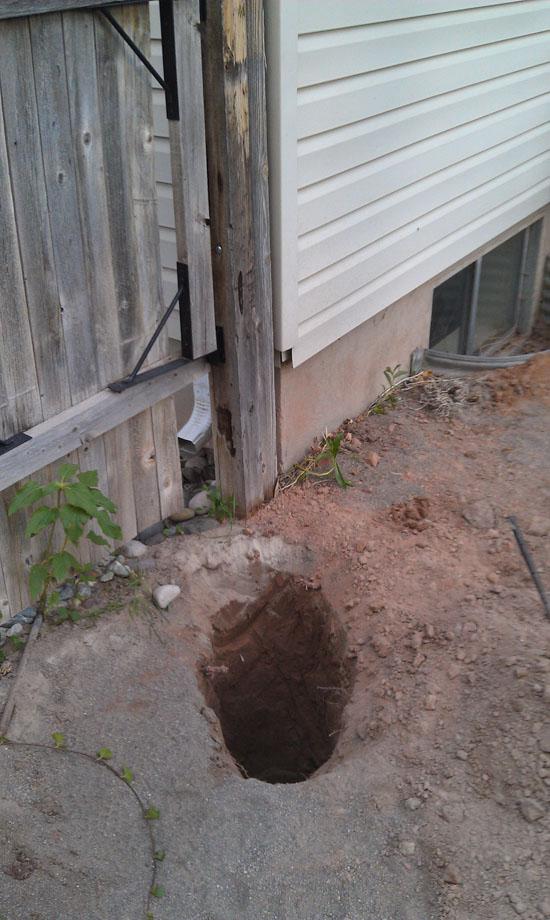
Then came the digging.
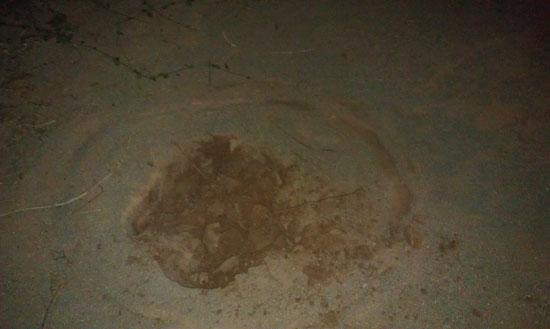
I dug a hole 3' deep for the 3 utility poles in the middle.
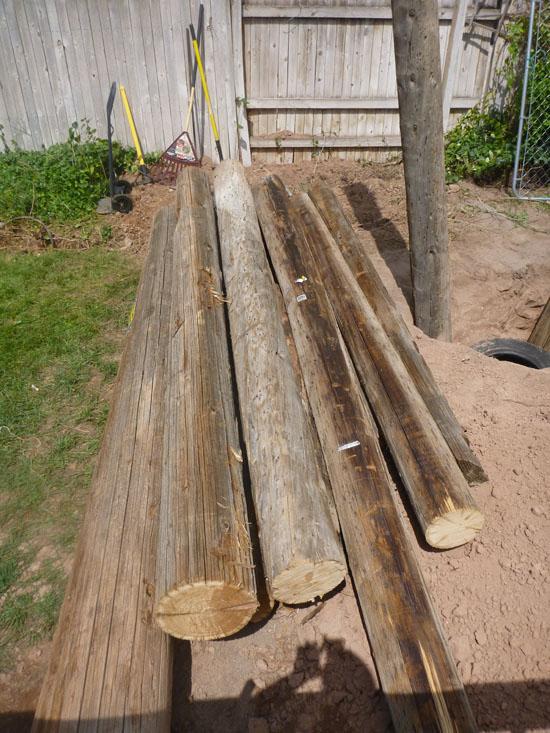
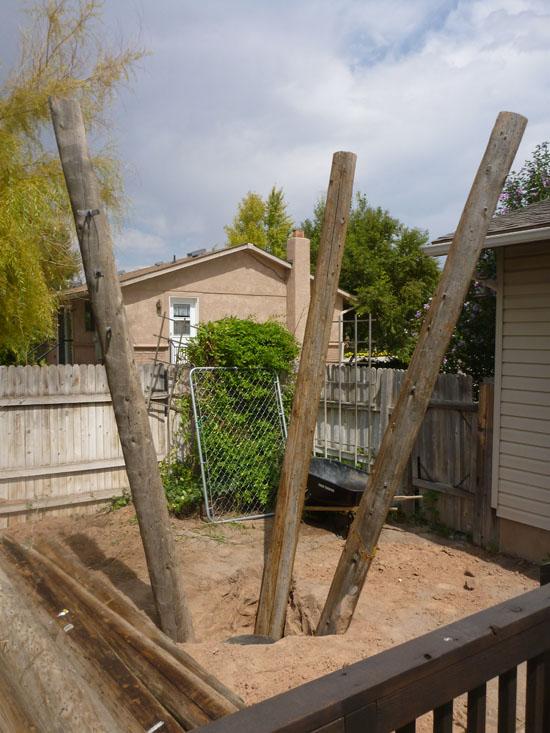
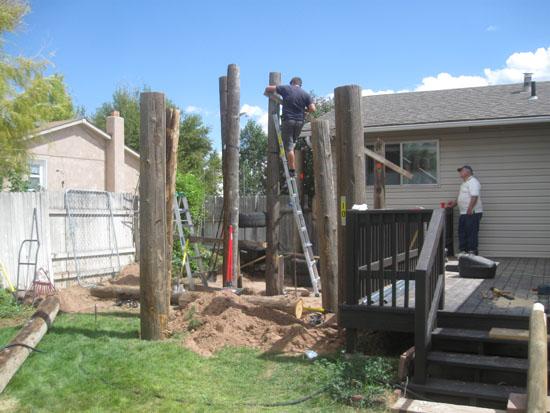
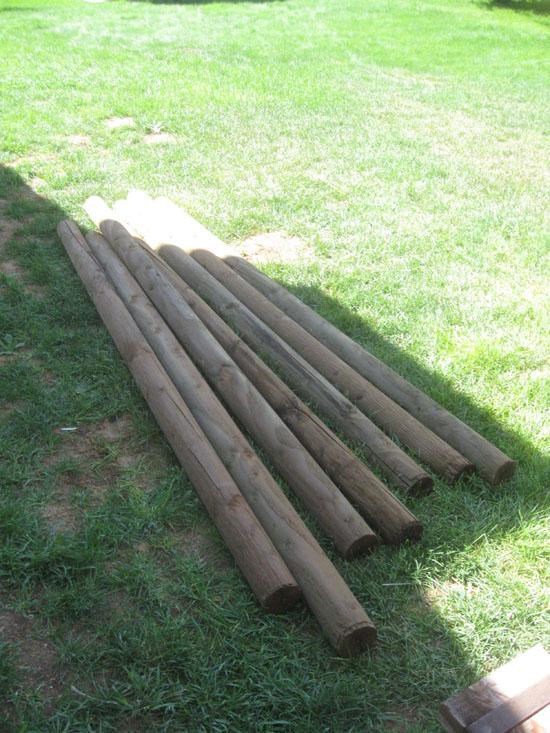
Kendrick helped me cut, load, and unload the first batch of utility poles. He also helped me stand the 3 center poles upright in the hole. One of the tires is in the center of the hole keeping the poles mostly upright. That was definitely a 2-person job.
Then I dug the holes for the perimeter poles. They were about 3' deep too.
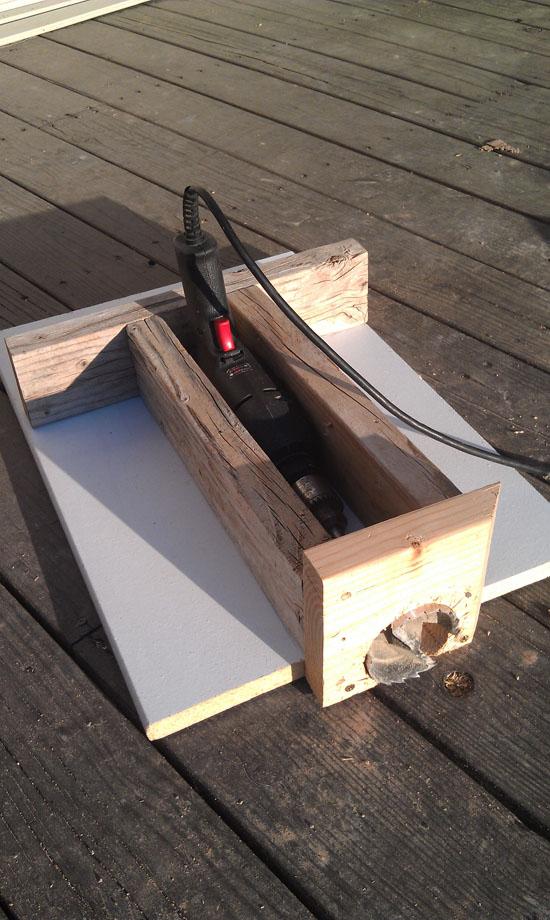
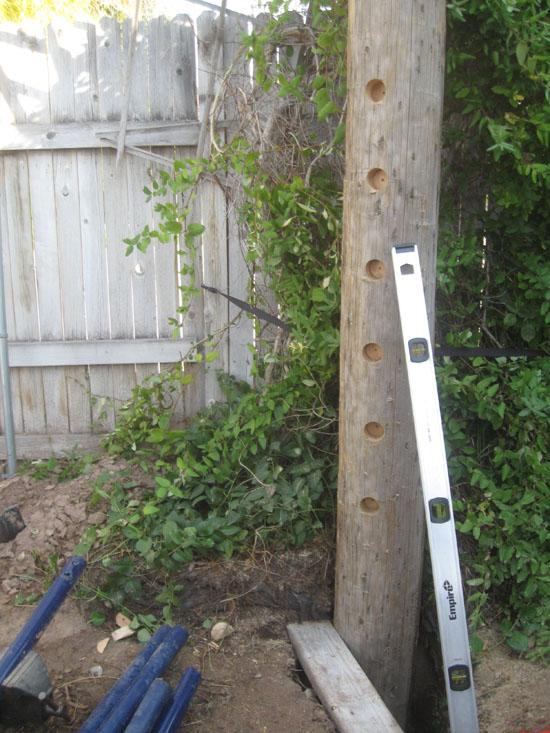
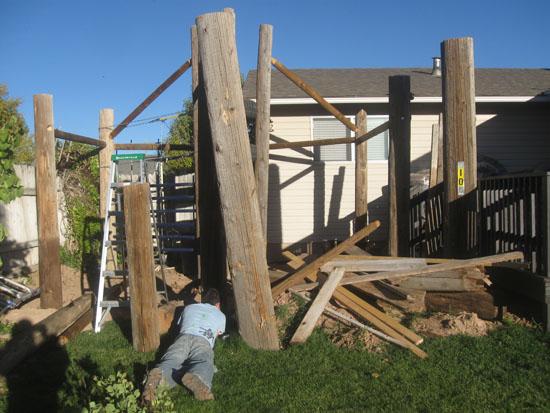
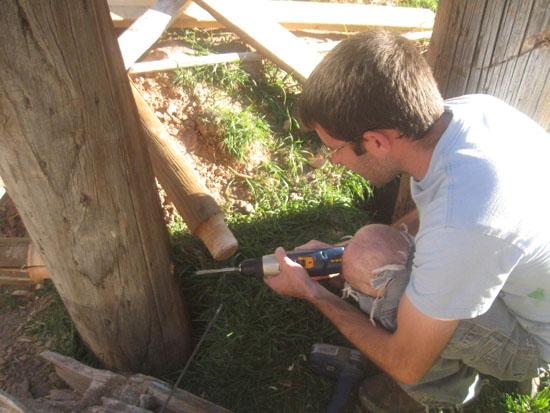
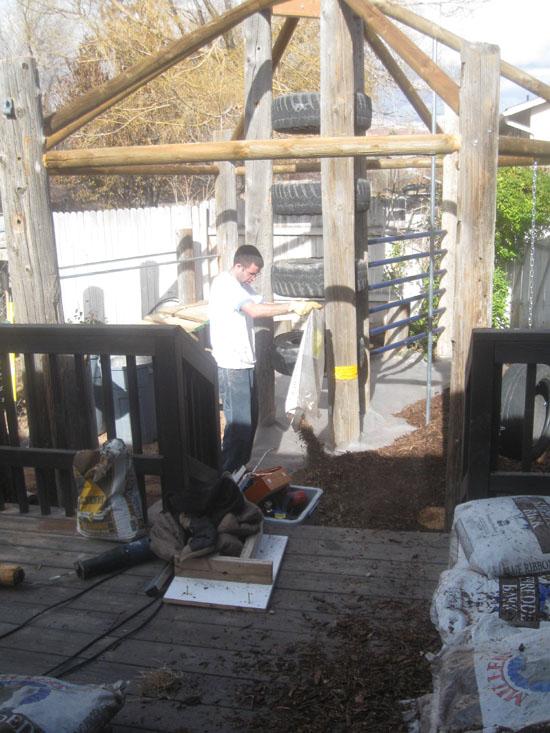
When family came to town to see the new baby, I put them to work digging and hefting. We got all the poles buried, at least all the pole that I had. We started drilling the 3" holes for the roof beams, but the drill kept jumping around because it's so big. I built a jig to hold the drill steady. It needed some tweaks though because the hole arced downward.
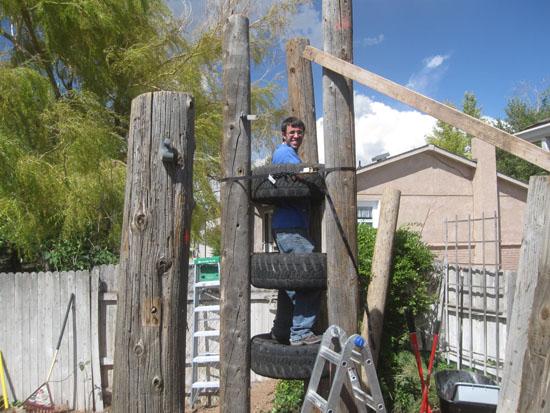
We bolted all the tires up the middle section. For the roof beams, we used 4" round fence posts from Home Depot. Getting the posts ended up being quite the ordeal because the Richfield Home Depot didn't carry this item. I finally had to order the posts from Cedar City over the phone and have them send the poles on a transfer truck. The whole process took most of a month.
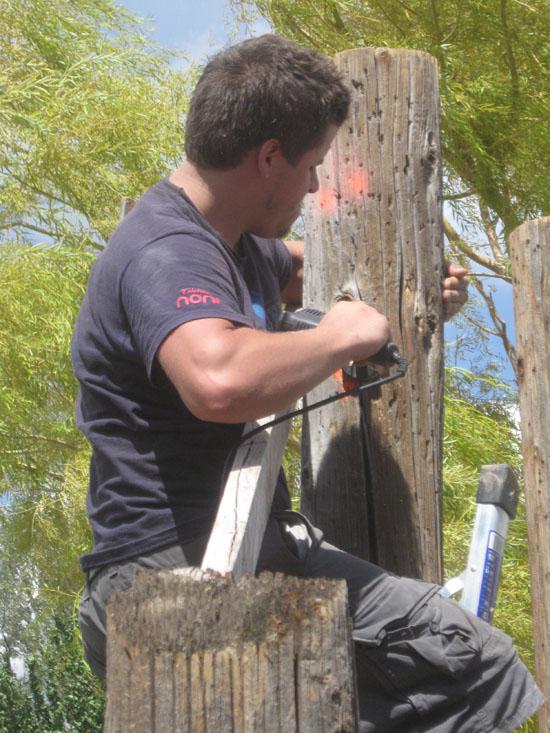
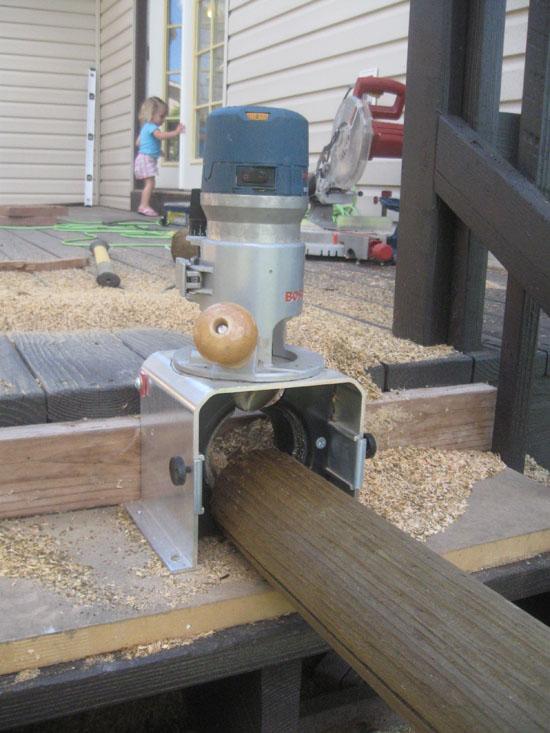
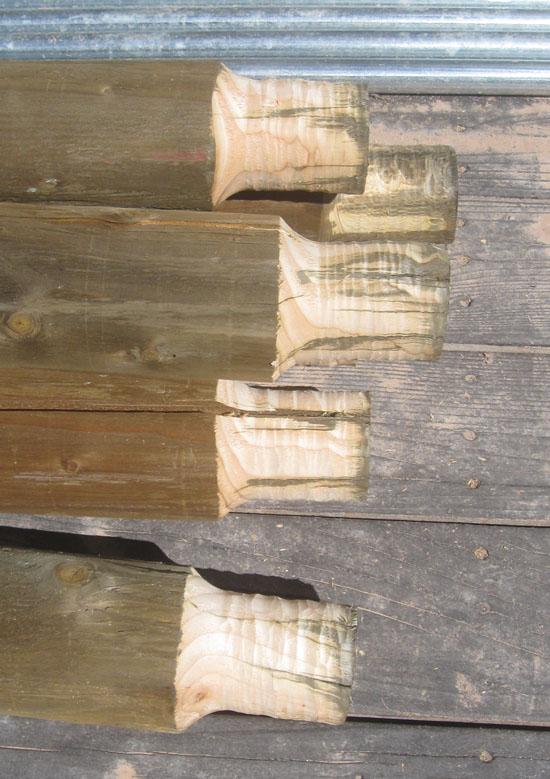
I borrowed my dad's tenon maker to carve the ends of the poles down to 3 inches. I cut the tenons about 3" deep.
Here is the first hole I drilled (with the Forstner drill bit). It took most of an hour to drill. As you can imagine, I didn't have to drill too many holes with the Forstner bit before I ordered a 3" hole saw on Amazon, which sped up the process considerably. I also had to buy a new drill because I burned out the motor on the first one.
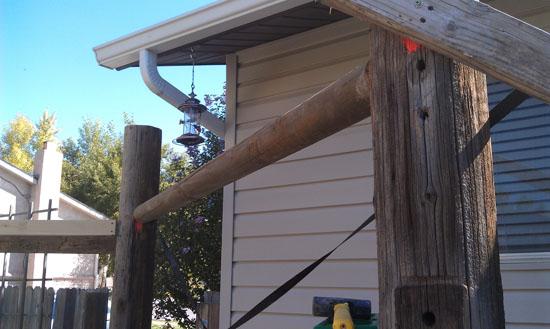
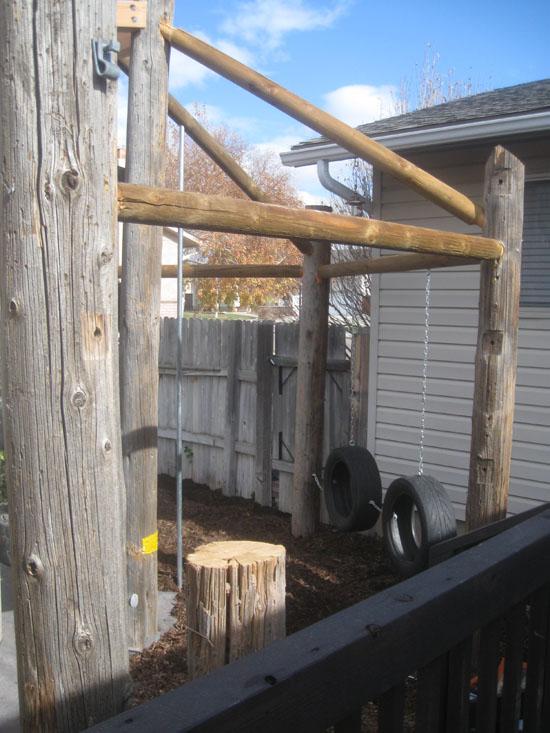
Here is the first roof beam in place but not yet glued or bolted.
The first 3 roof beams.
We found a great deal on bark. At Ace, wood chips normally cost $1.30 per cubic foot when you buy it by the tractor scoop. However Shokpo put their bagged wood chips on sale for $0.50 per cubic foot, so we bought 100 bags even though we weren't quite ready for wood chips yet.
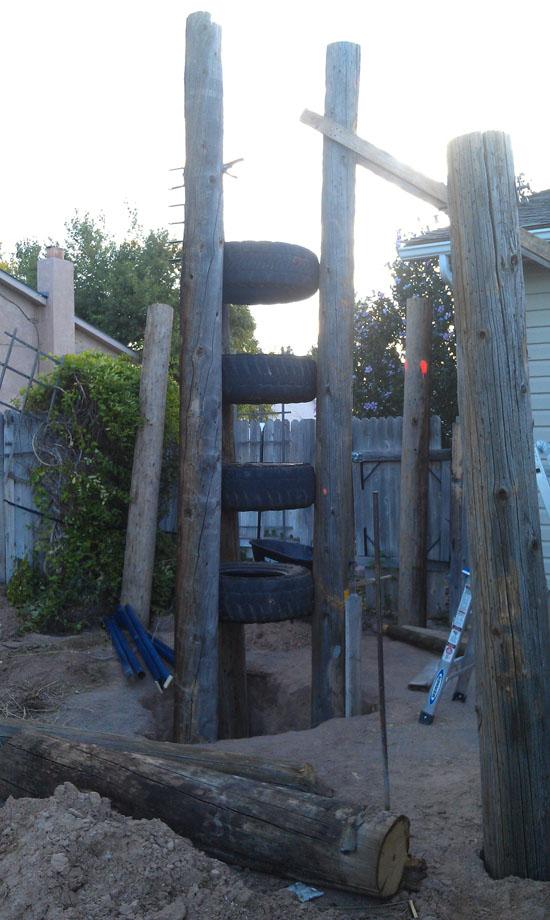
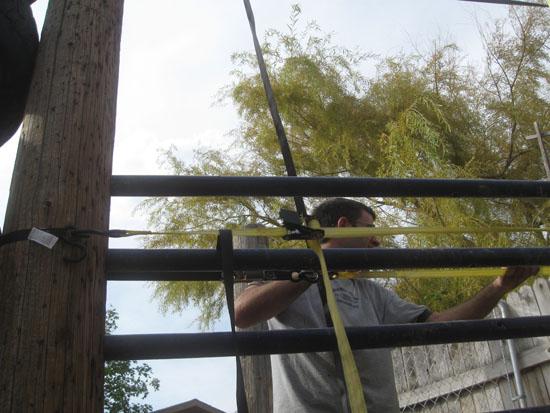
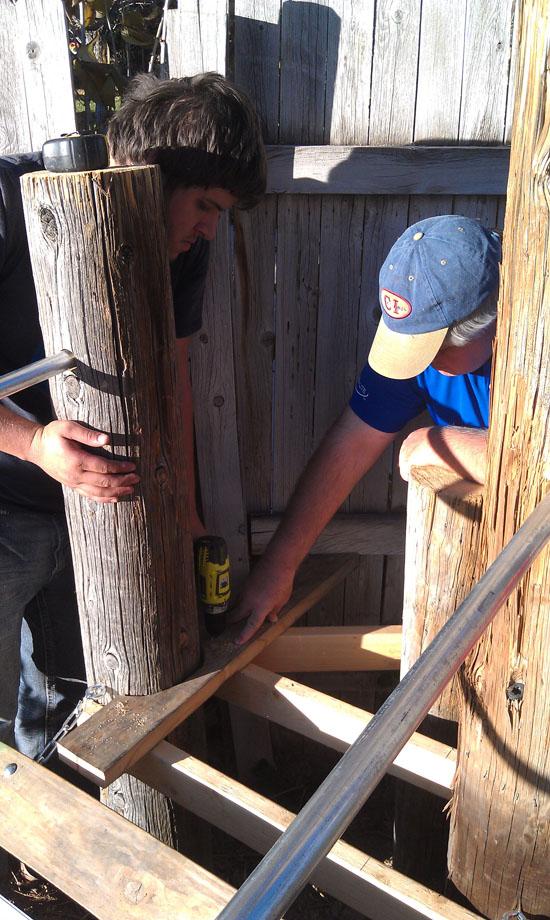
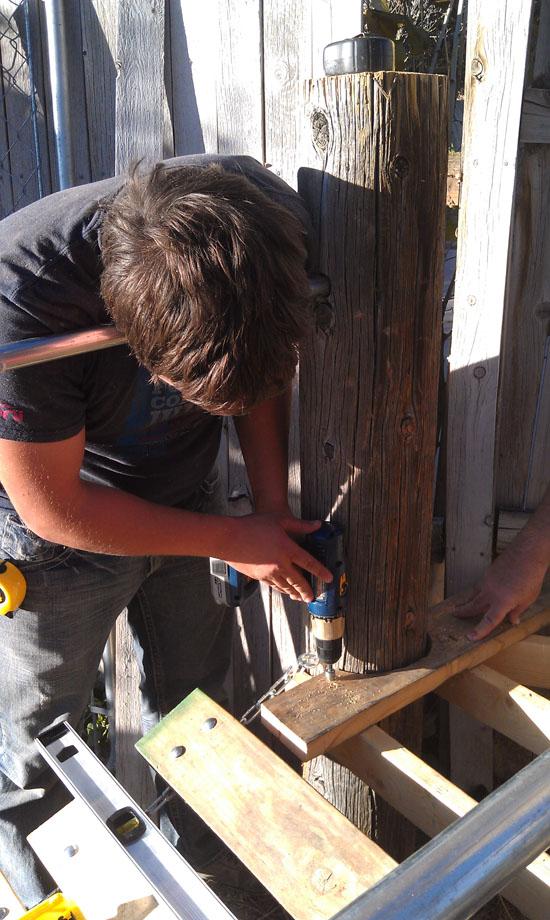
The next step in the construction process was the log climber. The way I built it required that the metal poles be inserted in the utility poles before the roof beams could be attached. If I were to go back and do it again, instead of drilling holes in the utility poles, I would weld all the metal poles to two metal plates and bolt the plates to the utility poles. That way I would avoid the hassle of trying to get all the metal poles to fit in at the same time. For the rungs, I used the metal legs from an old swingset. I inserted all the metal poles into the center utility pole then used the tie-downs to force the outer utility pole toward the center utility pole. It took lots of wiggling and shaking and pushing and pulling, but eventually they all came together.
Before I could put up the third diagonal roof beam, I first had to put in the beam to hold the bottom of the rope net. Since my bolts were only 10" long and some of the utility poles were over a foot in diameter, I had to countersink my bolts several inches. The only problem with this is that my socket kept getting stuck in the holes, and it was really hard to get back out.
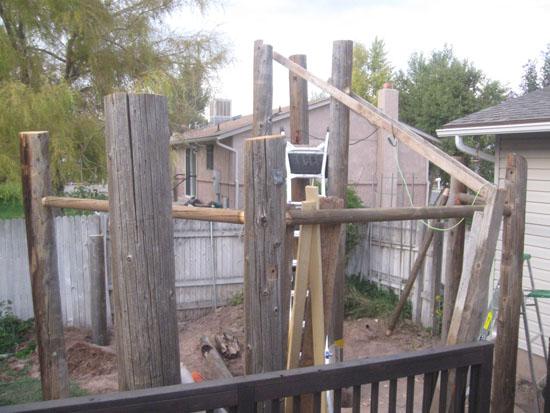
By the time family came to visit again (this time for Madilyn's baby blessing), I had all the flat roof beams and three out of six diagonal roof beams installed. I also had the hand rails for the wobble bridge (the one hand rail had to be installed concurrently with the roof beam in that section.) All the post holes were backfilled.
Dad, Anthony, and Zac helped pretty much the whole day. We dug up grass and built the wobble bridge.
Originally I had planned to use 2x4s for the bridge rungs, but when we went to Home Depot, they had a bunch of 42" 2x6s (the perfect length) in their clearance bin, so I ended up getting the bridge rungs for just $0.51 each.
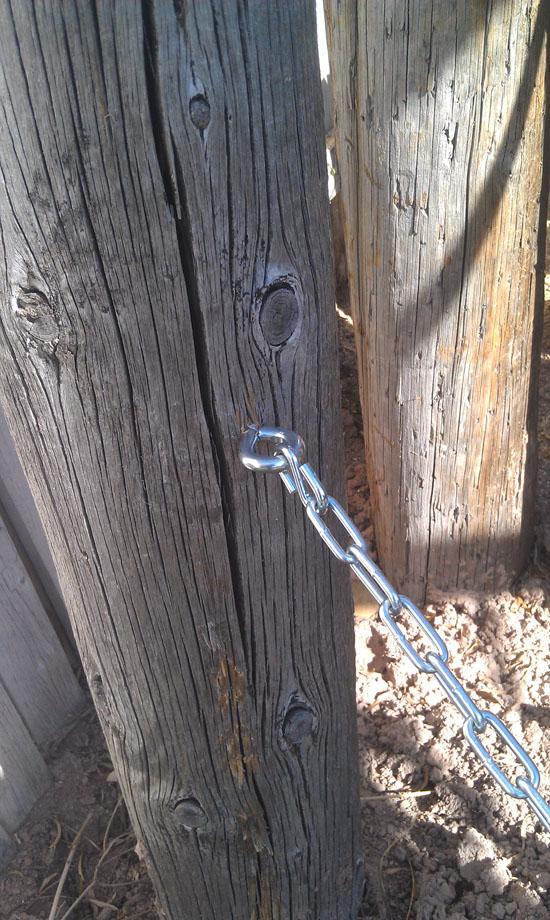
We used carriage bolts for the bridge. The bolt goes through the wood and through a link of the chain.
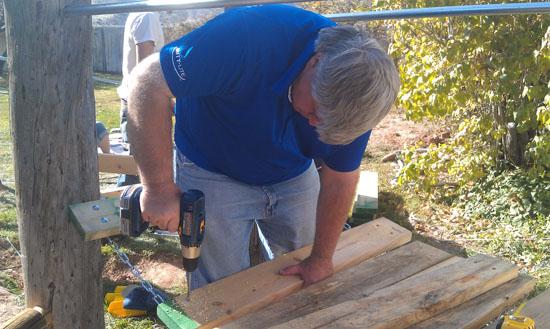
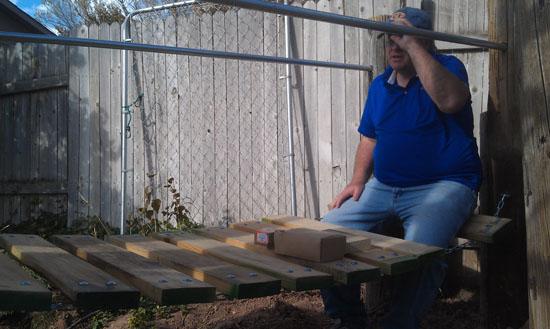
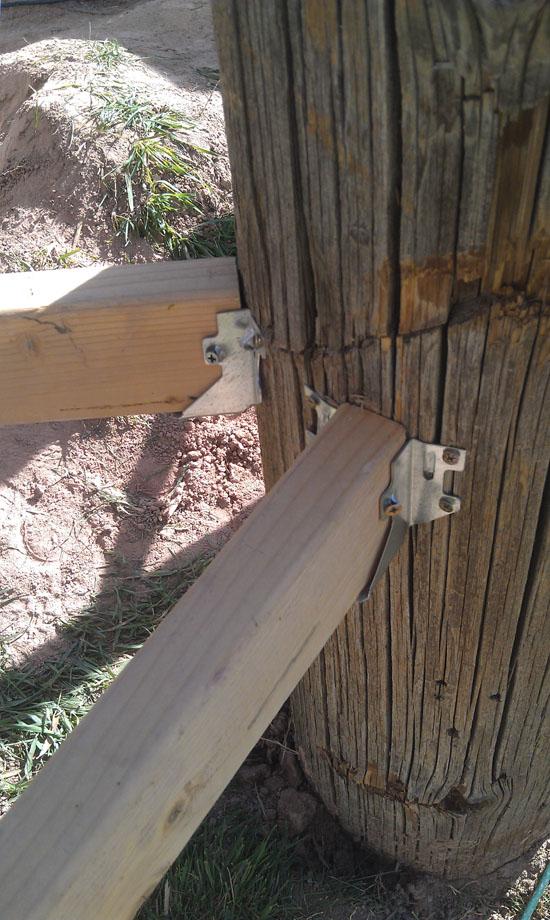
While Dad was working on the bridge, Zac and Anthony built the platform between the wobble bridge and the monkey bars. The structure of it is 2x4s on metal hangers. The treads are 2x6s (also of the $0.51 variety). Each piece had to be custom cut.
The next task was the platform between the wobble bridge and the stepping logs. This one was also tricky because the boards had to be notched to fit around the utility poles.
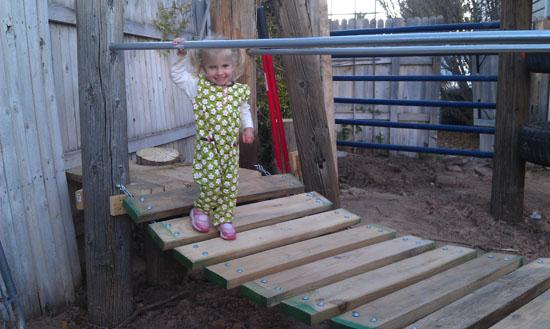
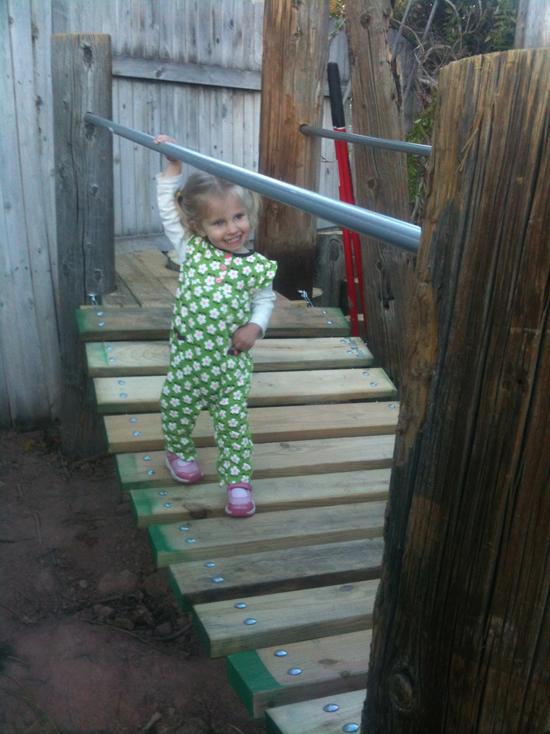
Once we got the bridge and platforms complete, we put Savannah up to test it out. The hand rail ended up being pretty high for her, but I think it will still work.
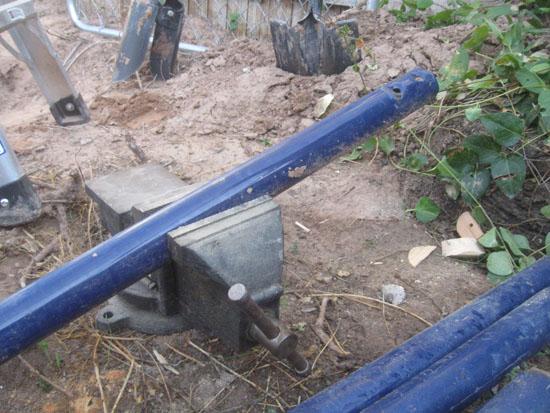
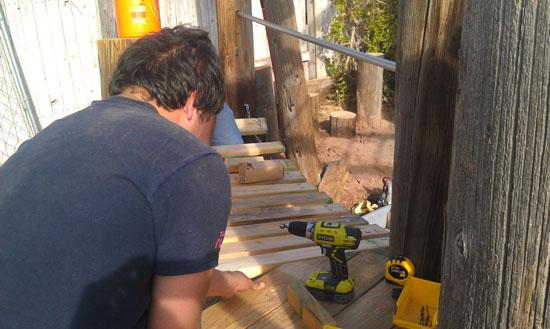
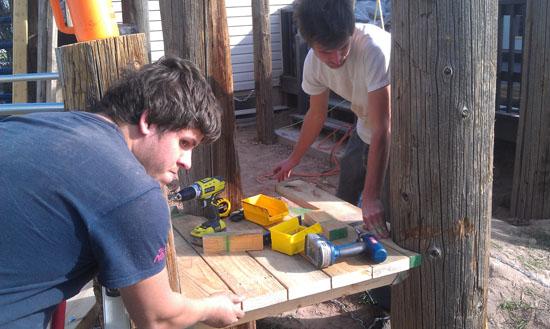
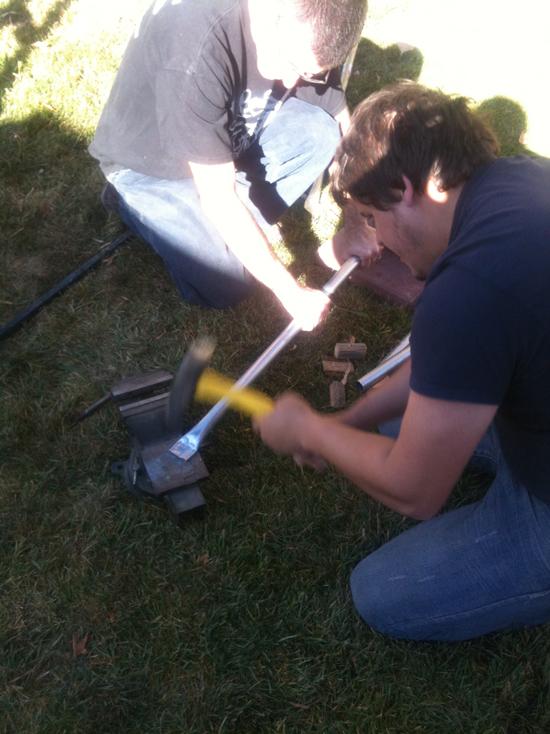
I decided to use 1" electrical conduit for the monkey bars because it was cheaper than pipe. I cut the 10' pieces in thirds, so there are 9 monkey bars. The next picture is of Anthony and me smashing the monkey bars flat on the ends.
I don't own a drill press, so we weren't able to drill the bolt holes for the monkey bars yet. Instead, we had fun crossing on just one monkey bar. I didn't catch it on video, but right after I successfully crossed on the "monkey bar", I took a tumble and landed on my back/shoulder.
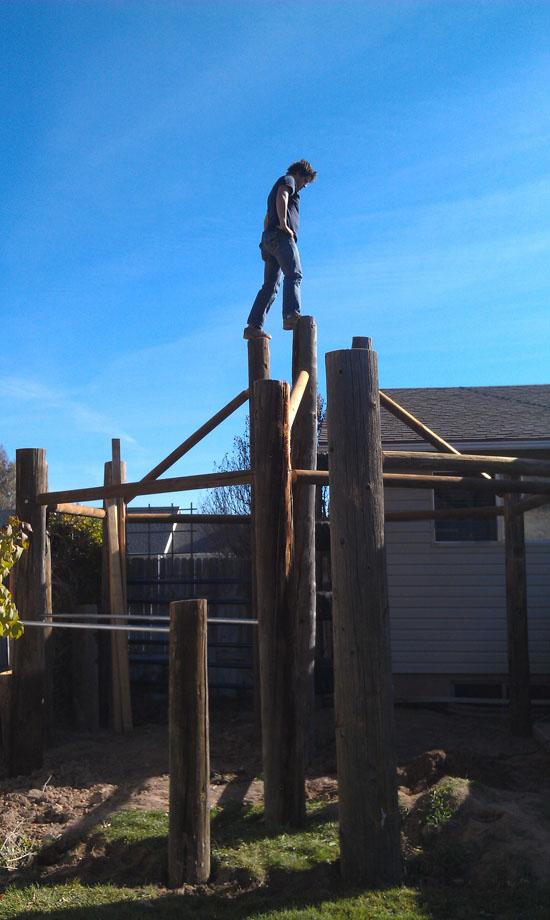
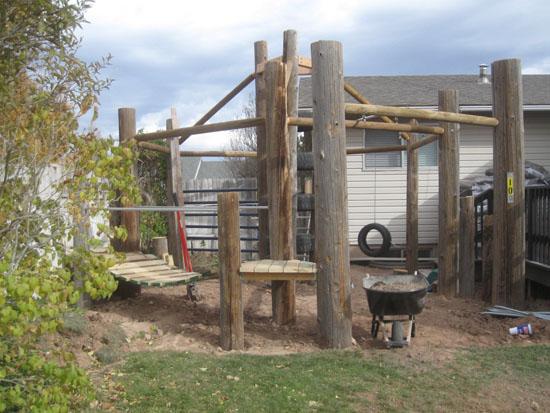
While Anthony and Zac were working on the platforms, Dad and I cut and bolted the three 4x6s at the top of the tire climb. This was not part of the original design, Originally, I planned for the last three diagonal roof beams to meet in the center above the tire climb. They were all going to fit into a 2-foot-long utility pole with three holes drilled into it, but that design had several drawbacks. Anthony came up with the idea of putting a short beam between the poles and attaching the diagonal roof beam to the 4x6 beam. That way, kids can stand up in the middle, there is no risk of falling logs, and the assembly was a lot easier.
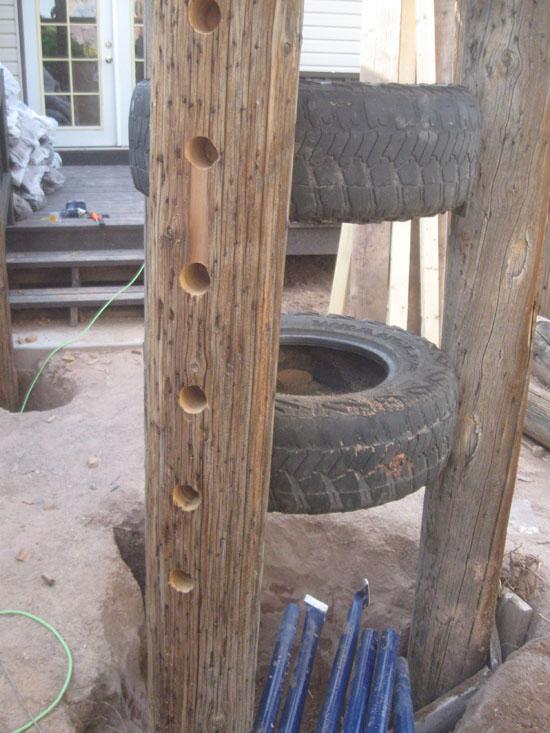
In the picture below you can see one of the two hanging tires. The tires are chained to each other and to the utility poles so they can't swing very far.
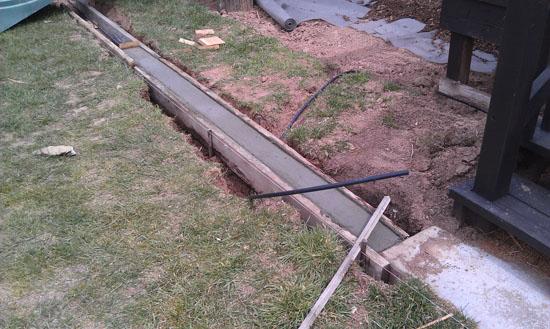
From the picture above to the picture below, quite a bit happened. I put up the rest of the diagonal roof beams. I put in the fire pole with a concrete footing. And I did lots and lots of digging. We thought the day would never come, but we finally put down landscaping fabric and wood chips.
Here's a better view of the hanging tires.
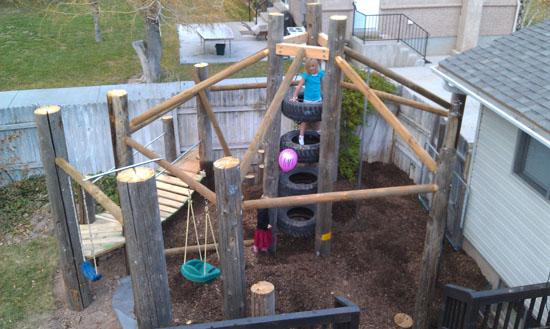
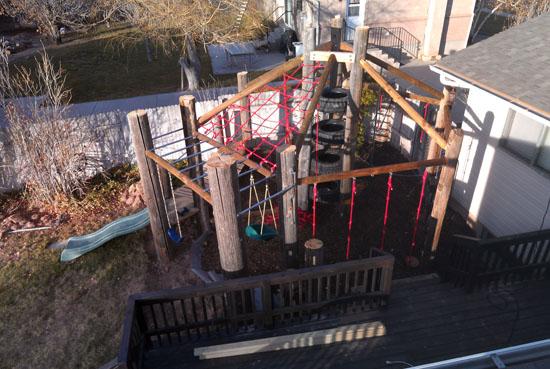
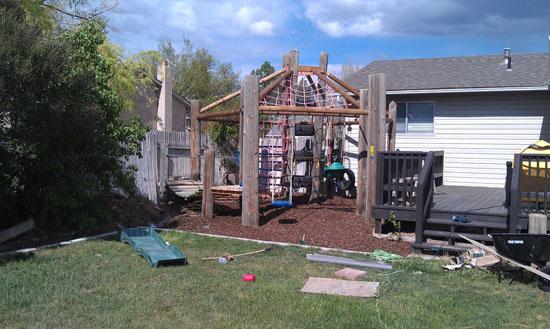
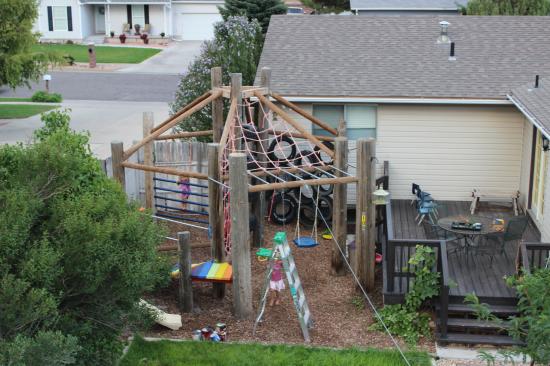
Here's a view from the roof of our house. When I was putting up Christmas lights, a couple of neighbor kids came over to check out the playground. You can see the baby swing and regular swing in this view. They will need longer chains.
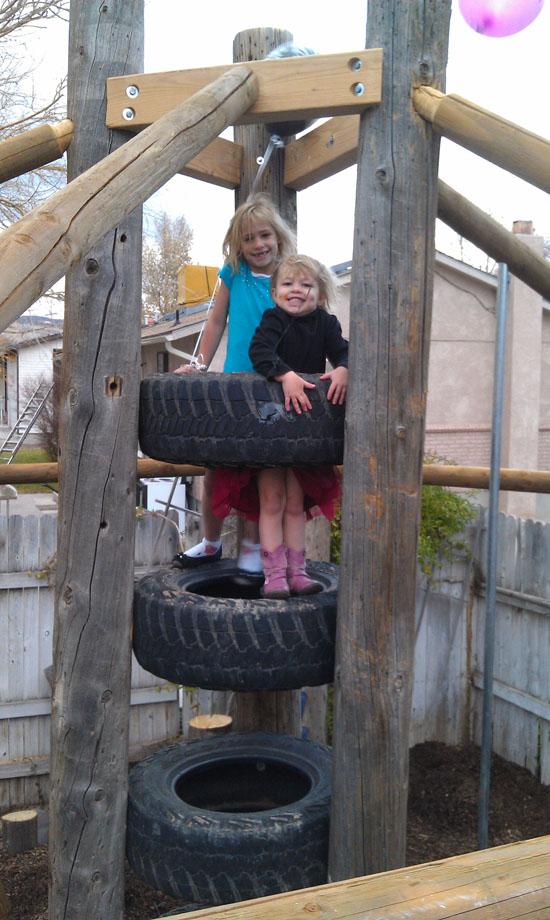
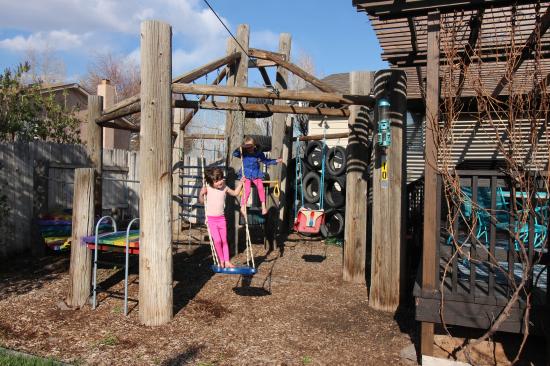
Ashley and Maggie in the tire climb. You can see how the diagonal roof beams attach.
Here are several pictures of the different stations in different stages of completion. The wobble bridge. The stepping logs. The pole ladder. The hanging tires. The tarzan ropes (interchangeable from 4 to 3 ropes). The monkey bars and swings.
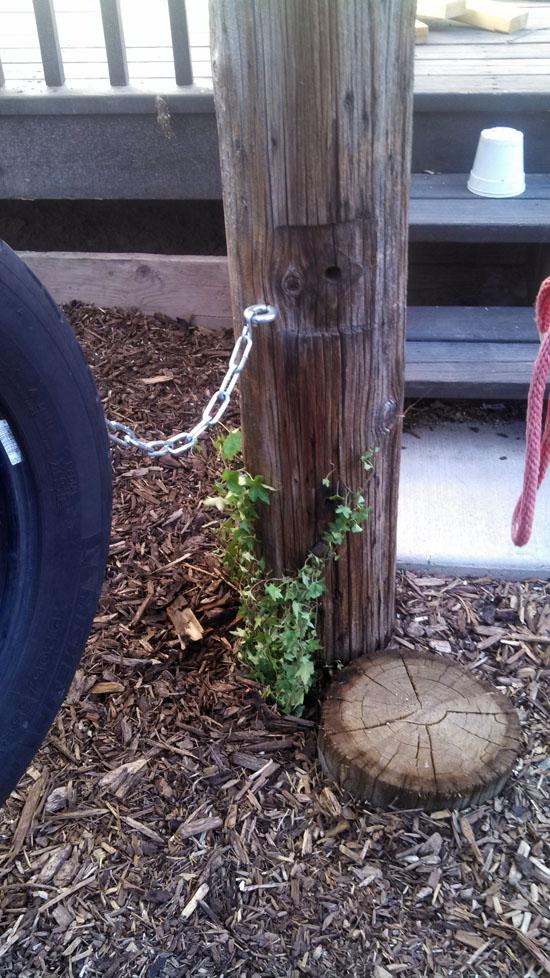
I planted some ivy to grow up the post and spread out over the roof. In a few years, we should have some good shade.