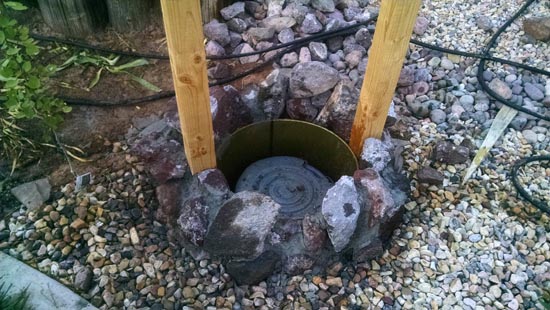
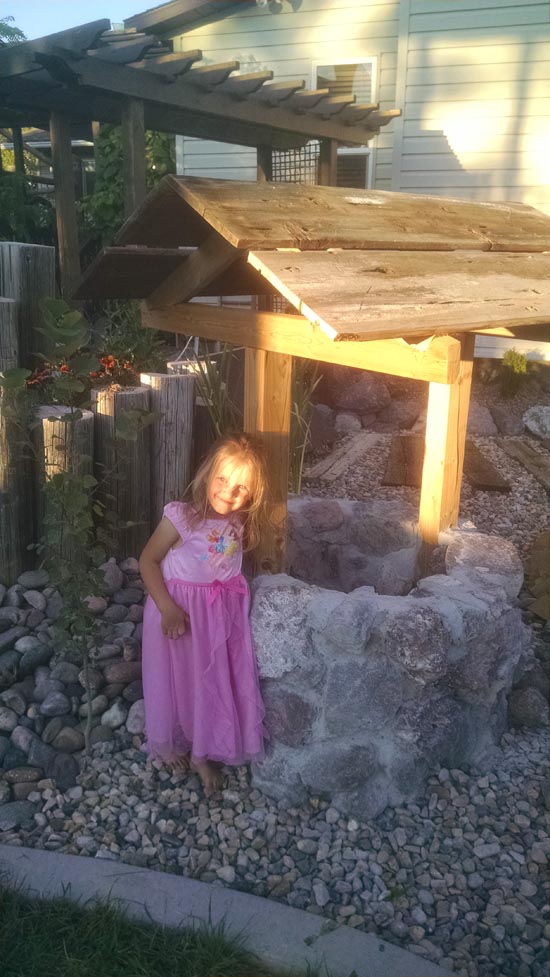
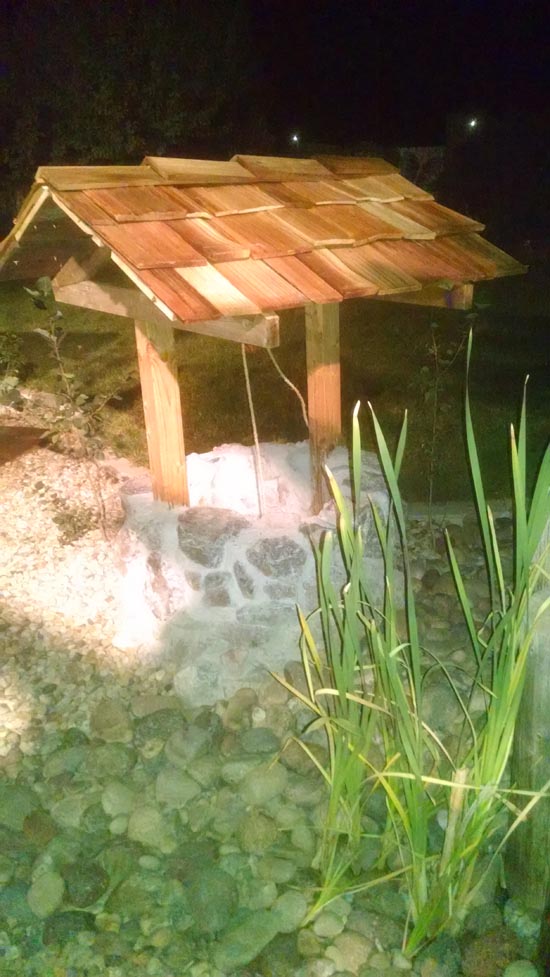
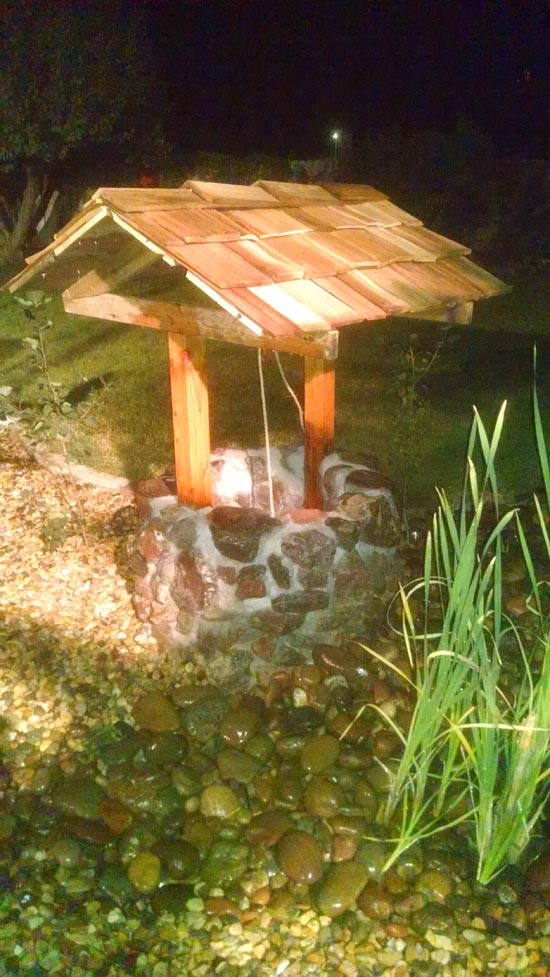
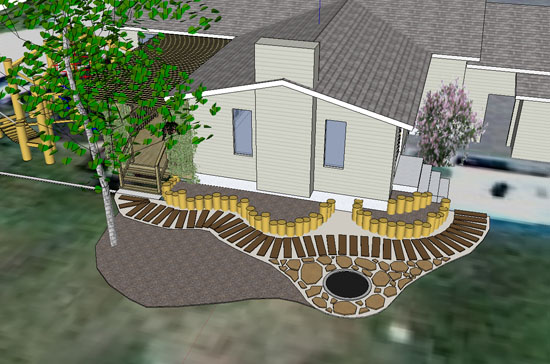
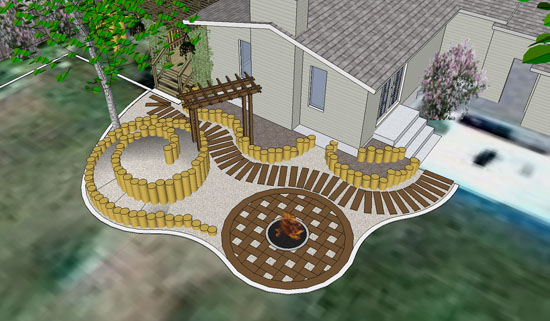
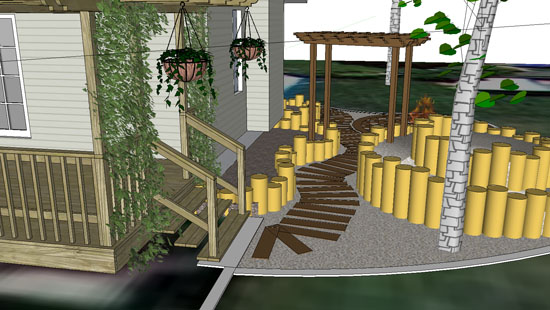
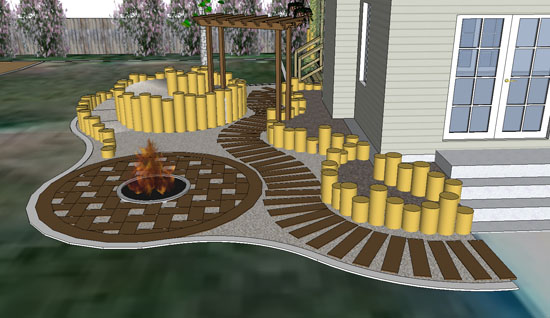
Finished Project

Design

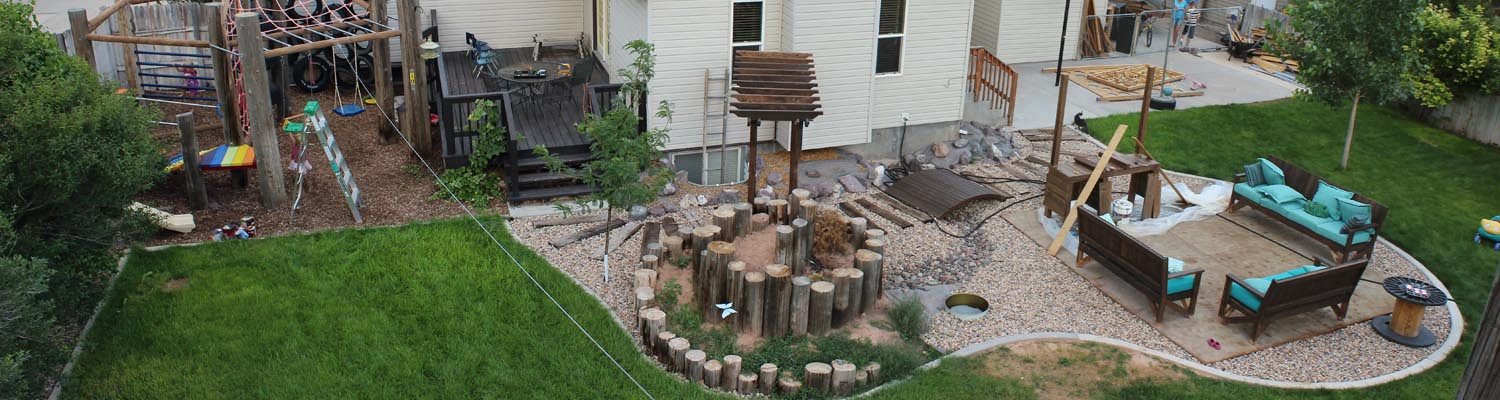
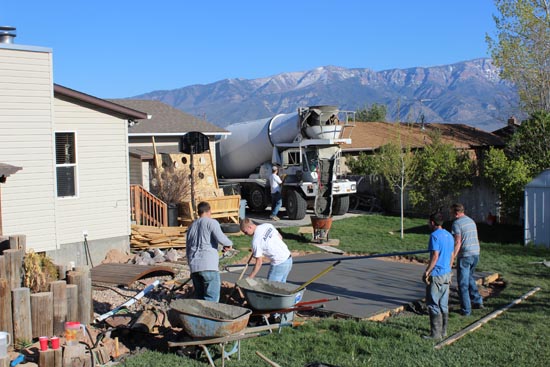
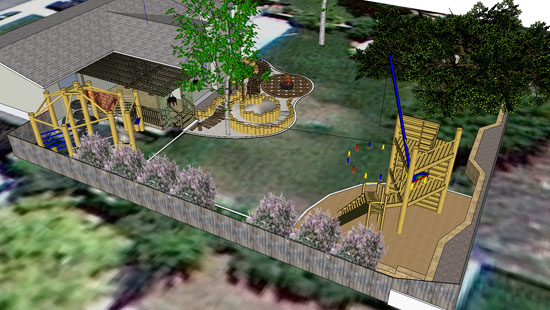
Our house was added onto several years ago. There is a concrete patio to the south of the addition and a wood deck to the north of the addition. In 2012/2013 we built a playground to the north of the deck. In 2013/2014, we are planning on building a rock climbing wall in the northwest corner of our back yard. There will be a zipline running from the rock climbing wall play center to the playground. These three high traffic areas make it fun and useful to add some garden paths to connect them.

Design Iteration #1

Design features:

  • Path from patio to deck/playground
  • Path from patio to rock climbing wall
  • Path from deck/playground to rock climbing wall
  • Tree that gives shade to deck

Design flaws:

  • Path below zipline create a hazard
  • Isolated grass region is hard to mow
Landscaping the Back Yard
Design Iteration #1

Design Iteration #2

Design features:

  • Path from patio to deck/playground
  • Tree that gives shade to deck
  • Courtyard with fire pit

Design flaws:

  • Rock around fire pit is uneven for chairs
  • Flowerbed island with tree is flat and boring
Landscaping the Back Yard

Design Iteration #3

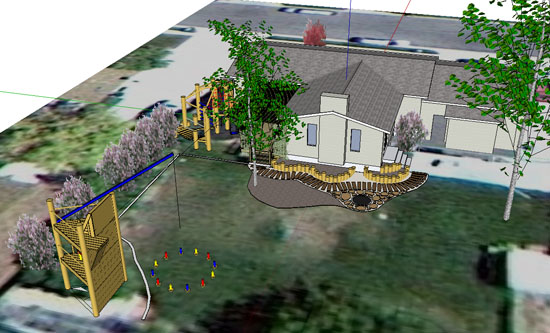
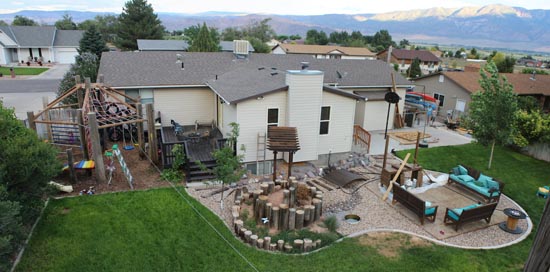
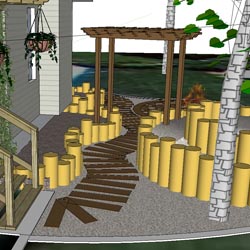
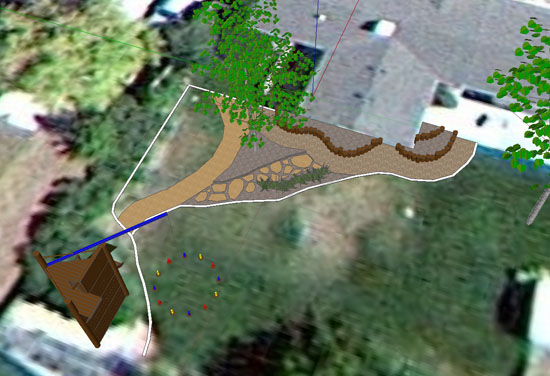
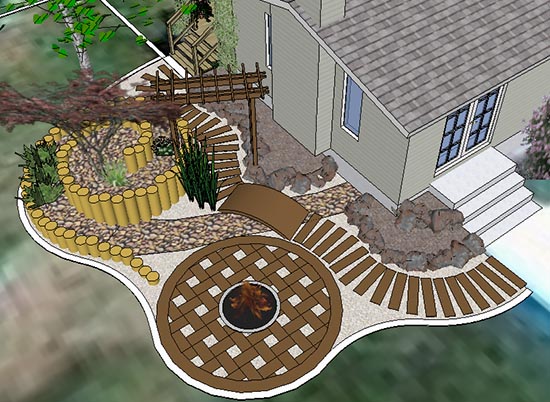
This is our current design. It features:

  • Path from patio to deck/playground
  • Tree that gives shade to deck
  • Raised flowerbed island
  • Round courtyard with firepit
  • Small pergola over path
Landscaping the Back Yard

Construction

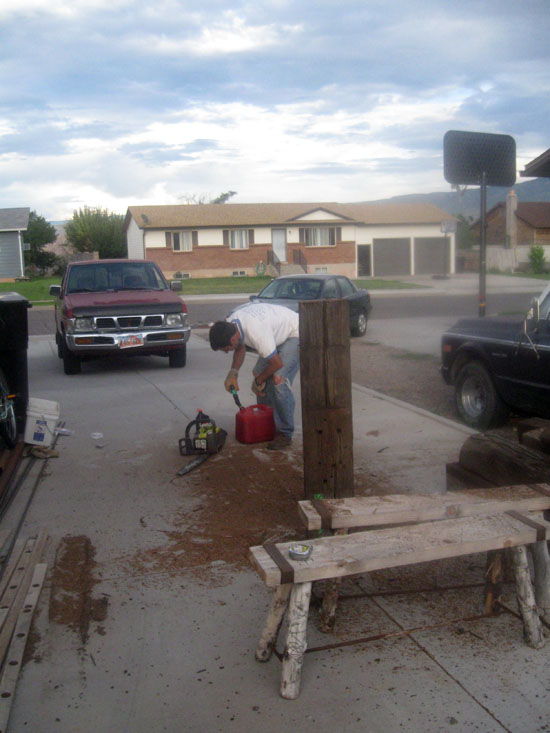
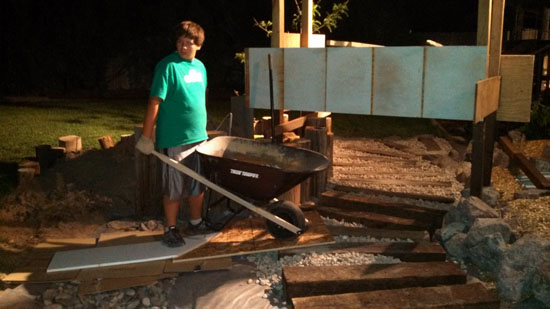
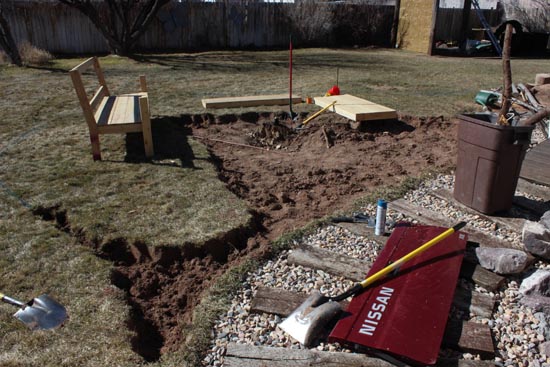
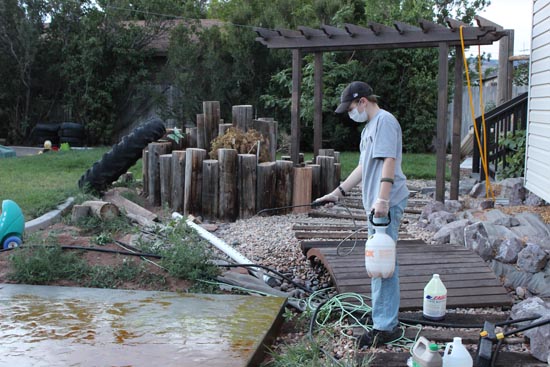
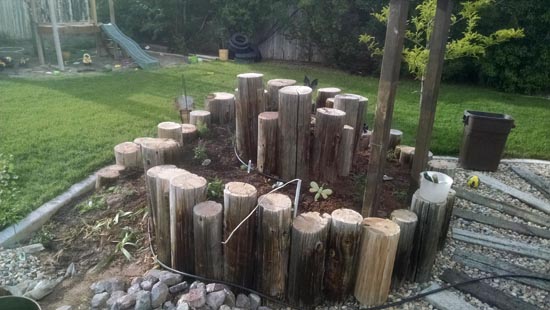
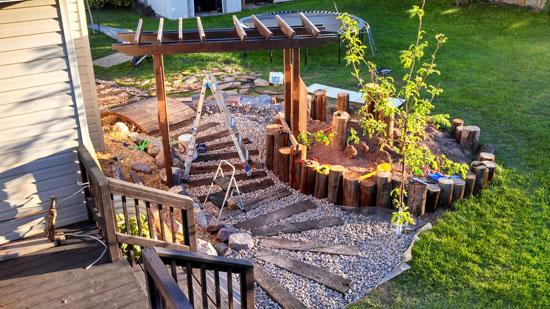
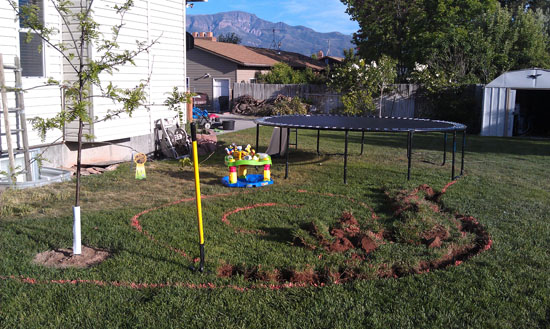
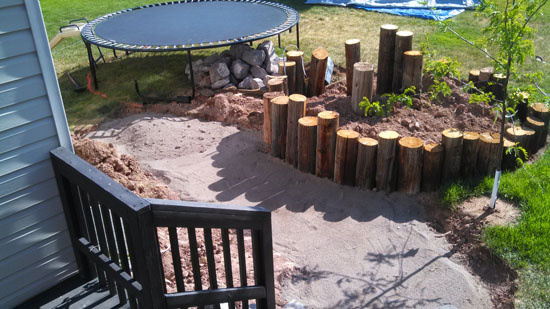
Construction of the herb spiral began June 1st. We started out by spray painting where everything would go.

Landscaping the Back Yard

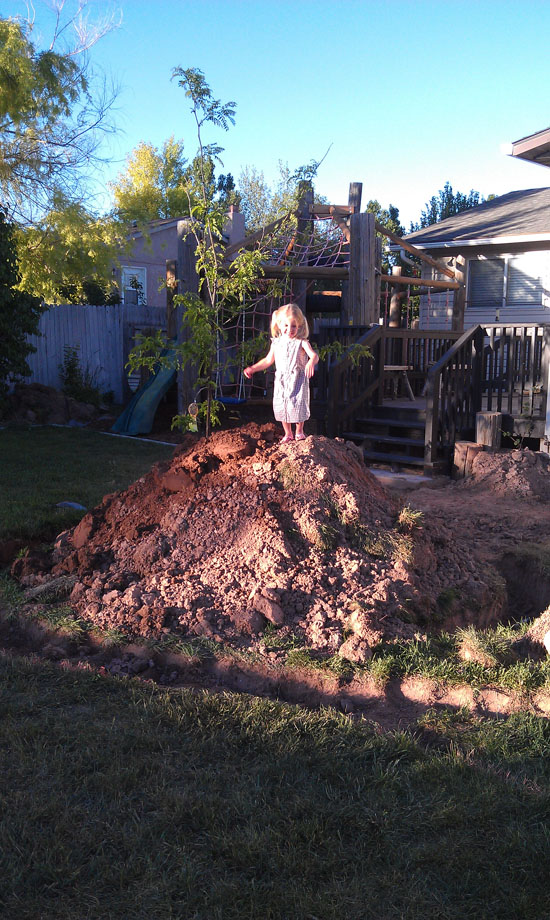
Then we dug a trench to bury the utility poles in.

Landscaping the Back Yard

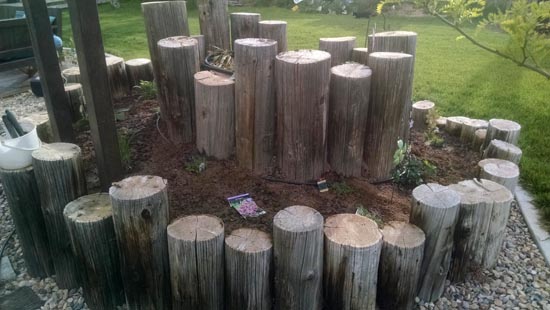
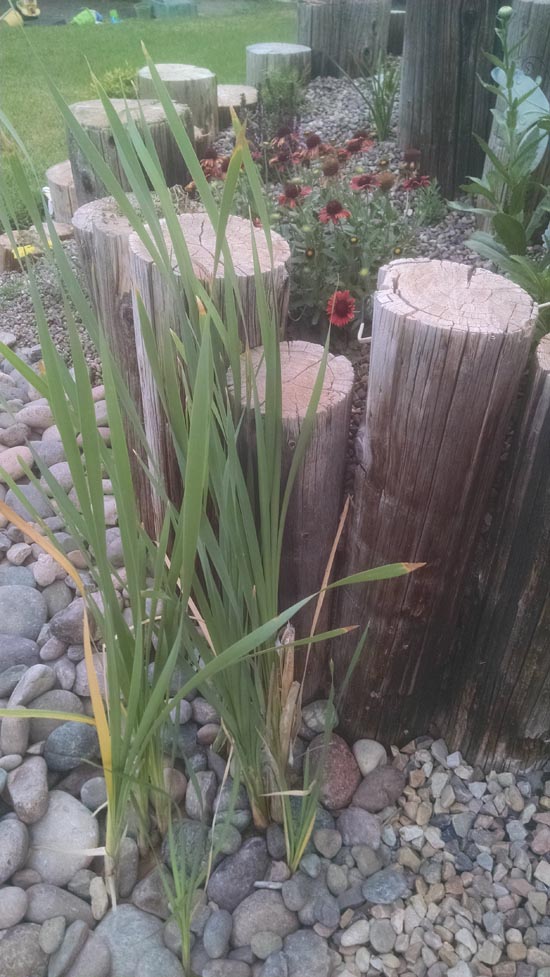
Then came the poles.

Landscaping the Back Yard

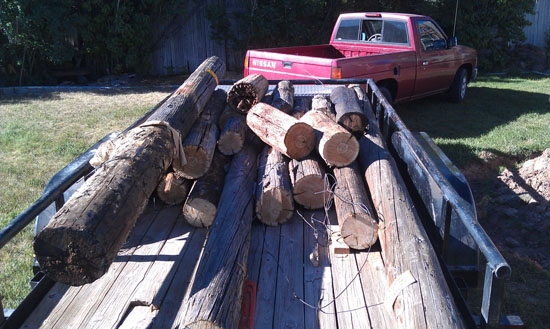
I cut the first batch of poles to length and placed them in the trench. Then I filled in the trench around the poles and backfilled behind the poles.

Landscaping the Back Yard

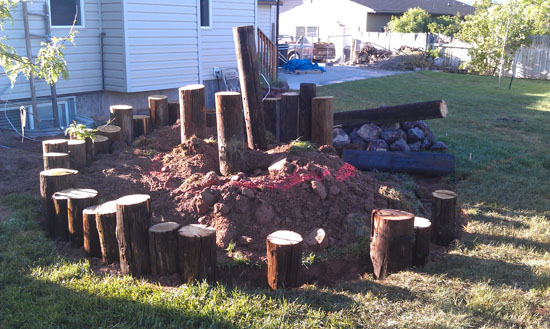
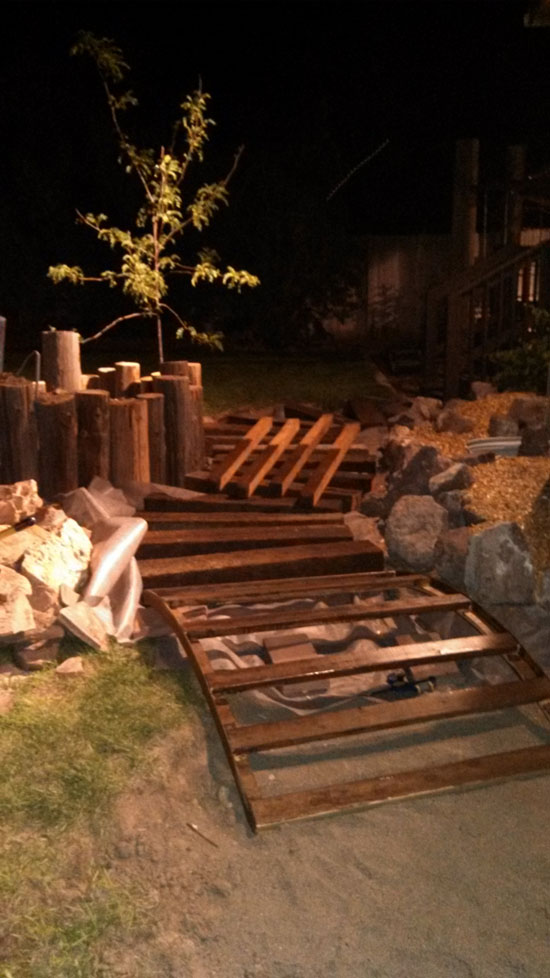
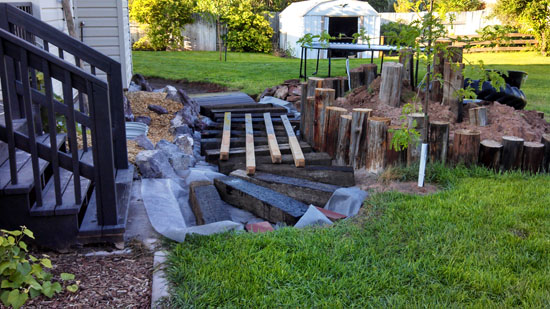
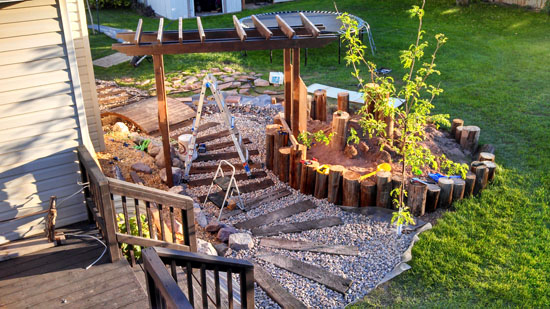
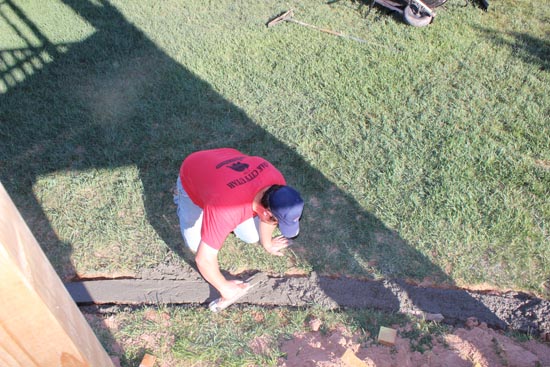
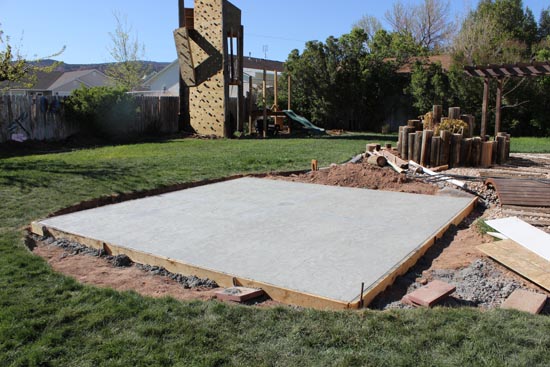
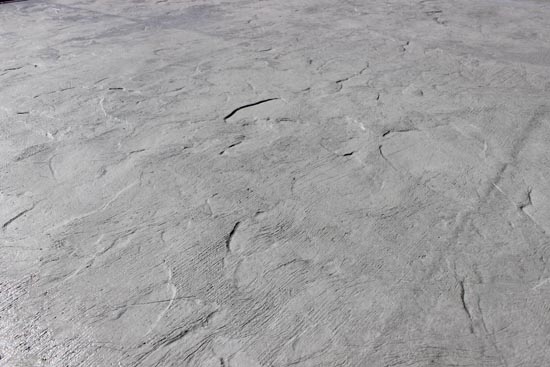
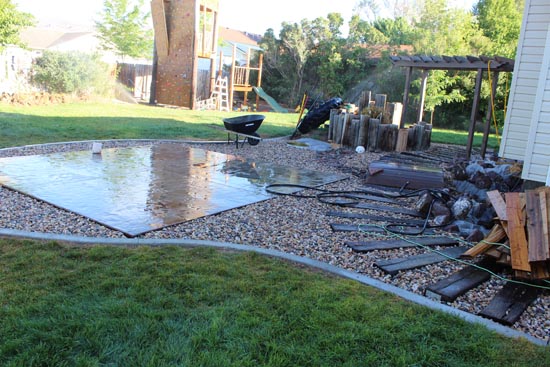
Below you can see the herb spiral and the leveling sand where the path goes.

Landscaping the Back Yard

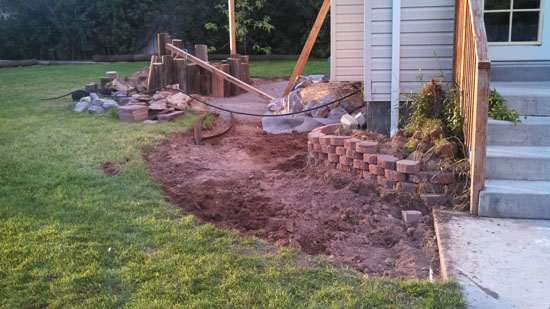
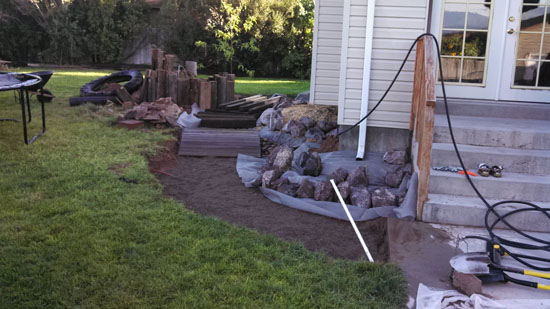
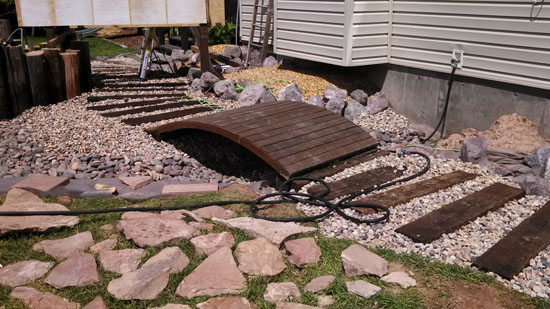
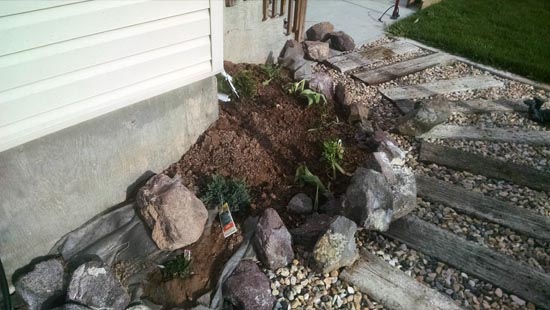
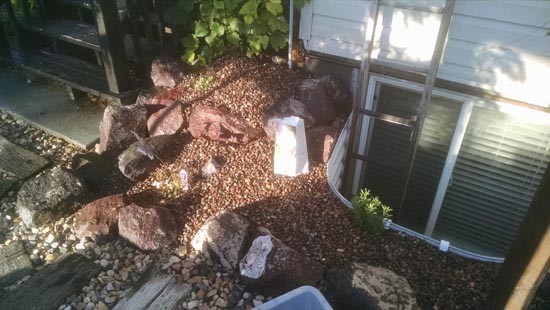
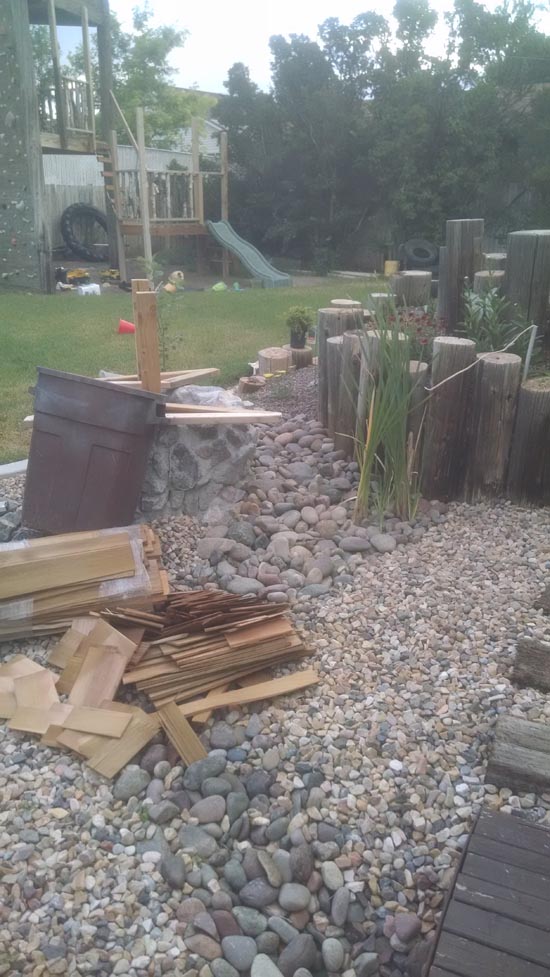
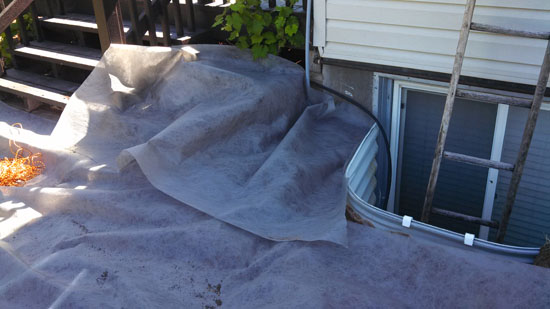
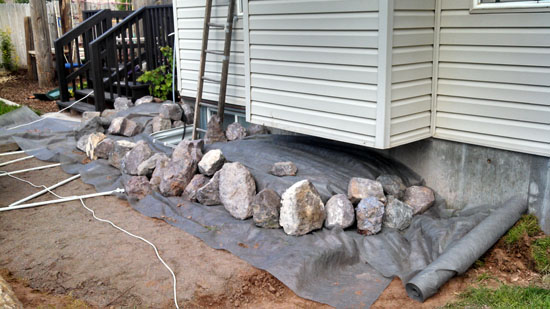
There ended up being a shortage of surplus utility poles, so we decided to use rocks to retain the raised bed up against the house.

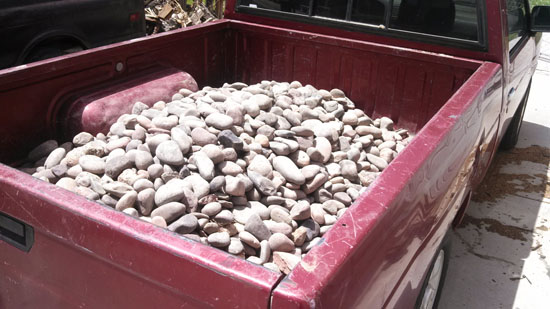
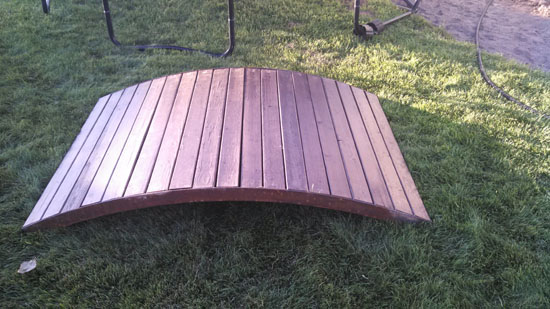
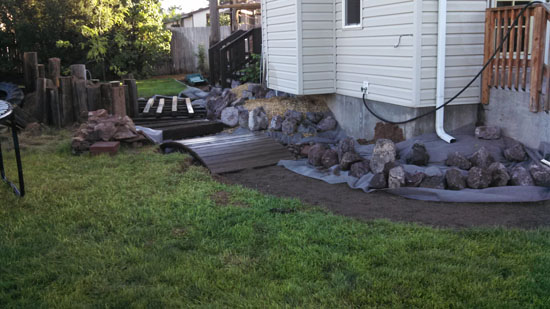
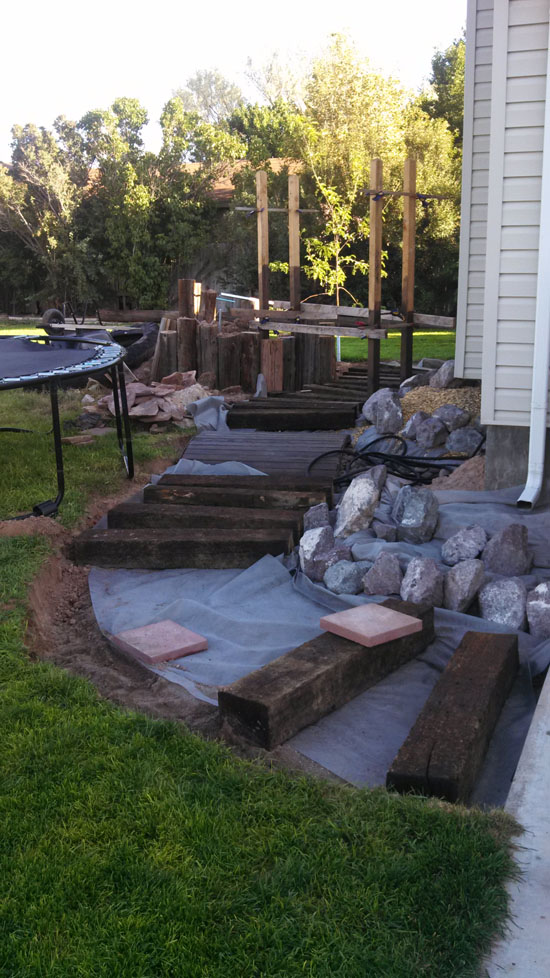
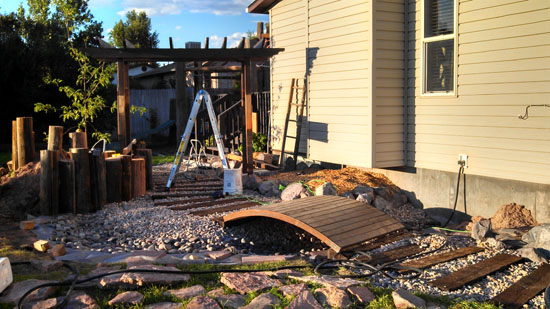
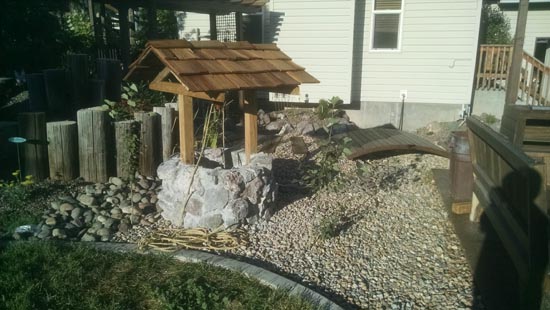
This worked out nicely because we had a bunch of leftover rocks from when we landscaped the front yard. You'll notice the design below also incorporates a small arched bridge over a dry creek bed.

Landscaping the Back Yard

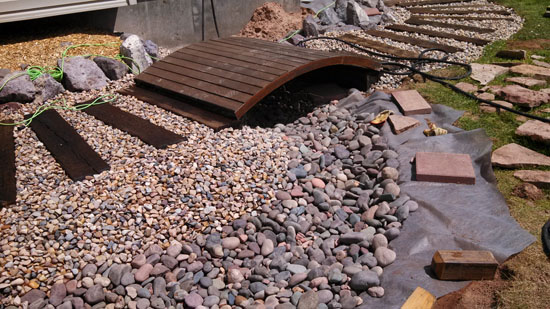
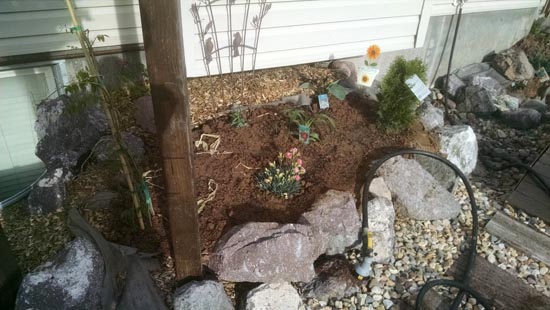
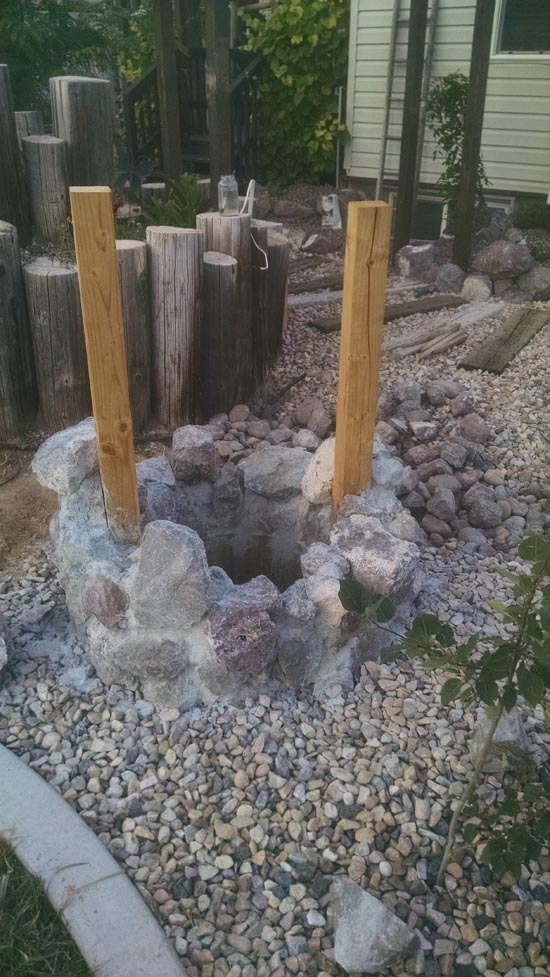
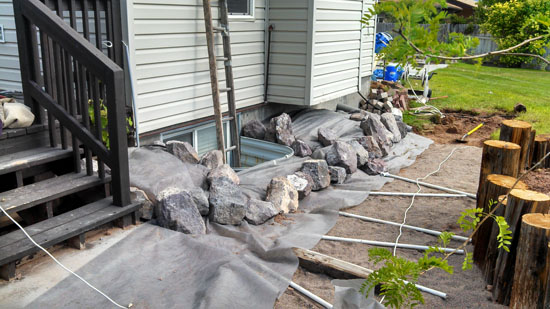
I mounded the dirt up against the house, put landscaping fabric down, then placed the landscaping rocks. I'm a big fan of landscaping fabric. It's the only way to keep the weeds manageable.

Landscaping the Back Yard

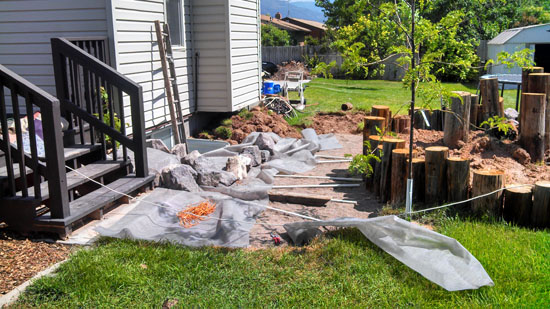
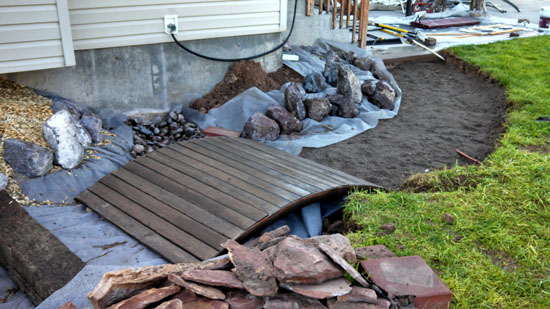
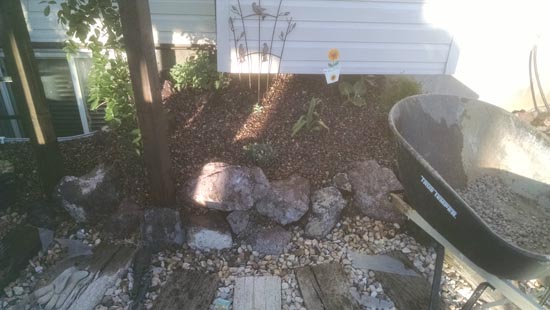
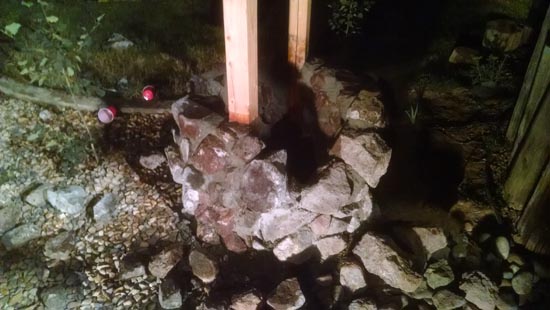
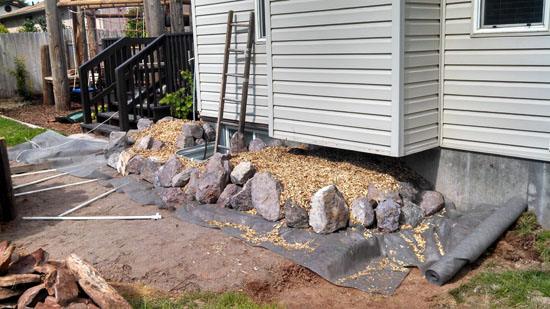
Here are a few tricks I've learned on how to make a rock wall look great.

  1. Larger rocks look the best.
  2. Try not to stack rocks on top of each other except at intersections of walls and every once in a while. Use sparingly.
  3. Vary the height and size of rocks.
  4. Curves generally look better than straight lines.
  5. Place a few accent boulders in the middle of the flower beds.
  6. Plants will give variety and help break up the geometry.
Landscaping the Back Yard

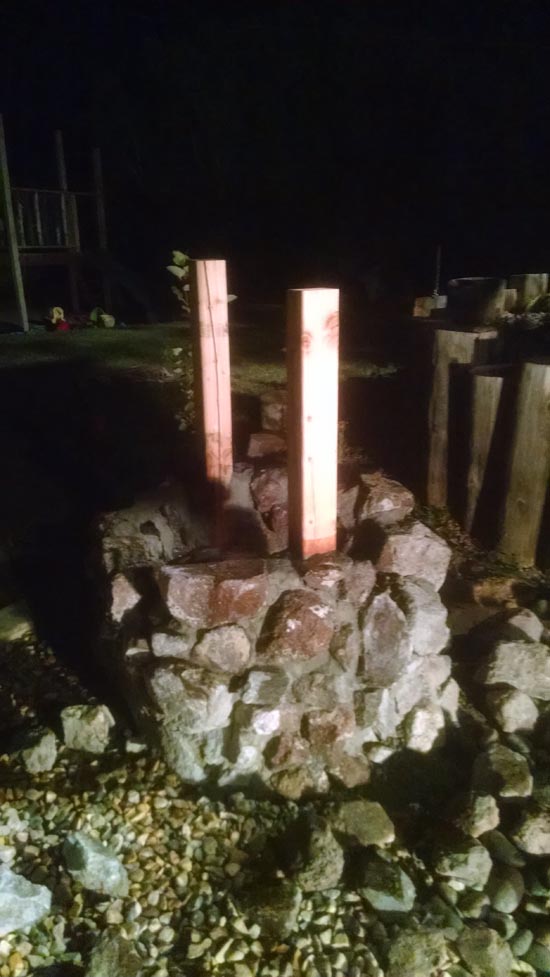
If we had the money for it, we would have planted plants right away and run a drip system before we spread the wood chips. However, plants will have to wait for another day.

Landscaping the Back Yard
I bought 10 grade A railroad ties.

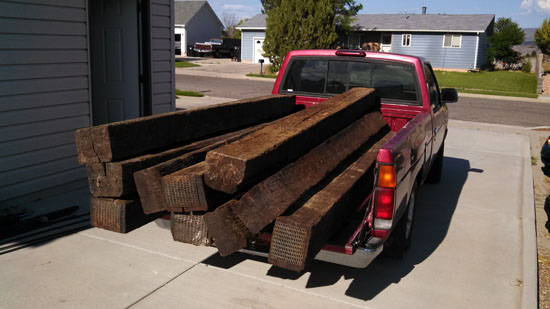
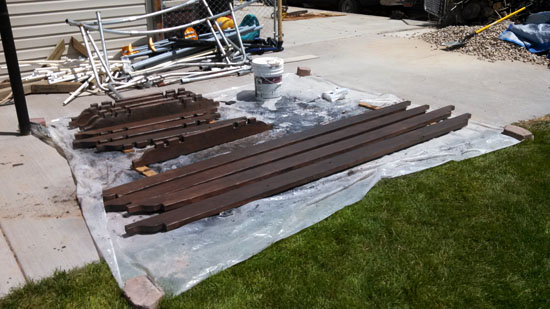
Originally I planned on cutting the railroad ties lengthwise down the middle so I wouldn't have to buy as many. But the ties proved very difficult to cut, so I decided to just cut them in half length wise.

Landscaping the Back Yard
Digging out where the path will go.
Landscaping the Back Yard
I built the arched bridge using two arched 2x2x1/4 angle iron pieces that I got from my dad. I used a 1/2" plywood shim so that the 2x4 treads would be flush with the angle iron.
Landscaping the Back Yard
A load of river rocks for the dry creek bed.
Landscaping the Back Yard
The finished arched bridge. I used a dark brown deck stain so the bridge would match the railroad ties and our deck.
Landscaping the Back Yard
The terraced flowerbed next to the stairs.
Landscaping the Back Yard
Burying the pergola posts and getting them squared and leveled.
Landscaping the Back Yard
I ordered 2 yards of the "Peaches" landscaping rock.
Landscaping the Back Yard
Dylan and Elijah came and helped a ton.
Landscaping the Back Yard
The pergola beams.
Landscaping the Back Yard
The gravel in and around the railroad tie path.
Landscaping the Back Yard
The dry creek bed contrasted nicely with the other gravel.
Landscaping the Back Yard
Starting the build the pergola.
Landscaping the Back Yard
Figuring out the spacing of the pergola beams.
Landscaping the Back Yard
A snapshop of the whole project as of August 3, 2013.
Digging out for the patio.
Burning a stump out.
Forms for our patio. The patio is 15'x15'x5".
Placing the concrete patio.
Placing the concrete mowstrip.
Mowstrip around the climbing wall to separate the grass and the future sandbox.
Stamping the concrete a stone texture.
The stone texture of the concrete surface.
Acid staining the patio. We chose a dark brown color.
Progress as of August 4, 2014.
Planting the flowerbeds and covering with small gravel.
For this wishing well, we buried a 55-gallon barrel all the way in the ground so it could fill with water.
Wishing walls going up (one layer max per day).
Wishing well walls almost complete.
Getting ready to put the wishing well roof on.
These cattails are planted in a buried plastic tote to keep them wet.
Just missing the cedar shingles.
Complete wishing well.