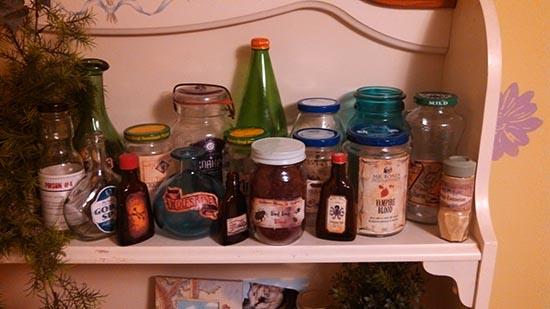
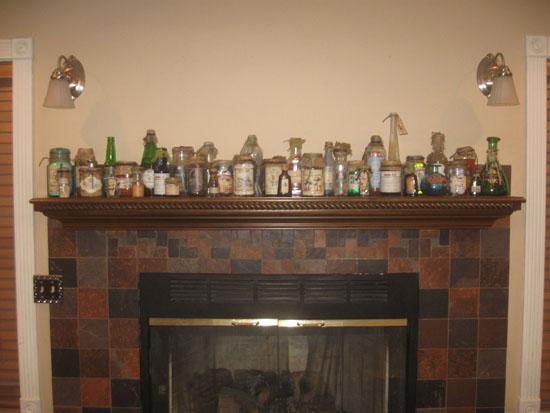
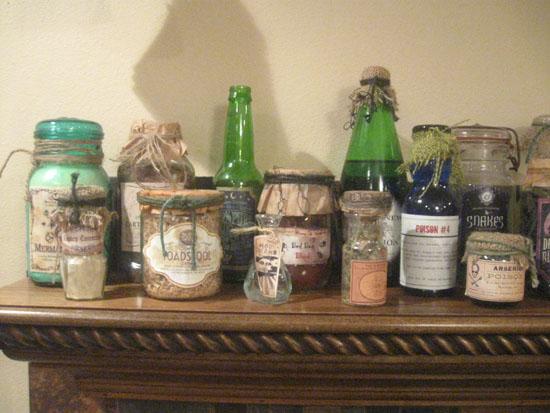
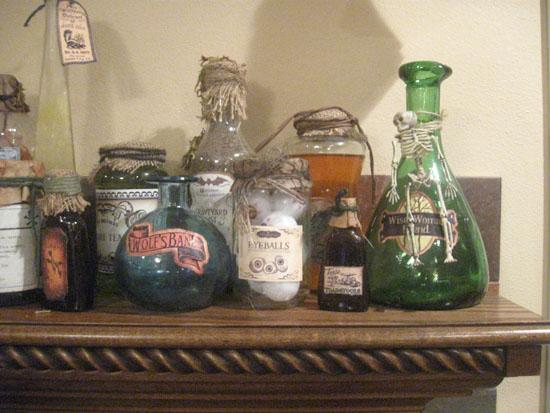
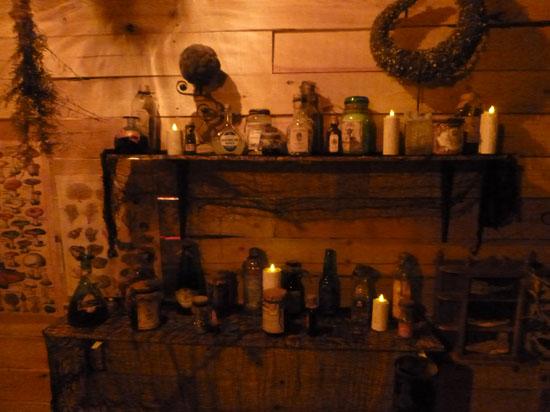
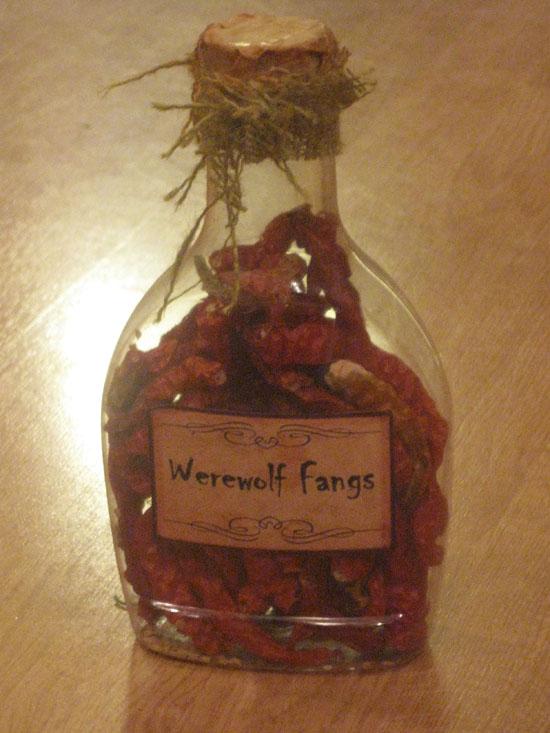
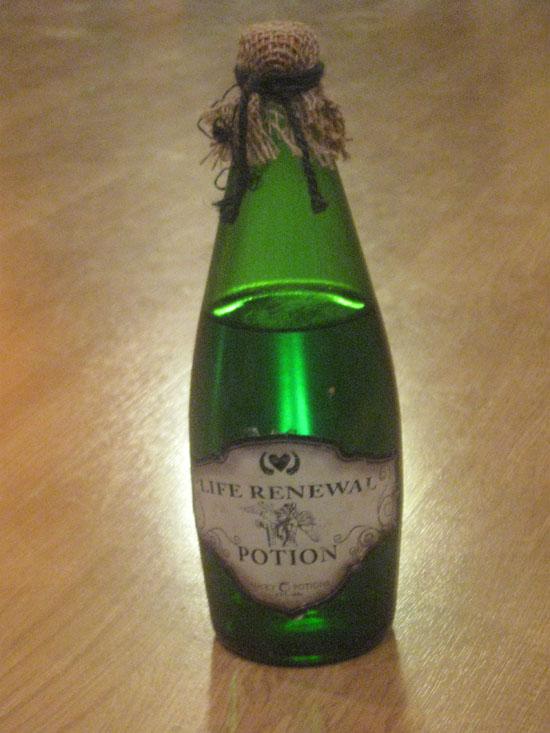
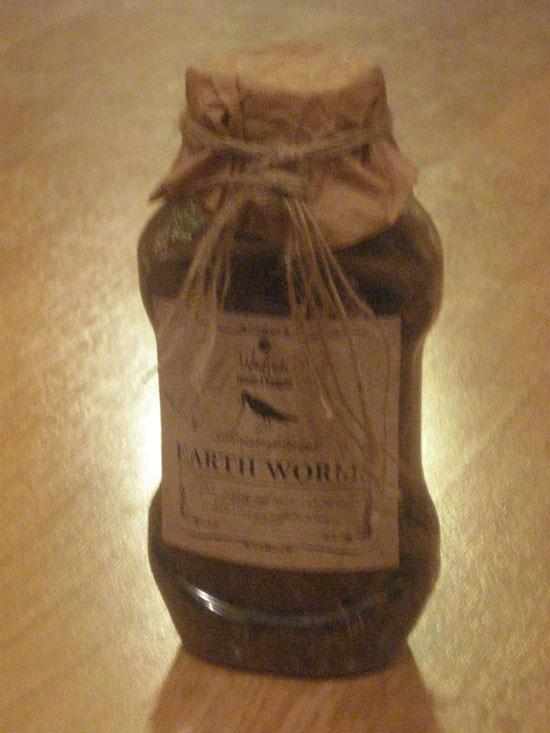
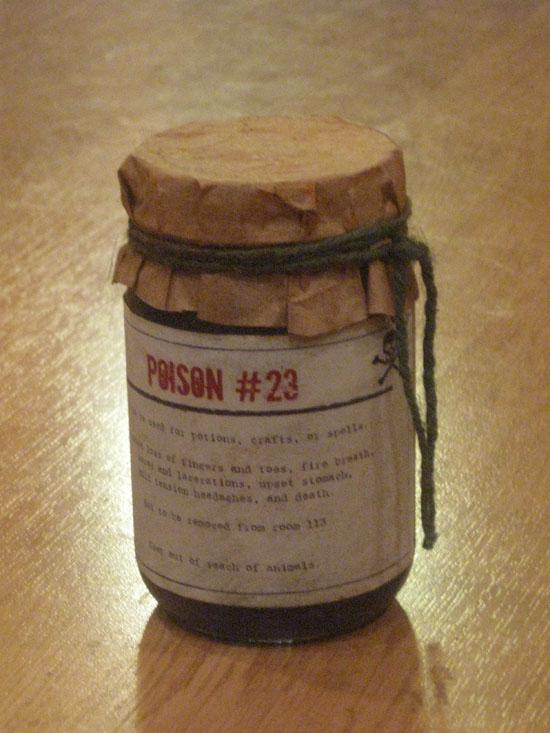
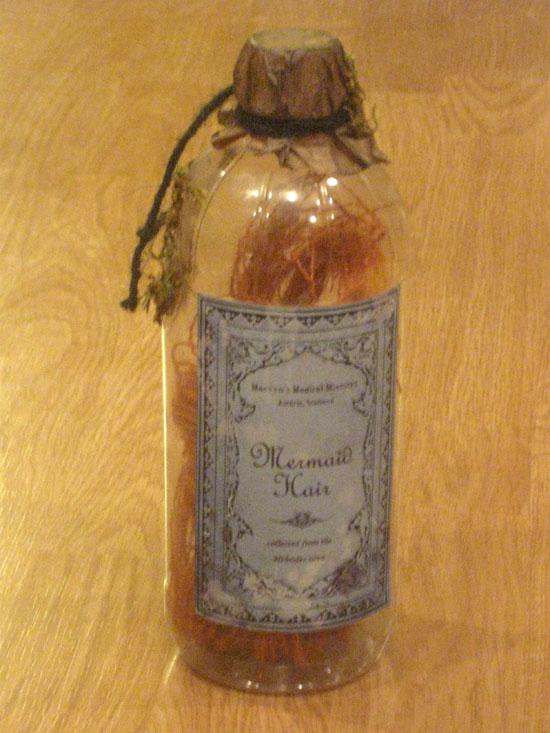
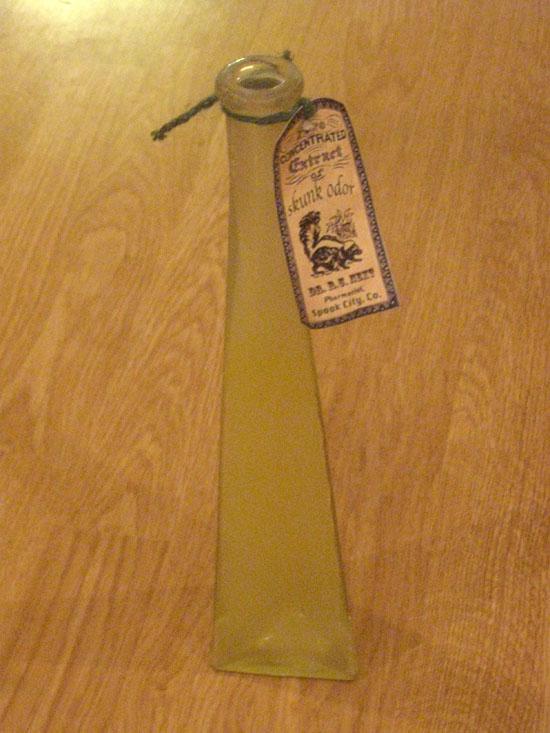
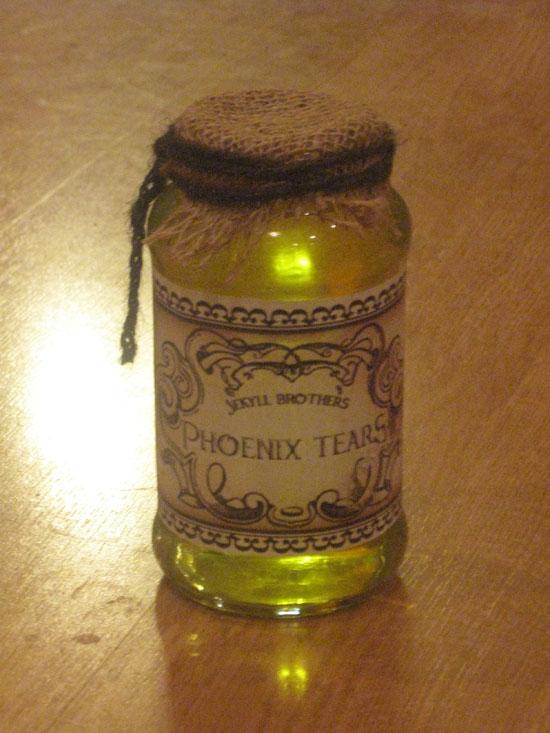
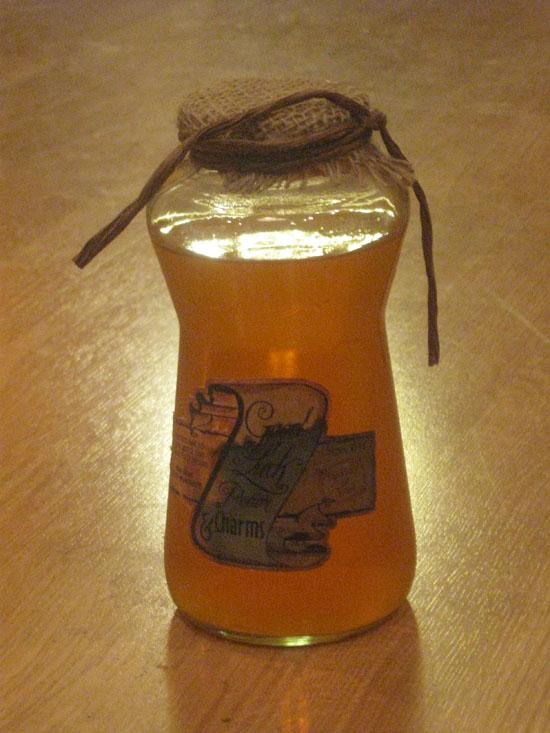
These potion jars can be used in several haunted house scenes including an apothecary, a witch's cottage, or a scientist's lab, or they can be used as an indoor Halloween decoration.
12 hours to make 40
$20.00
September 9, 2013-October 11, 2013
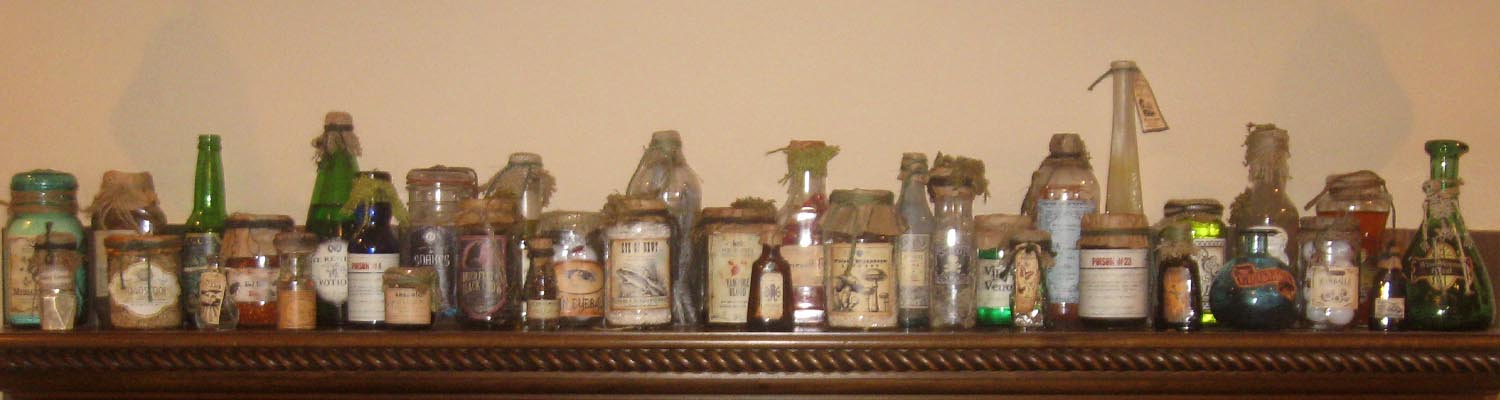
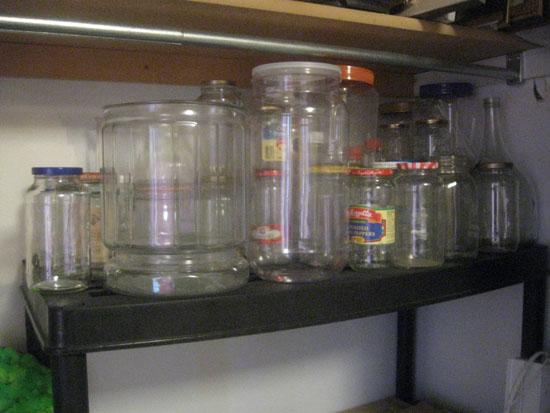
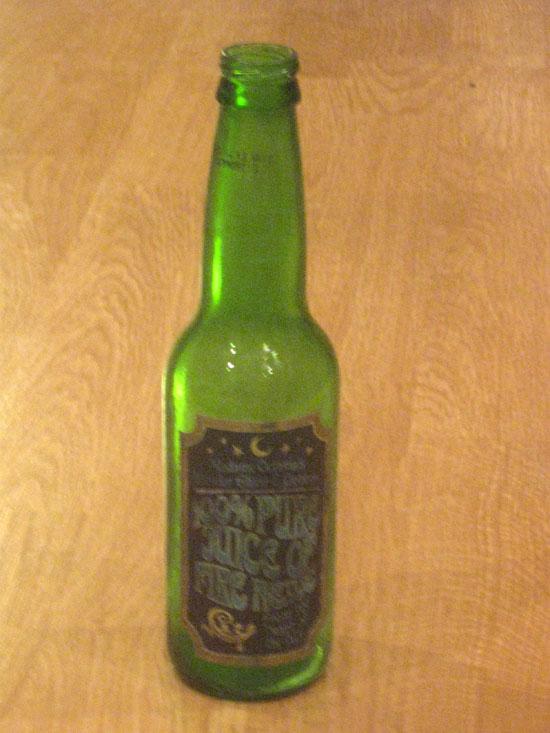
Gather lots and lots of glass and plastic jars and bottles.
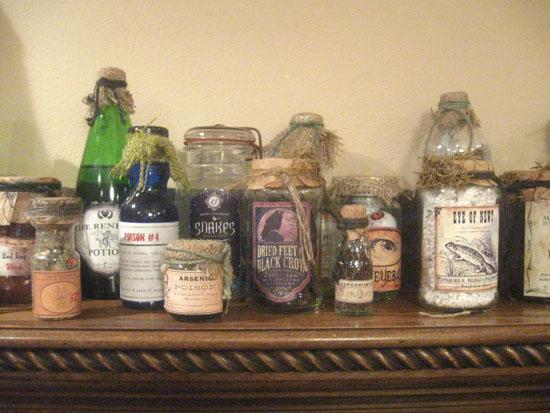
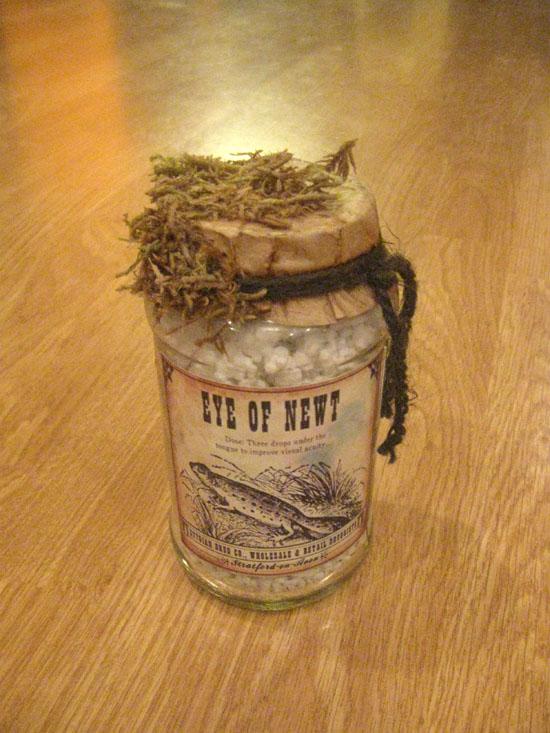
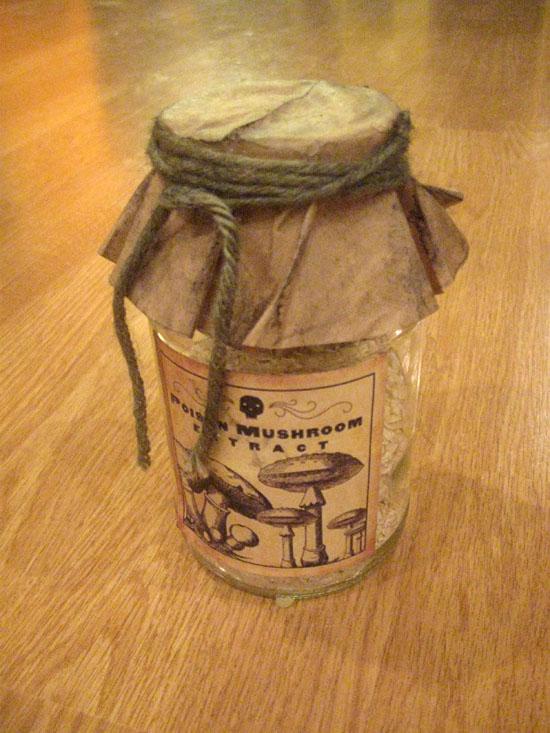
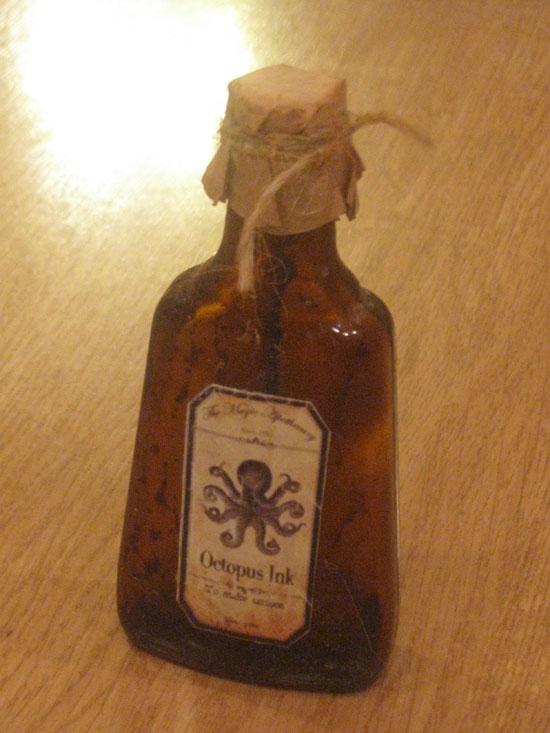
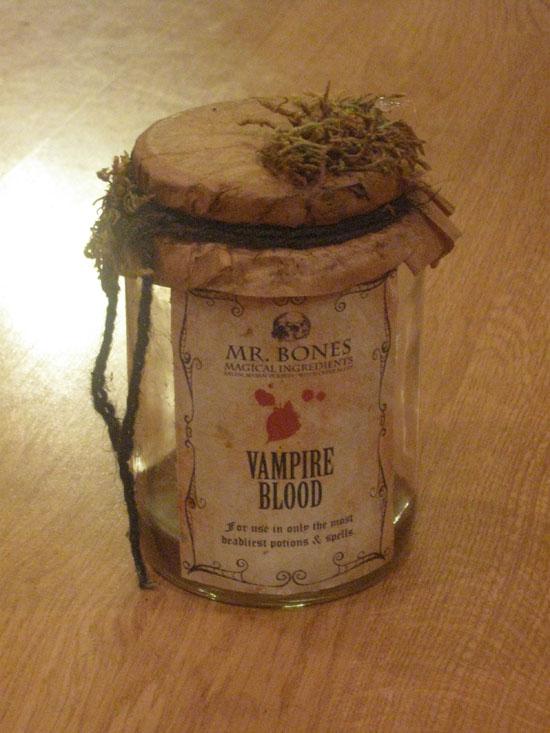
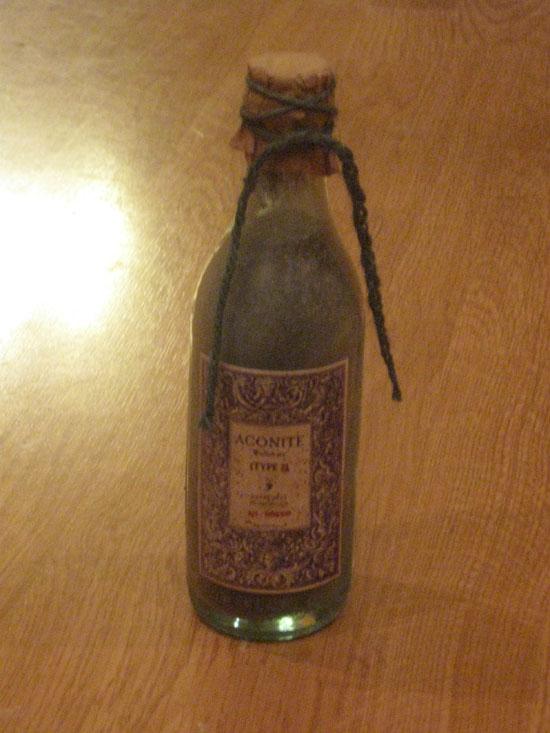
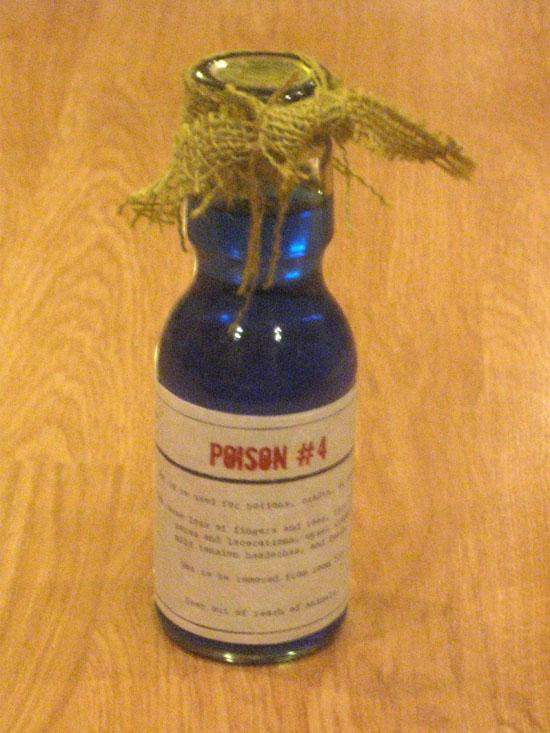
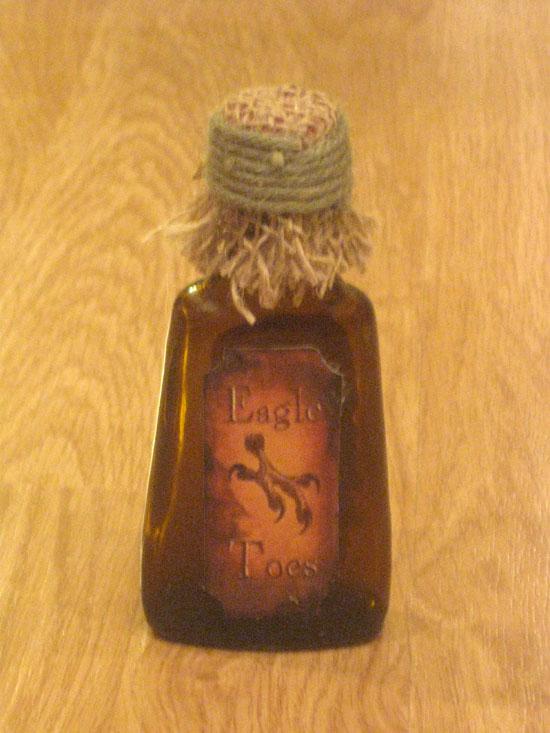
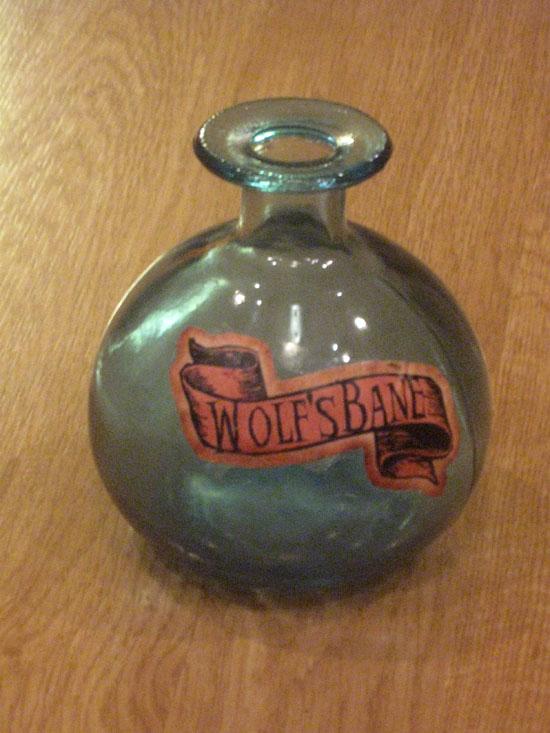
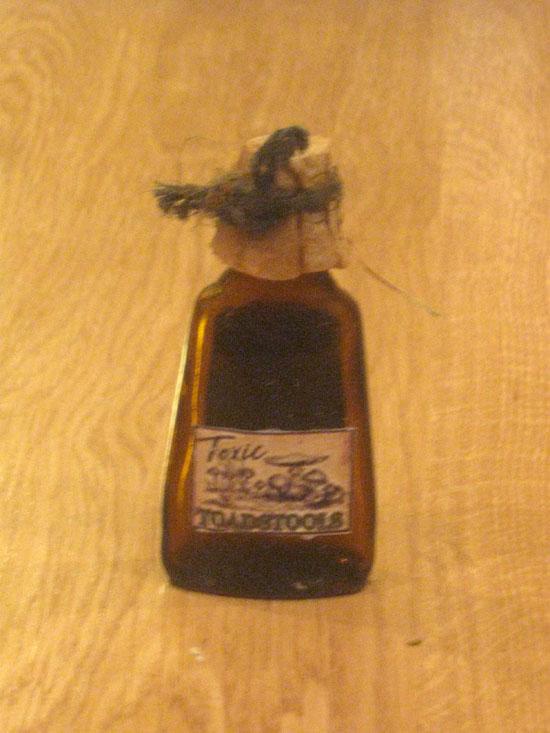
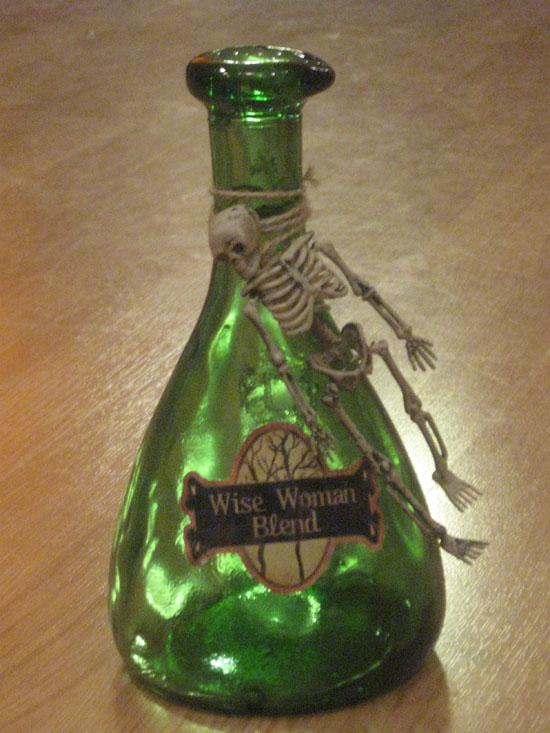
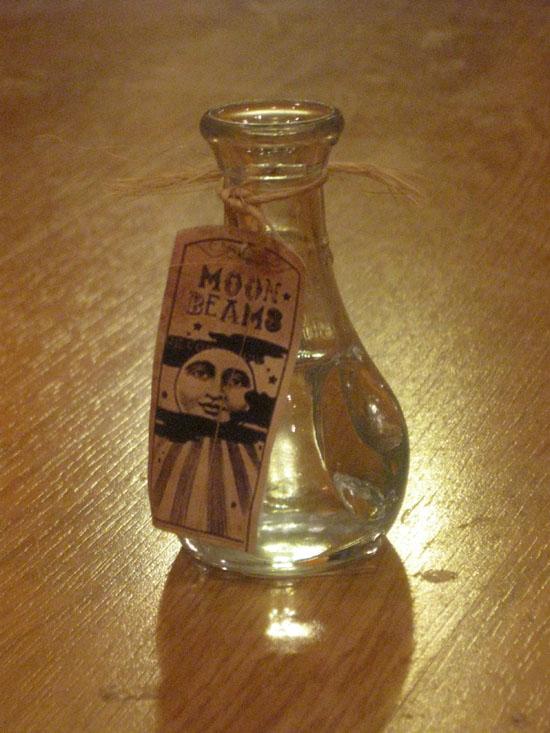
Print out a bunch of apothecary labels.
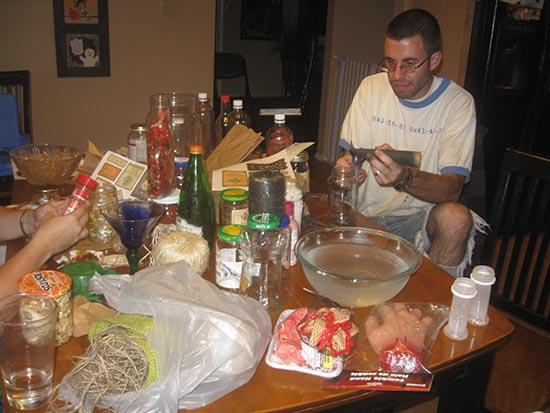
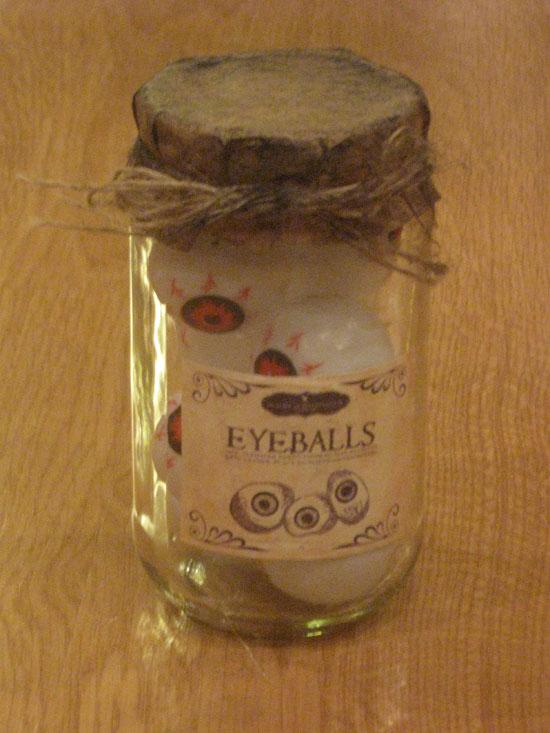
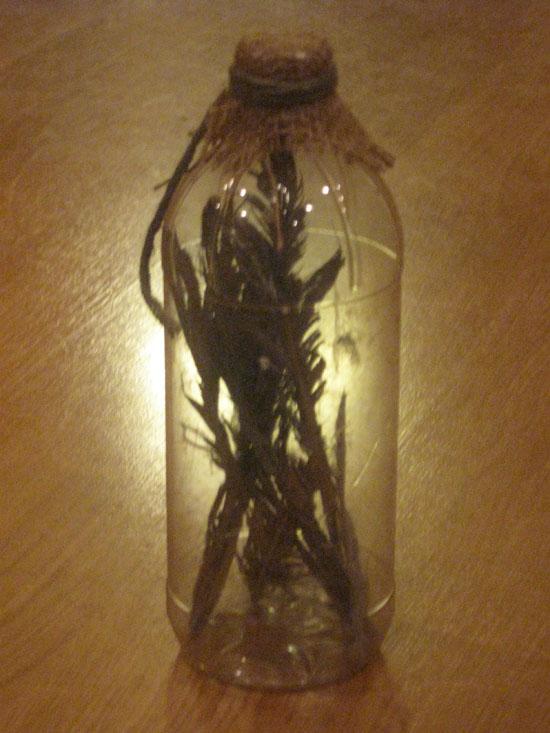
Gather the items you will put inside your potion jars.
Here is a partial list of household items that we used in our potions bottles.
Use modge podge or a similar craft glue to glue the labels onto the jars. Don't use school glue because it will make the paper soggy.
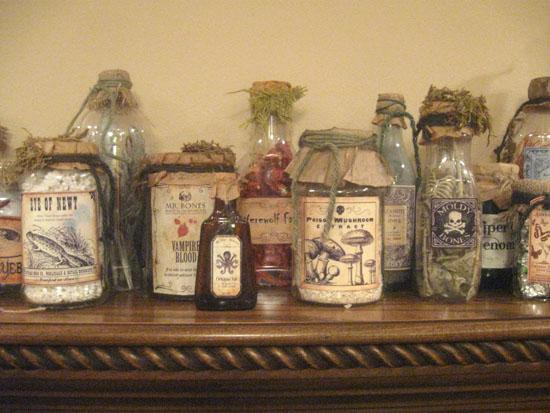
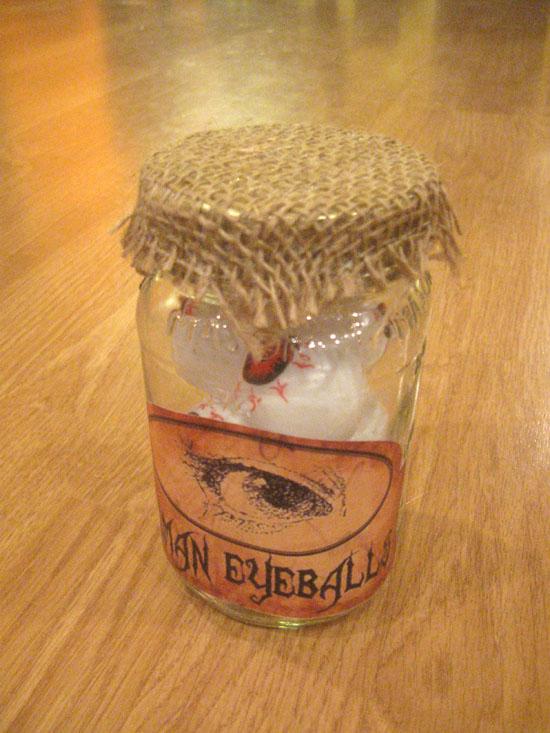
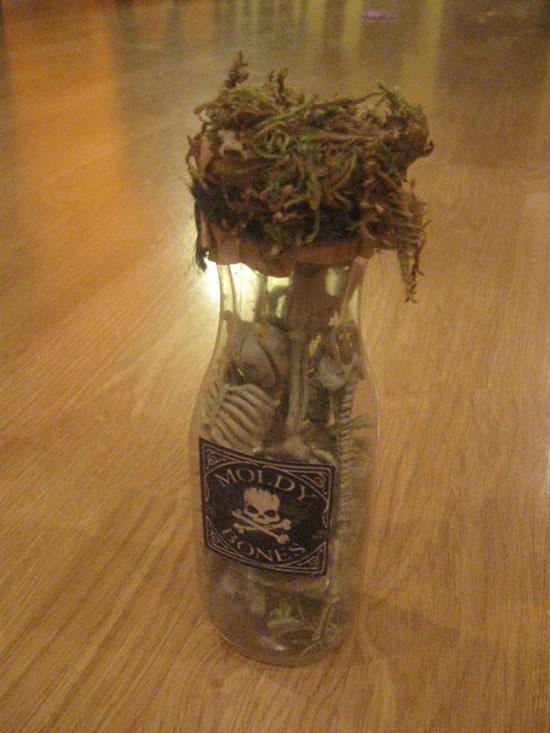
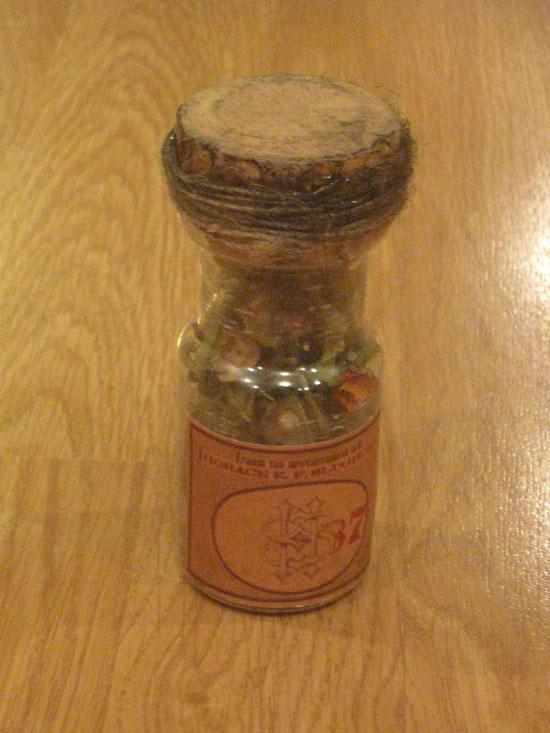
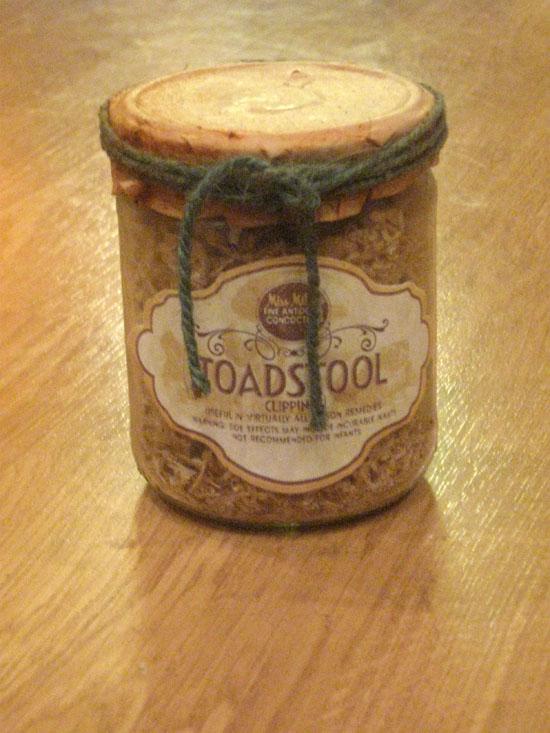
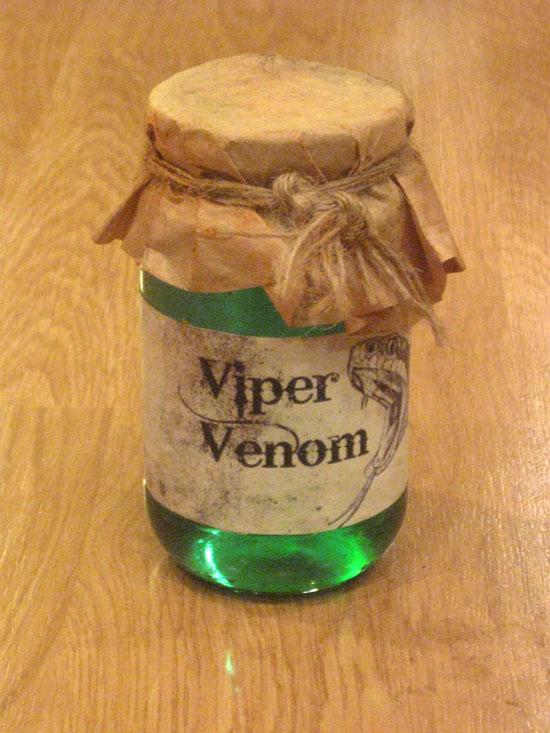
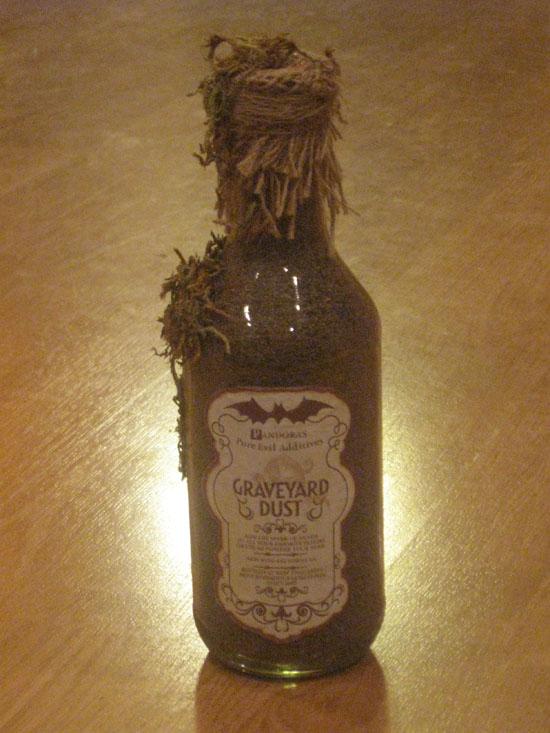
Fill the potion jars.
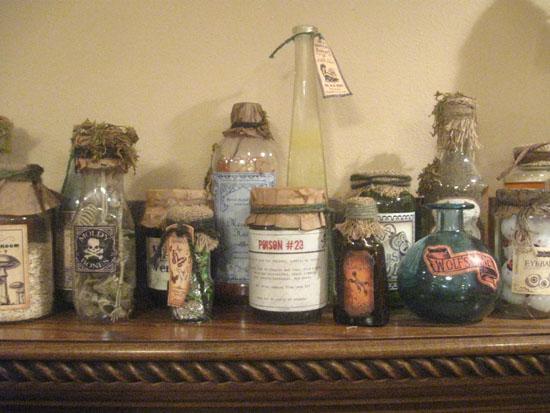
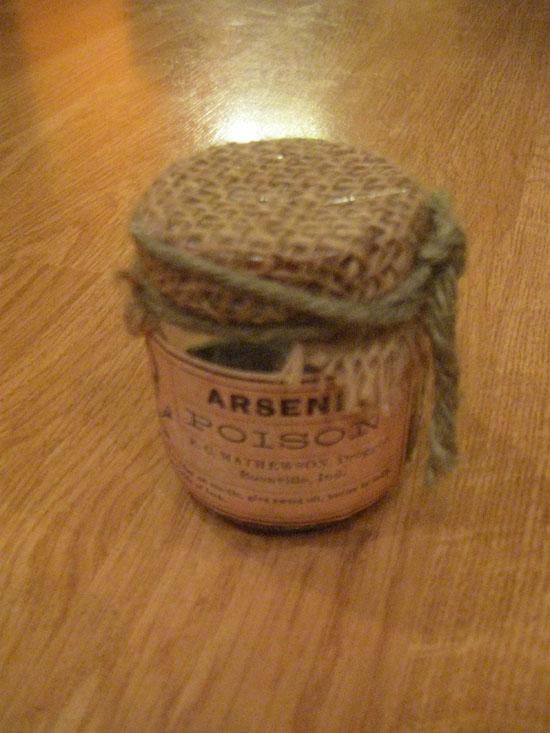
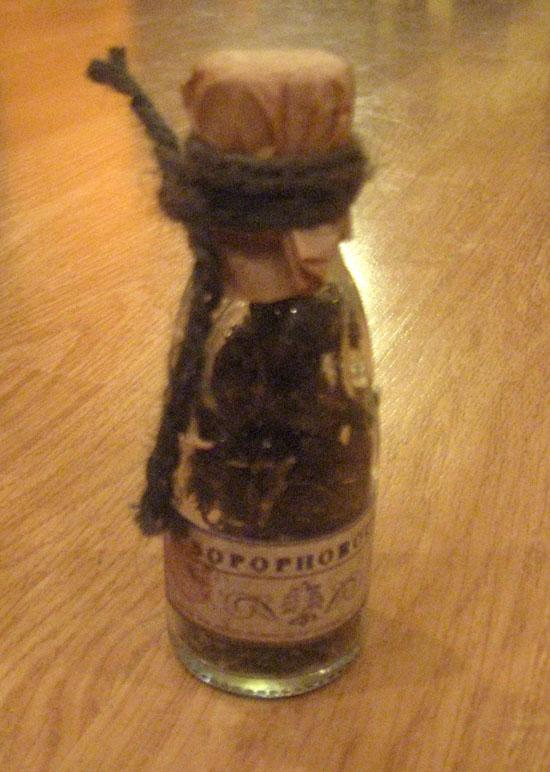
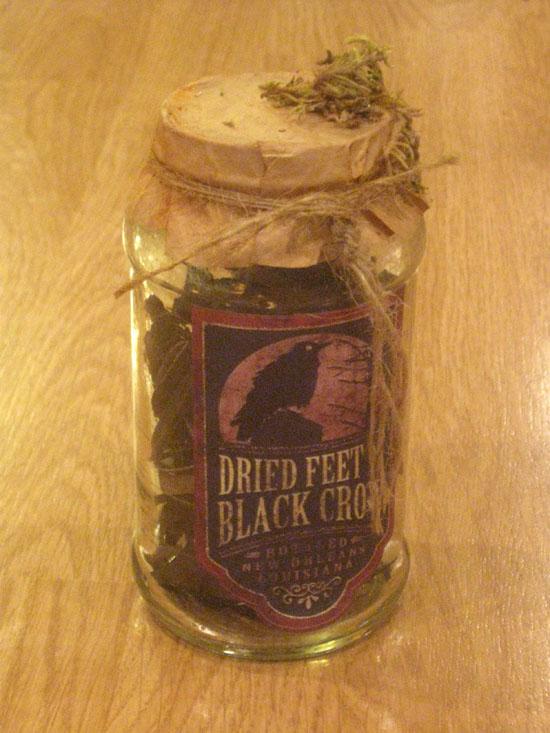
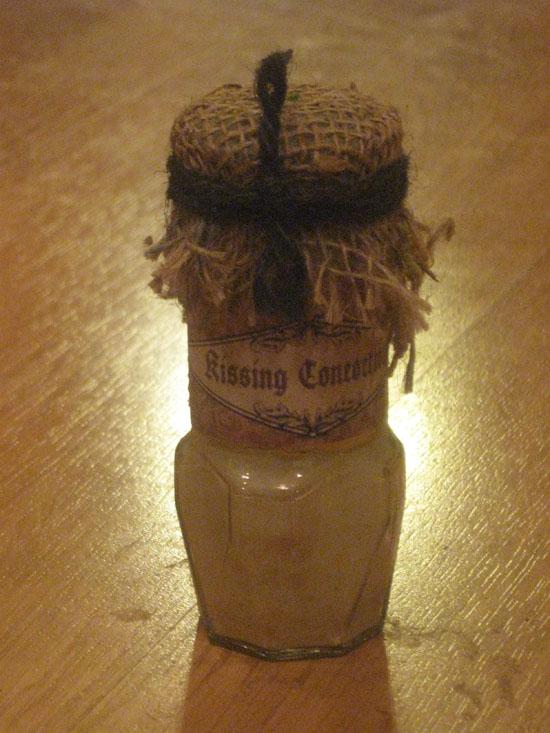
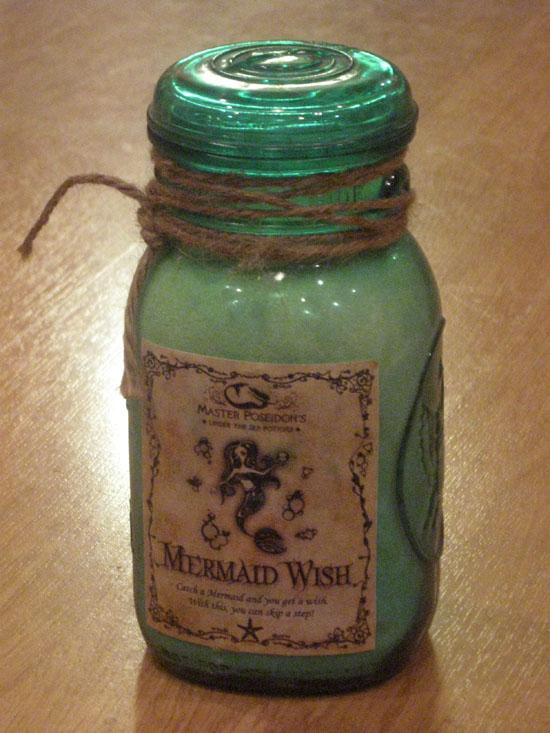
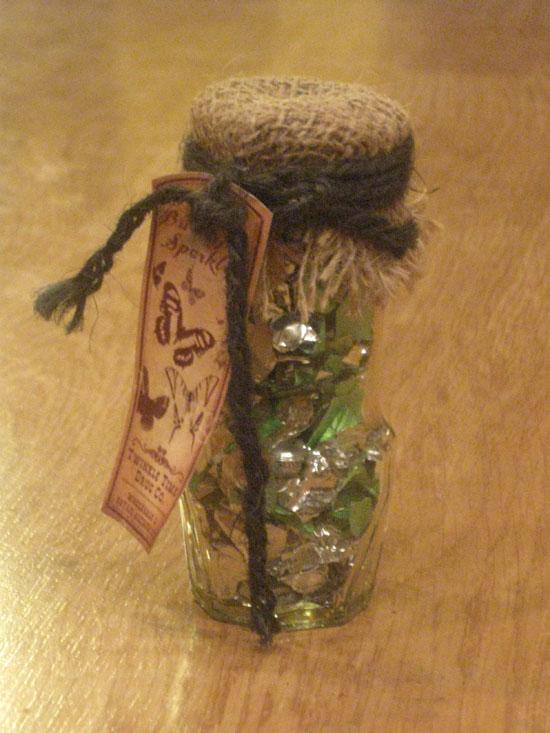
Decorate the lids.
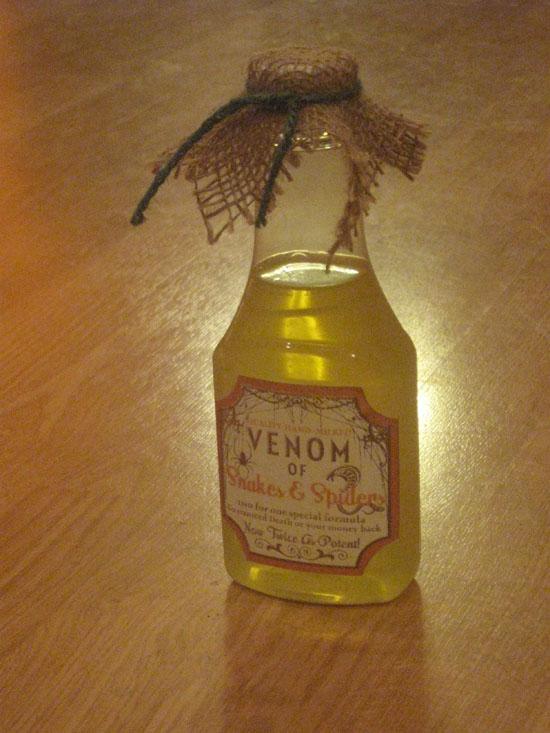
We used a variety of techniques so that each potion bottle would look unique. Here are a few ideas to get you started.
Lid coverings
Ropes
Antiquing
Enjoy.